Sculpteo 3D Picture Workshop – The Complete Guide
Posted By Sculpteo on Apr 3, 2012 | 0 comments
Sculpteo Workshops are great for experimenting with 3D design and 3D printing. You have the choice between 12 different workshops, available for free directly on Sculpteo Workshops.
Today, we would like to present you the 3D Picture workshop. It’s among the easiest ones and lets you have great results very fast. This workshop is perfect for entrepreneurs wanting to create branding objects for example, or anyone wanting to create objects from a simple picture.
Let’s say you want to create an object from your brand logo. You can do it in a few minutes and with a large variety of options with our 3D Picture Workshop.
Here is how it works.
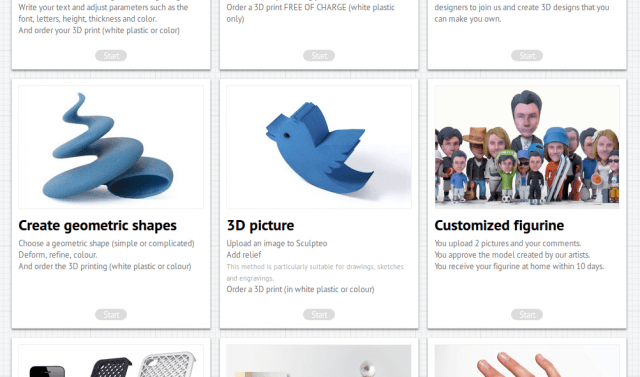
First, go to Sculpteo Workshops and choose the 3D Picture Workshop.
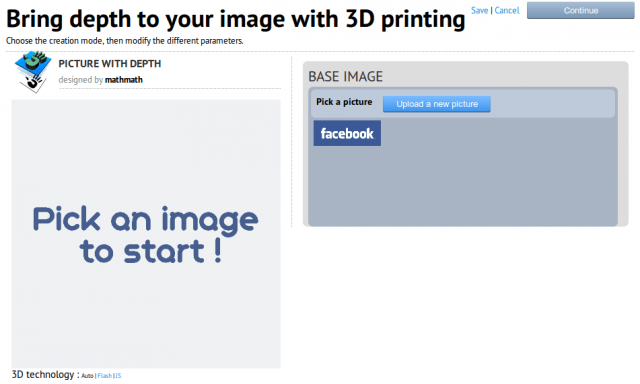
You are now in the 3D Picture workshop. It is time to upload a picture from your computer. For better modelization, we recommend to use simple pictures with good contrast colors and white background.
In this example, we want to create an object from the Facebook logo. Upload the picture and once you see it in your picture panel, click on it.
Pick the image you want to change as a 3D object
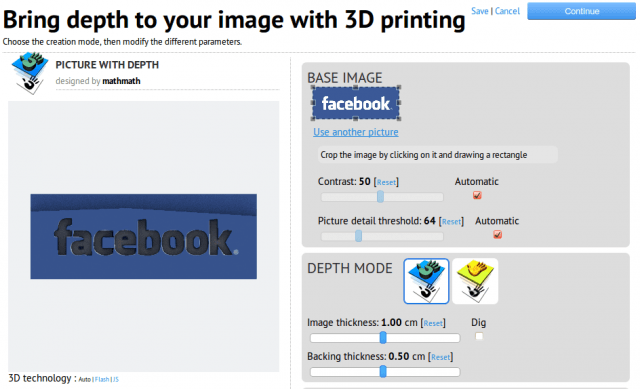
When you click on the picture you want to modelize, it appears on the left (the real-time preview area) and you can see all the 3D modelization options on the right side.
Adjust every option until you get the best result
Your different options are:
– Crop the image. by selecting it and adjusting the borders
– Change the contrast. By default, the contrast setting is set on “Automatic”, which is usually the best option.
– Picture Detail Threshold. By default, the detail threshold is set on “Automatic”. Uncheck the box and adjust the detail precision as you want it.
– Depth Mode. It is one of the most important option. It is the place to decide what kind of 3D depth you want for your picture. The blue option (extruding) is a sharper, deeper depth contrast. The yellow one (bumpmap) is softer. Test them both to get the best result. The preview is changing in real-time, so don’t hesitate to try everything. You can see your object in every angle by click&dragging it. Just click and maintain the mouse on the object to move it.
– Image thickness. This option can really change a lot your object as it modifies the depth of the extrusion. “Dig” is your option to reverse the extrusion. In our exemple, it makes the letters being apparent instead of being curved in the inside.
See the difference:
Without "Dig"
With "Dig"
– Decoration. Lets you change the colors of your objects. You can choose between your default picture colors or select background and image colors of your choice.
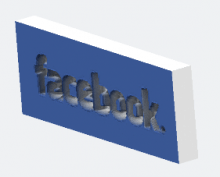
Play with every options until you find the right one for your project. In our exemple, we went from this picture:
to this 3D design:
Next step is now to simply save your design for you can to modify it later. Click on “Continue” to choose your 3D printing options.
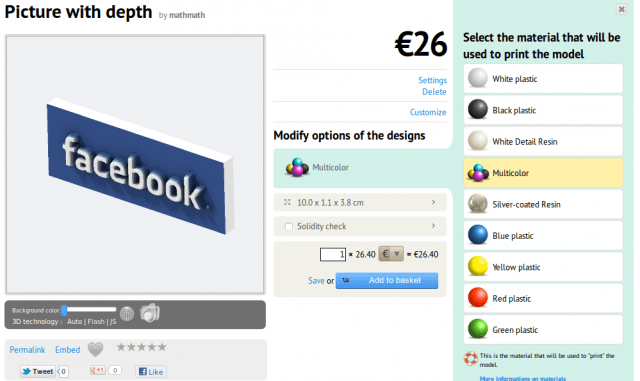
On this page, you can choose your favorite options for the 3D printing. See the price, select your material,…
Select your material
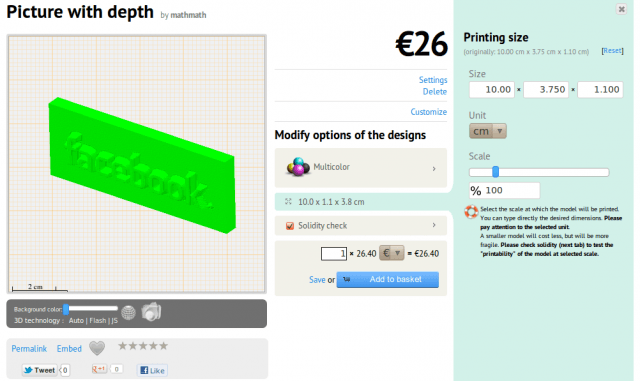
size,…
Adjust the size
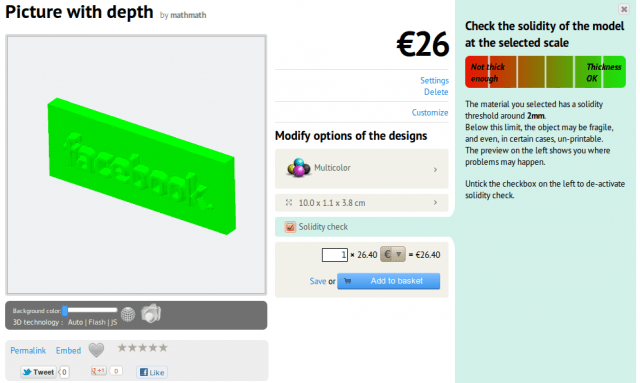
and check the solidity of your object. It is all green, we are good! (a little bit of red doesn’t hurt)
Do a final check of solidity
Choose the quantity, add your basket, and you will get your objects at your doorstep a few days later!
————————-
And yes, we are on Facebook, and pretty active to bring you the best of 3D printing and special discounts: check our Sculpteo Facebook page and become fan!


 Connect with Google
 Connect with Facebook