Meshmixer, Movember and the Sculpteo Bot
Posted By Zach Correa on Oct 29, 2014 | 0 comments
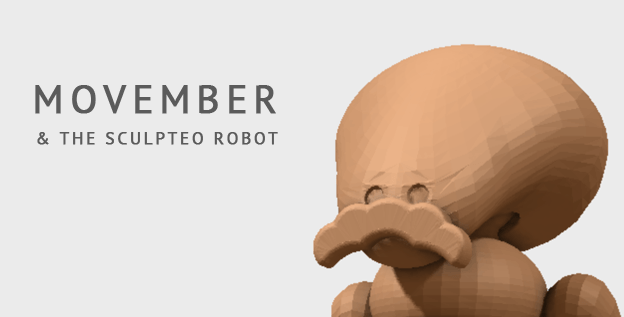
Movember is upon us and we’ve put together a guide so you can get a mustache on literally any of your 3D designs using Autodesk Meshmixer.
Meshmixer is an Autodesk program which has some incredible capabilities. Most notably, it is able to combine multiple 3D models together with little to no effort or 3D modeling experience. We’ve put together a tutorial on how to use in order to give our Sculpteo robot a moustache in honor of Movember.
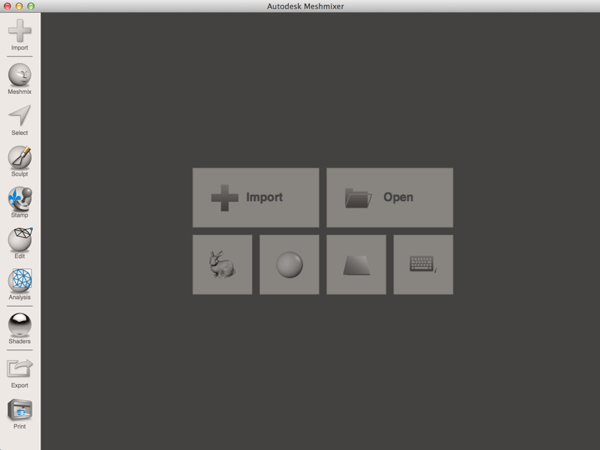
First things first, you’ll need to download Meshmixer from Autodesk. The good news is that its available for both PC and Mac.
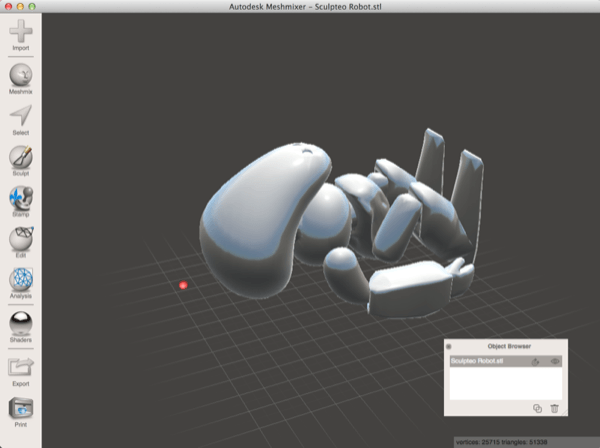
From there you’ll have to find the object you’re looking to add a moustache to. Understandably we went with our Sculpteo Robot. The robot was designed specifically for SLS printing. It has multiple interlocking parts which are impossible to make with an FDM printer. Those parts allow for a turning head and moveable arms, as soon as it comes out of the printer (there’s no need to remove any supports).
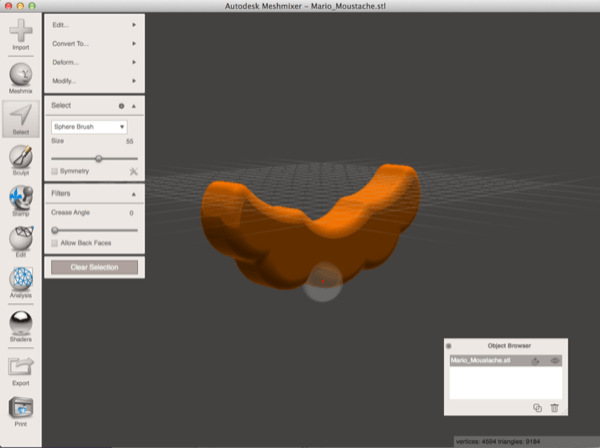
From there we needed to find a model to add to the Sculpteo Robot. For that we headed over to Thingiverse, where a simple search of ‘moustache’ comes up with a couple hundred models. The images below are using this Mario Moustache Model, by Ashmonster.
After you have all of the models, start up Meshmixer and import your 3D mustache model. The first order of business is creating a part out of the moustache. (A ‘part’ is a 3D model which can be dragged and dropped onto another 3D model.)
After that click ‘Select’ in the left hand menu and hold ctrl A (or command A, on a Mac) to select the entire model.
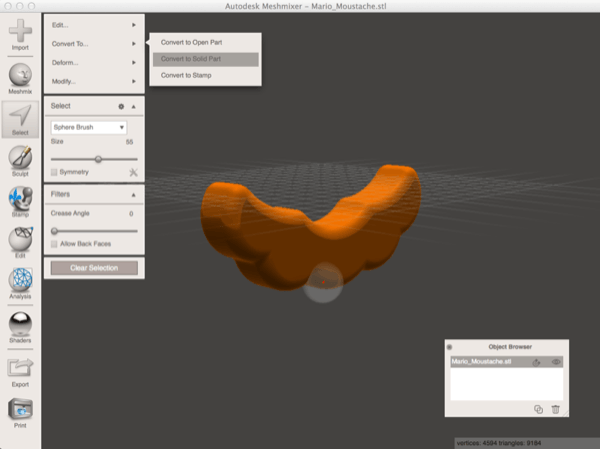
A new set of menu items will appear above the select menu. Among those choose ‘Convert To…’ then ‘Convert to Solid Part’ and click ‘Accept’. This will add the model to the program’s list of available Parts.
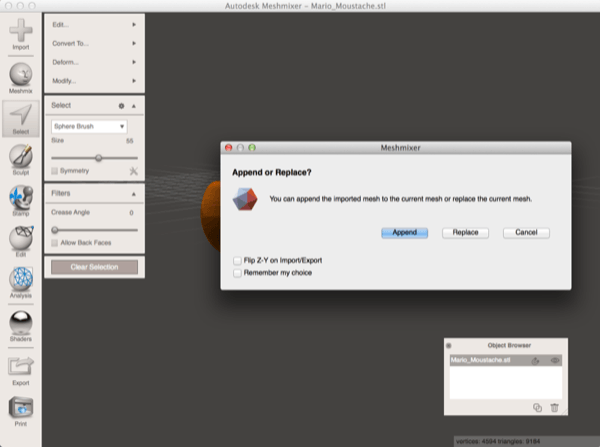
From there, click on ‘Import’ in the left hand model. Meshmixer will ask you to append the mesh you’re importing to the current mesh or if you’d like to replace it. Choose ‘Replace’ and browse for your the new model in your computer.
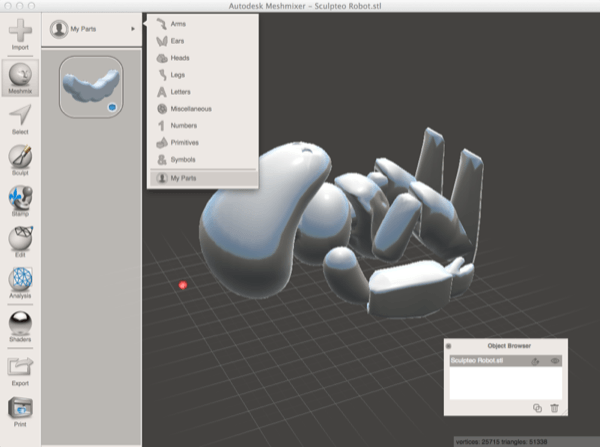
Now that you have your model imported, it’s time to meshmix the moustache. In the left-hand menu, choose ‘Meshmix’ –> ‘Arms’ –> ‘My Parts’. There you will find your moustache file.
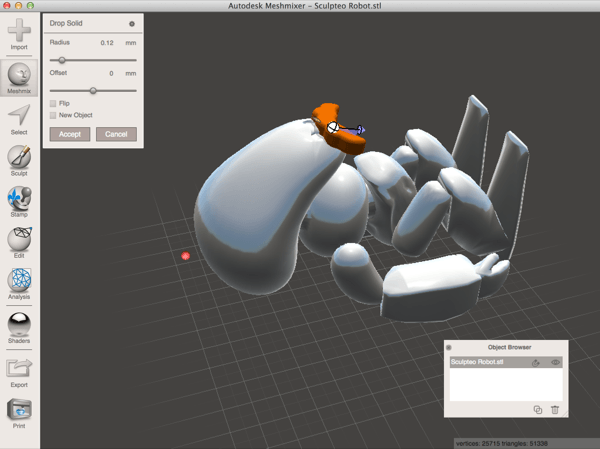
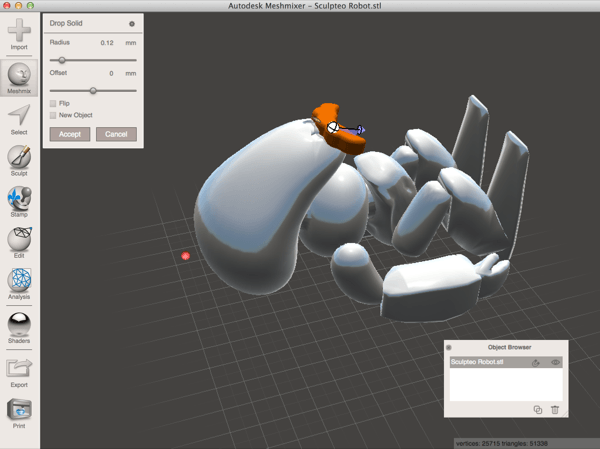
Simply click and drag the Moustache anywhere on your file and Meshmixer will automatically place it. From there you are able to move the object with the small white sphere in the center of your object, orient your object with the arrow and rotate it with the small clear circle. You also have options concerning the object’s radius and offset in the left hand model. Once you are satisfied with your object, simple click accept and they will be attached.
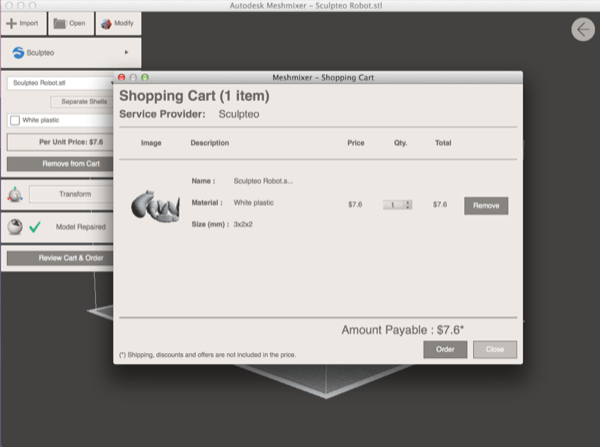
The last step is printing your object. Sculpteo has a built in printing option with Meshmixer, so simply click print in the bottom left corner then choose Sculpteo from the list of printing options. The price will be automatically determined after the model is repaired (if it needs to be repaired).


 Connect with Google
 Connect with Facebook