 Connect with Google
 Connect with Facebook
3D print texture resolution: which resolution for your multicolor 3D prints ?
Posted By Arthur Cassaignau on Mar 26, 2015 | 0 comments
This is a pretty usual situation. You have a 3D file with texture and you want to 3D print it in our multicolor material. It’s reasonable to aim for the best possible print and therefore use the highest possible resolution for your texture. That’s what anyone would do. However, we’ve run a cool test to really see how the texture resolution impacts a 3D print’s quality. We took a 3D scan made with an Artec Eva and we successively brought the texture resolution down. Starting with a 8000 x 8000 px resolution we got it down to a 1000 x 1000 px. Results are speaking volumes.
Today’s multicolor 3D printers, like the Projet 660 (the fullcolor 3D printers we’re using) for instance, are great to create multicolored 3D models. They work by adding successive layers of a mineral powder. The particularity is that each layer’s outside is then colored with ink to match the texture you’ve added to your 3D file. However, color printing on mineral powder is not exactly the same as printing colors on paper. Long story short, using a huge texture file (jpeg, png, bmp) won’t necessarily make your resolution better since the full color 3D printers still lack some precision in terms of resolution while applying the texture to the print.
This post has two objectives:
- determine the best texture resolution (without any quality loss)
- to give you a better sense of the texture size you should upload since we’re asking for a 50Mb zip file (.obj + .jpeg + . mtl) maximum.
Let’s get to the rundown between the different 3D prints. The 3D model we took was made with a professional 3D scan. The 3D file itself is about 40Mb and has 300 000 triangles. We’ve printed it each time in a 15cm figurine and we used three different texture resolutions: 8000 x 8000 pixels, 2000 x 2000 pixels and 1000 x 1000 pixels.
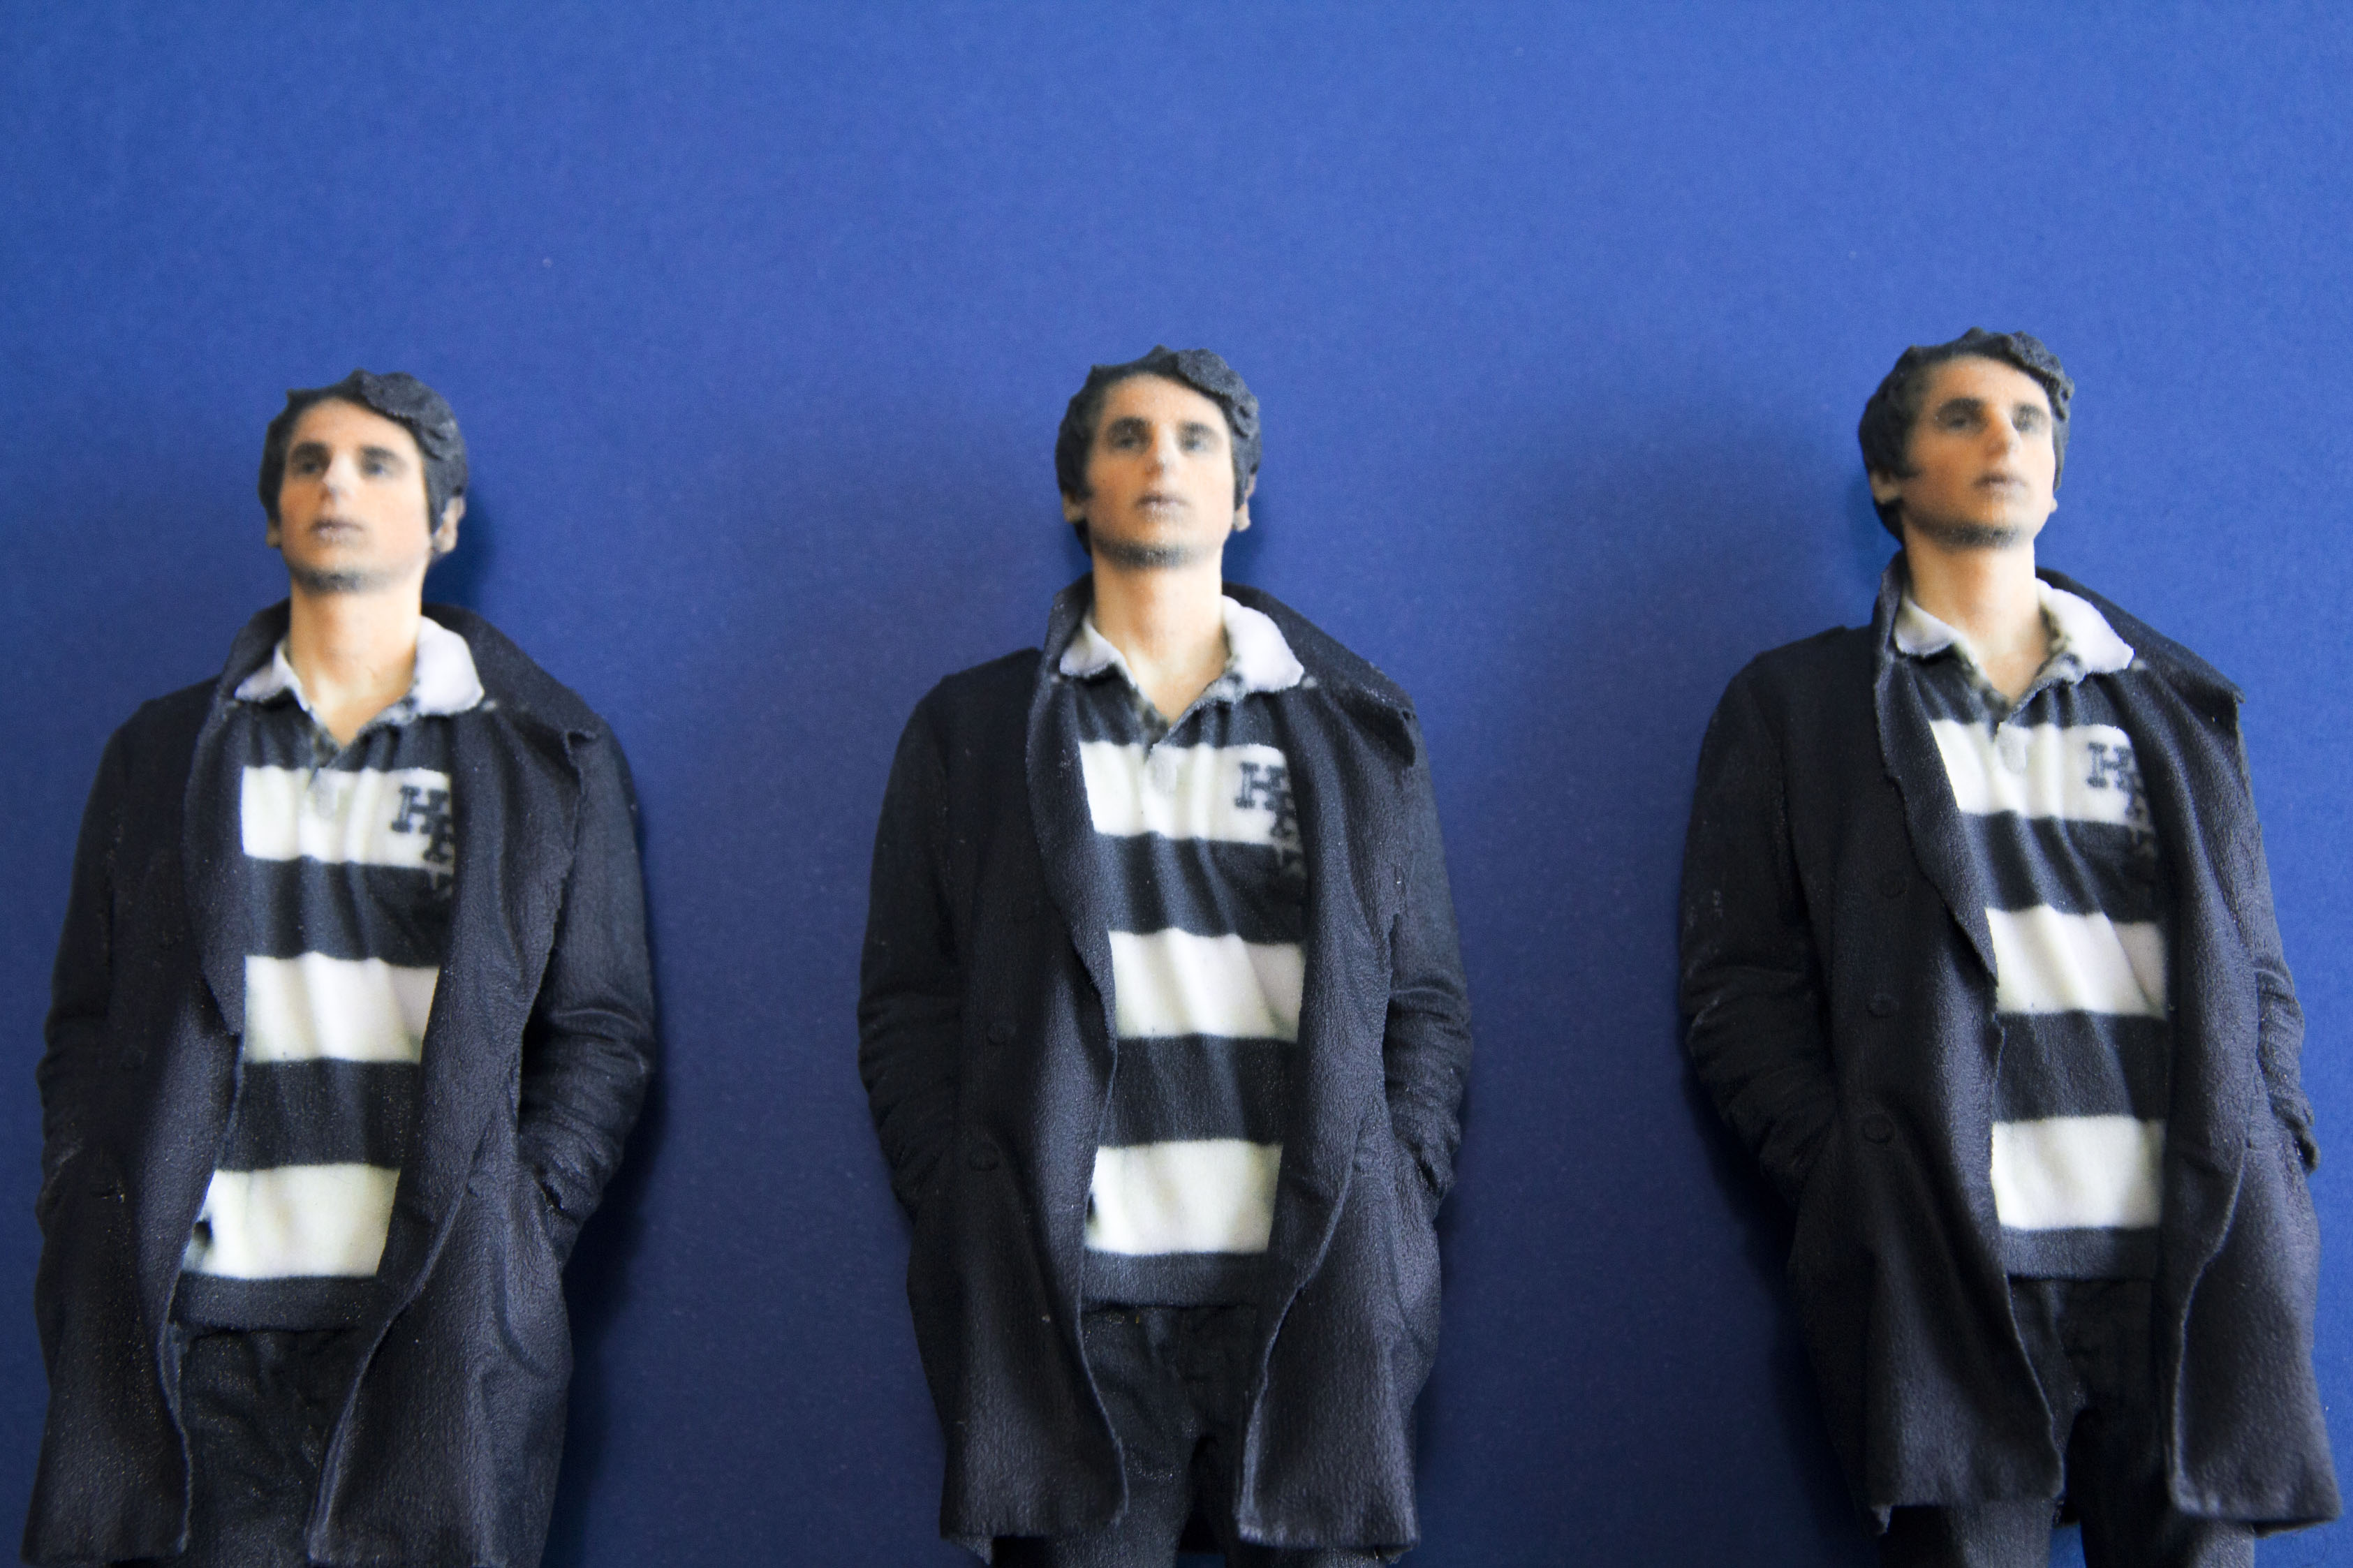
From the left to the right – 8000 x 8000 px, 2000 x 2000 px and 1000 x 1000 px.
Let’s compare the 3D print texture resolution
If we look more closely to the finest details, we can hardly see a difference in the 3D printed texture. The 8k x 8k pixels print might have a better contrast that the 1k x 1k pixels one, however instead of adding pixels, one option would be to use a picture editing software (like Photoshop) to add contrast to the texture. You’ll end up with the same result and a much lighter file.
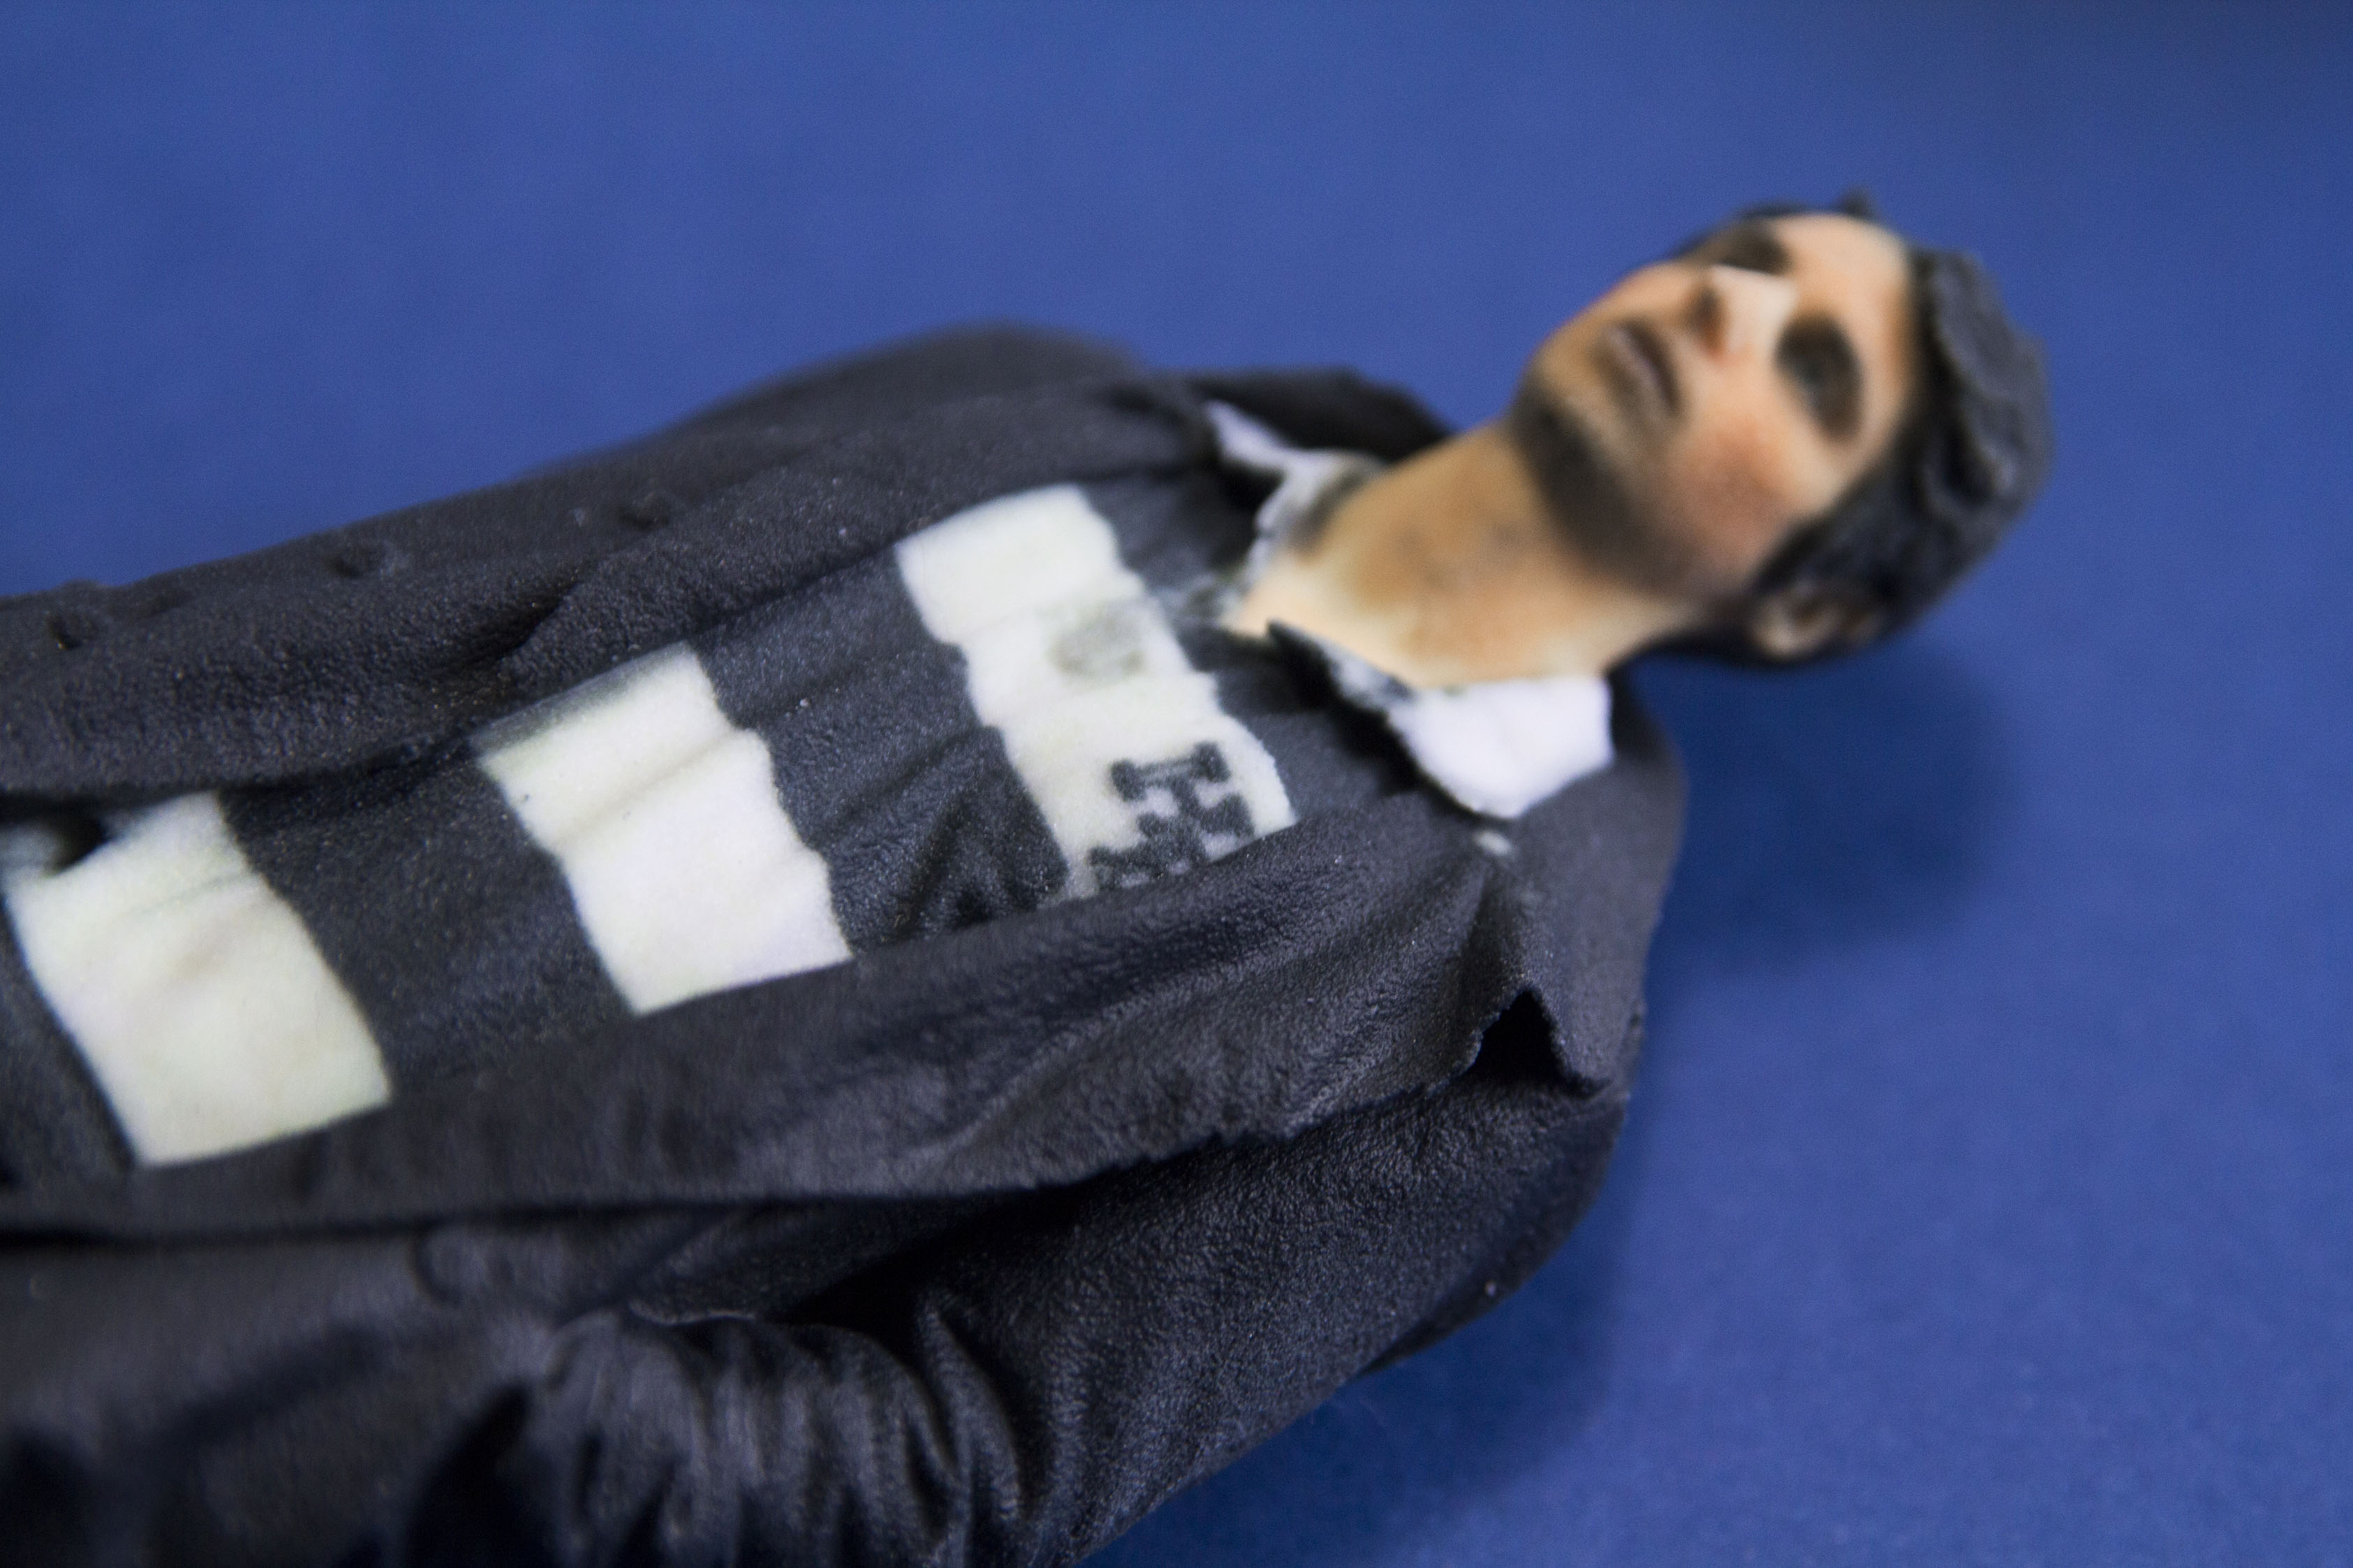
The super texture resolution – 8000 x 8000px

We downgraded it to 2000 x 2000px – still no visual changes
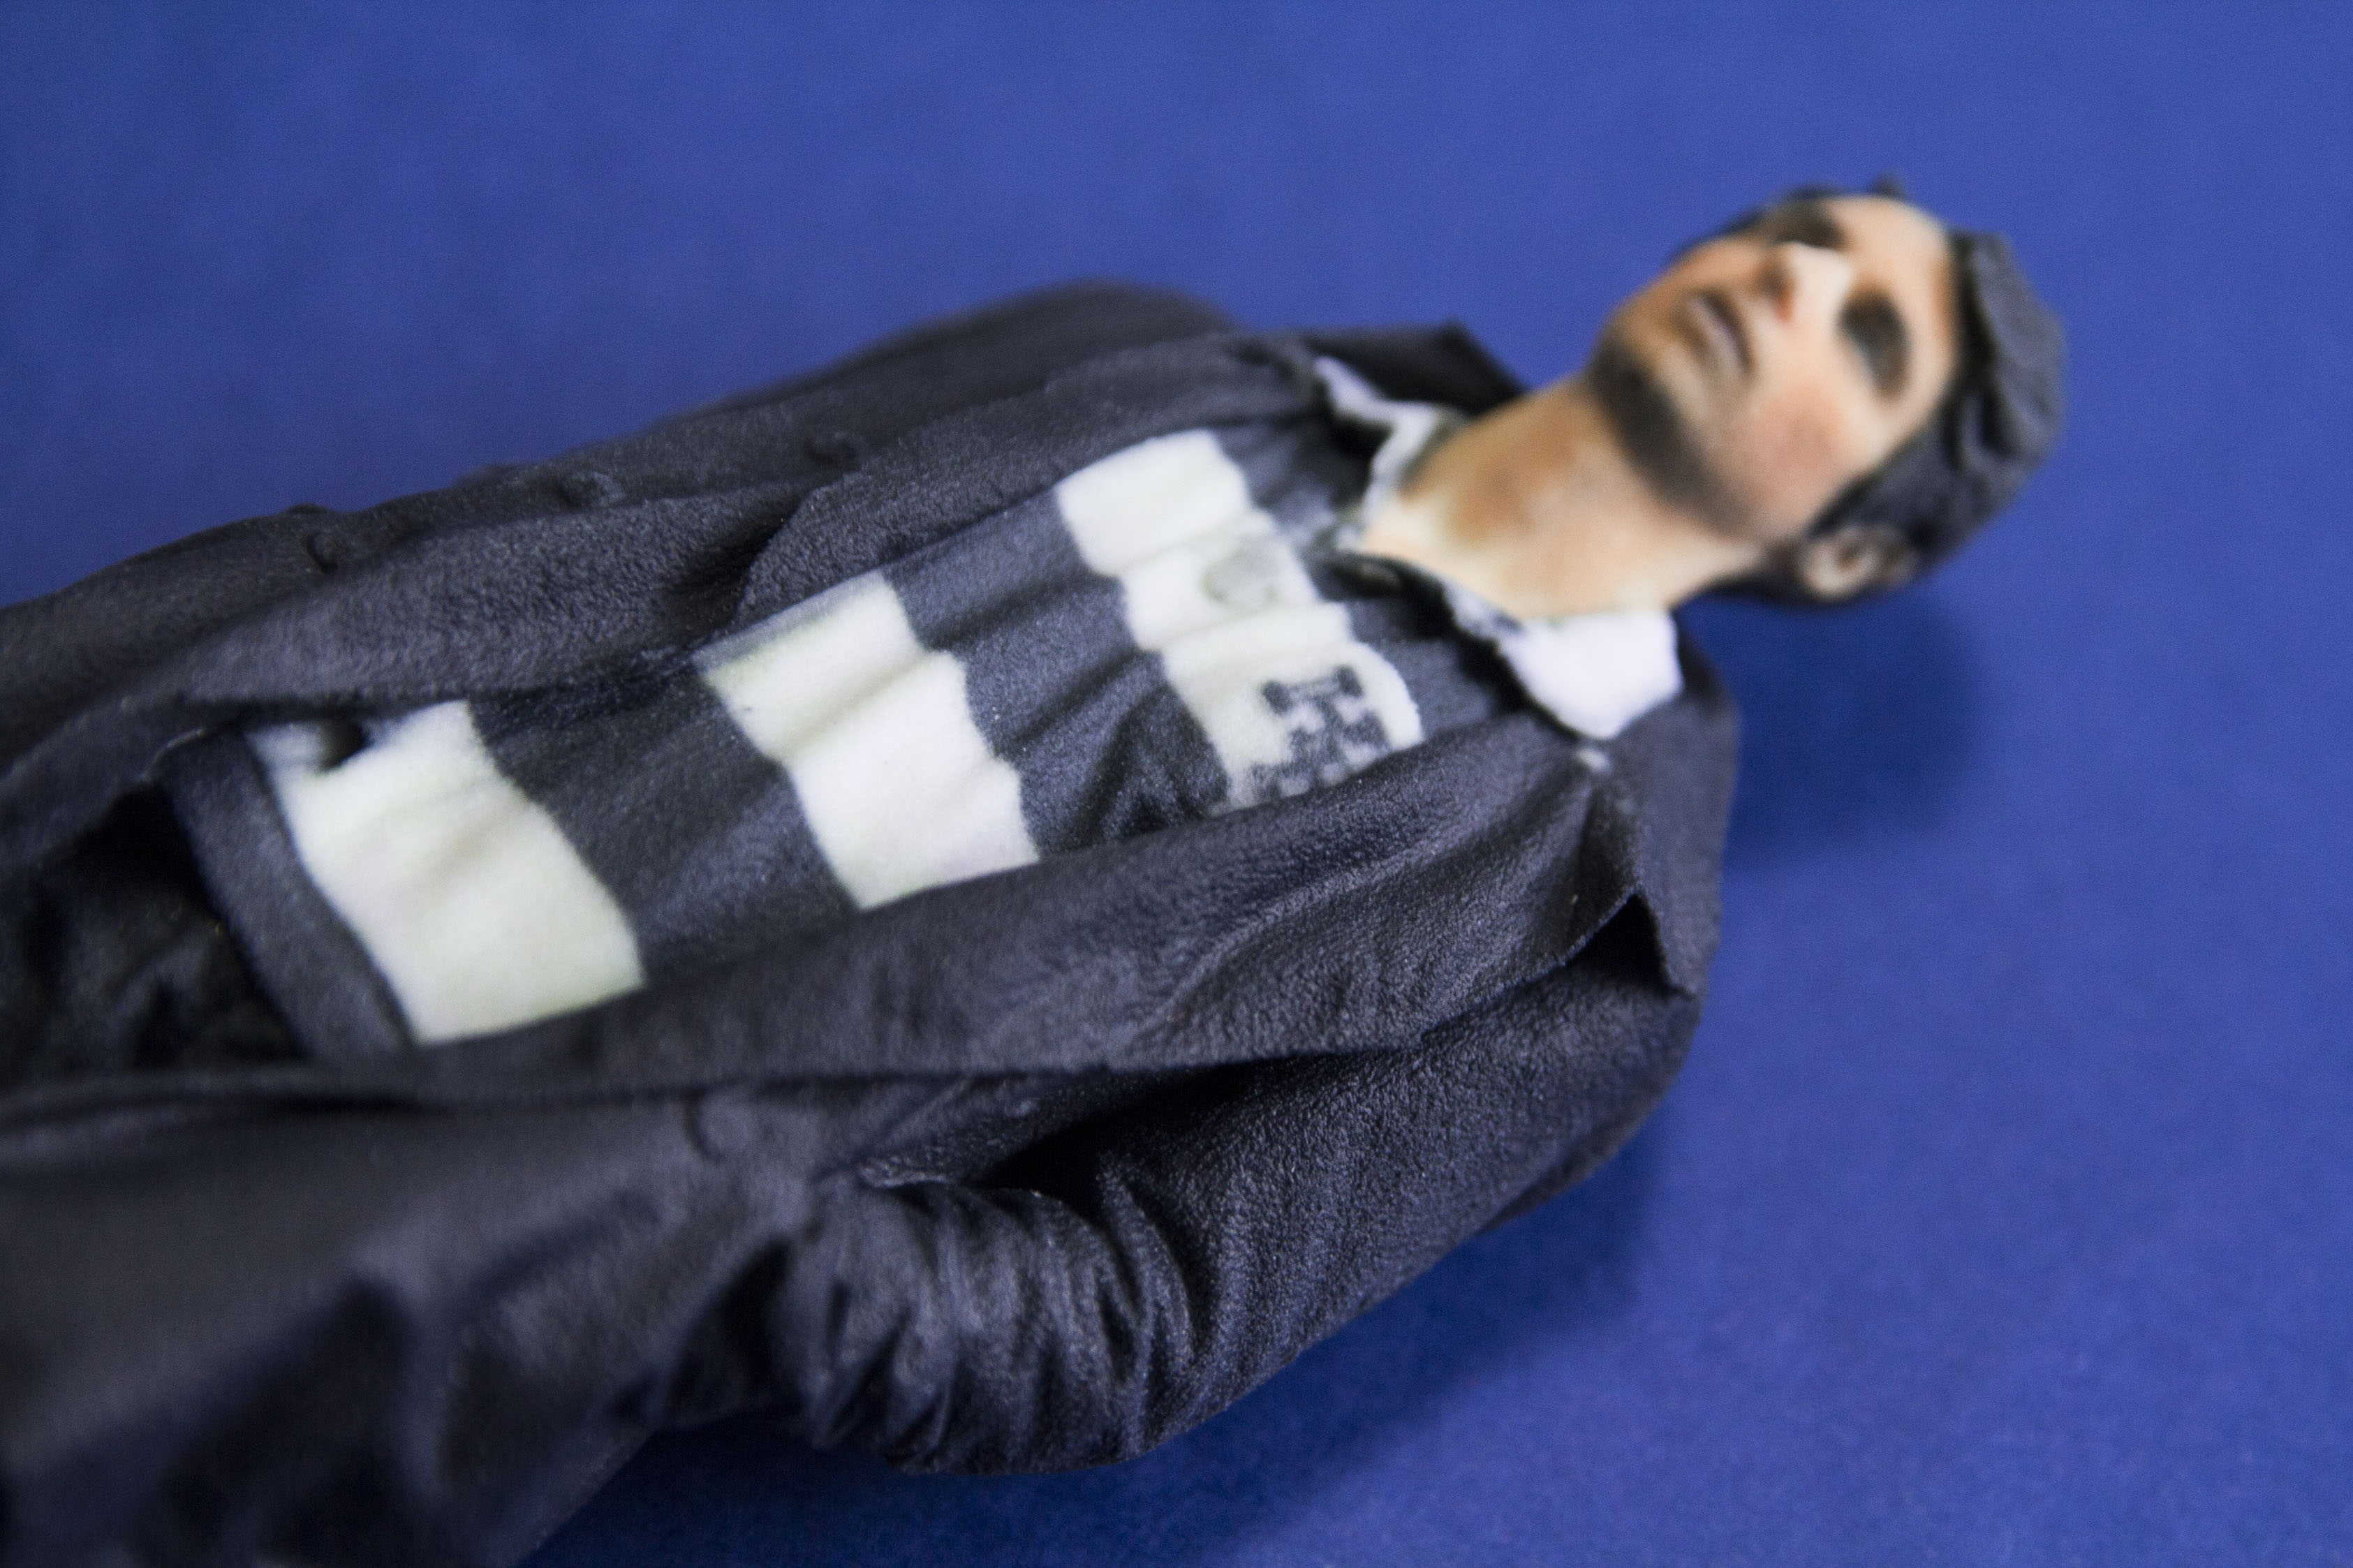
… and even more to 1000 x 1000px- hardly possible to see a thing. The colors might be less contrasted.
Ok, the question of texture resolution has been solved. Until you reach a critically low limit, there is no visible difference in 3D printed texture resolution. We promise we’ll run a new test with a 500 x 500 pixels resolution so that we can finally see a difference – hopefully.
Now, which texture size should you add in your zipped file? Since the resolution hardly impacts the print’s quality, you should decide the size of the texture depending on two criteria: the scale of the print and the level of compression you’re using for the texture.
Choosing the correct scale for the best 3D printed texture resolution
About the scale. Let’s be quite pragmatic about it. In this test, we’ve printed our model three times as a 15 cm figurine with no visible difference and the maximum size we offer for multicolor print is 25.4 x 38.1 x 20.3 cm. With the help of our technicians, we determined this rule:
- For any prints with a height smaller or equal to 15 cm use a 1000 x 1000 pixels texture resolution
- For any prints with a height included between 15cm and 20cm use a 2000 x 2000 pixels texture resolution
- For any prints with a height included between 20cm and30cm use a 4000 x 4000 pixels texture resolution
- For any prints with a height included between 30cm and 38cm use a 8000 x 8000 pixels texture resolution
Choosing the best compression to optimize the 3D printed texture resolution
You now know the resolution of the texture you’ll need to use. There is however one last big factor that can impact your overall file size : it’s your texture’s compression. It might seems like a trivial topic but it’s actually impossible to directly input a compressed texture to the 3D printer. That means before printing your 3D models, we need to transform any encoded image (like a jpeg) into a .bmp file. This step is critical, and if you’ve selected a very high texture resolution, the size of the texture file can skyrocket pretty fast during the decompression.
For instance, in the case of our figurines. Here is what happens when we convert the jpeg into a .bmp file:
- the 1000 x 1000 pixels texture weights 0.55Mb as a jpeg and 2.86Mo as a .bmp file.
- the 2000 x 2000 pixels texture weights 1.80Mb as a jpeg and 11.4Mo as a .bmp file.
- the 8000 x 8000 pixels texture weights 2.90Mb as a jpeg and 192Mo as a .bmp file.
So even what can be considered as a pretty light jpeg file can end up in a really heavy .bmp file. If your texture image is too heavy, it will probably end up being rejected while we start preparing the job for printing. During this step, we transform each texture file into a .bmp file. Controlling the resolution of your texture is therefore a key step before uploading your zip file for a multicolor print.
We hope this post helps you better adjust the 3D print texture resolution of your multicolor objects according to your 3d print’s size. If you’ve any other question about our multicolor material, just shoot us a mail. We’ll answer it as fast as we can.