 Connect with Google
 Connect with Facebook
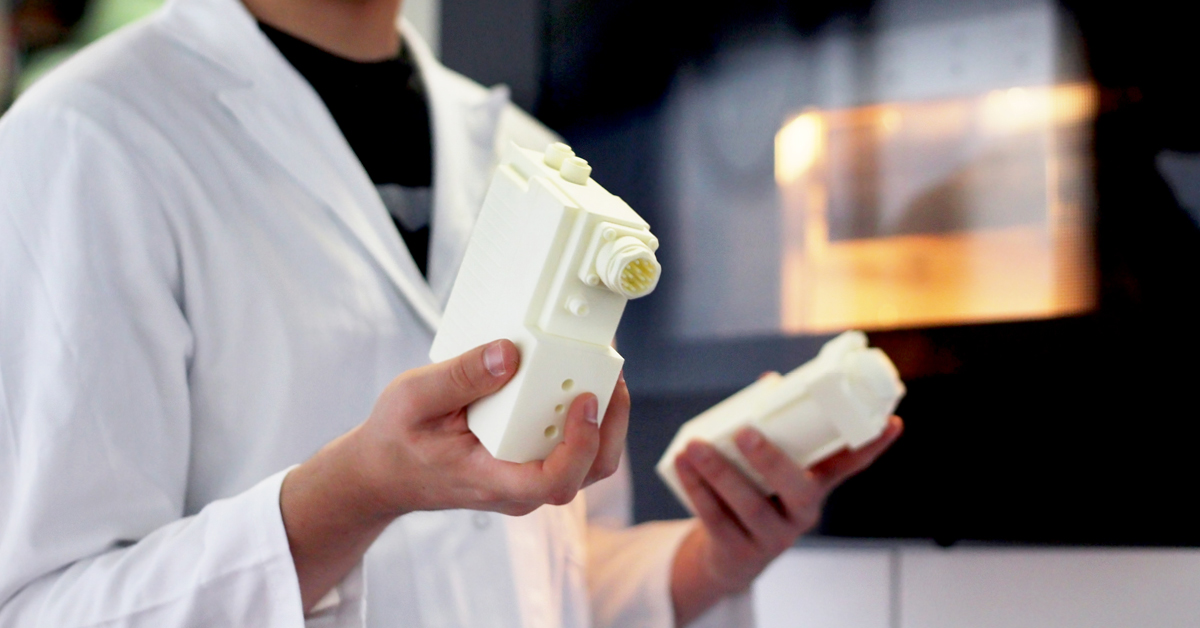
Tutorial : “From Sculptris to Sculpteo”: three points
Posted By sculpteo on Aug 6, 2010 | 2 comments
Three points on the Sculptris tutorial.
On fascinating trick is the free 3D software Sculptris, which needs no installation on your computer and which you can download for free at Pixologic.com. On many aspects, the software is similar to its big brother named Zbrush, but is less developed and consequently, in addition to being very aesthetic and accessible even to those who have never designed anything in 3D, Sculptris is also very easy to handle.
The process is extremely simple : it is all about sculpting a ball of fake clay thanks to well practical tools. The software is downloadable within a few seconds: your only preliminary work is to think about the object you wish to be printed, and about the form you intend to emerge from the ball of clay.
- Design
Once the thinking step is cleared, you can buckle down to designing. The first part of this tutorial explains the crucial aspects you need to know in order to form your object: use the “Grab” tool to define the global shape, apply the “Smooth” one, the “Crease”, the “Flatten”, etc., as much as you need. Effectively, the design’s shape will depend of the use of the brush at your disposal, which size and strength are changeable. Other types of brush are downloadable.
- Paint and texturize
The second part of the tutorial explains the painting and the texturization of the object. Here, beware of the number of polygones on your object, because Sculptris does not necessarily manage well the great numbers: try to not go beyond 400 thousand polygones. Anyway, you must keep in mind that the objects uploaded on Sculpteo’s website must not exceed the million of polygones. Thankfully, there a most simple tool in the software that lets you locally reduce that number (“Reduce”). In any case, as soon as that reduction is done, you can click on “Paint”, and Sculptris will begin the mapping: it will take a few minutes.
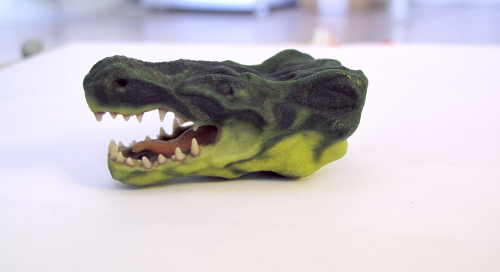
The texturization and the use of the “Paint” tool are synthetized in the video below. For the textures, Sculptris allows you to add the textures, as in the example, the texture “Skin of snake” which you have to download in clicking on the “Brush” icon. Once again, in order to make a meticulous painting, you will have to use the zoom thanks to the mouse scroll (or + and – of the Numpad), to rotate the object in maintening “Alt” and the mouse, and to laterally change the object’s position thanks to Shift + Alt and the mouse.
- Export in obj
- In the software: do export textmap in the file texture.png
- In the software: do export obj in the file model.obj
- Open the obj file in a text editor, and add the following lines at the beginning of the file:mtllib./MON_MODEL.mtlusemtl material_0
- Delete the line: usemtl (null)
- Replace MON_MODEL, by the name you wish
- Create a file text in a text editor, name it MON_MODEL, with the extension .mtl.
- Open the file and add the following content:
newmtl material_0map Kd MA TEXTURE.png - Important: for the file MON_MODEL.mtl, MON_MODEL must be replaced by the same name as the one you have given to the .obj file.
- Replace MA_TEXTURE by the name you have given to the .png file during the export texmap with Sculptris.
- Then, put the 3 files (obj, png et mtl) inside an archive .zip and upload the .zip in Sculpteo’s website.
Now that your design is finished, the last step but one is to export your file into an OBJ format, so that you can upload it on Sculpteo’s website and order your object. For that, you must “recreate” the MTL file ; the process is detailed below:
Last step: upload the design to Sculpteo !