Guide to 3D Printing Your Design in Ceramic
Posted By Sculpteo on Apr 9, 2014 | 1 comment
Ceramic is one of the most exciting materials for 3D printing. With 3D printed ceramic, you can create designs that are food safe, withstand high temperatures, and have a high-quality glossy finish. But it is also one of the most difficult materials to design for. We’ll tell you how to design for 3D printed ceramic and ensure you get the best result.
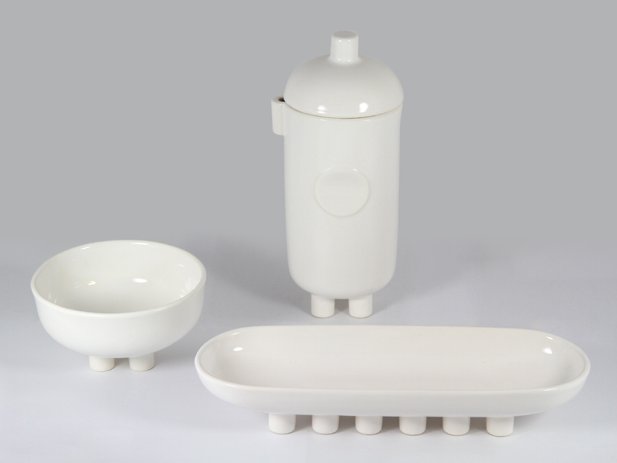
Milky Tray set by designer Marie-Christine Dorner, available in Sculpteo Shops
How Does Ceramic 3D Printing Work?
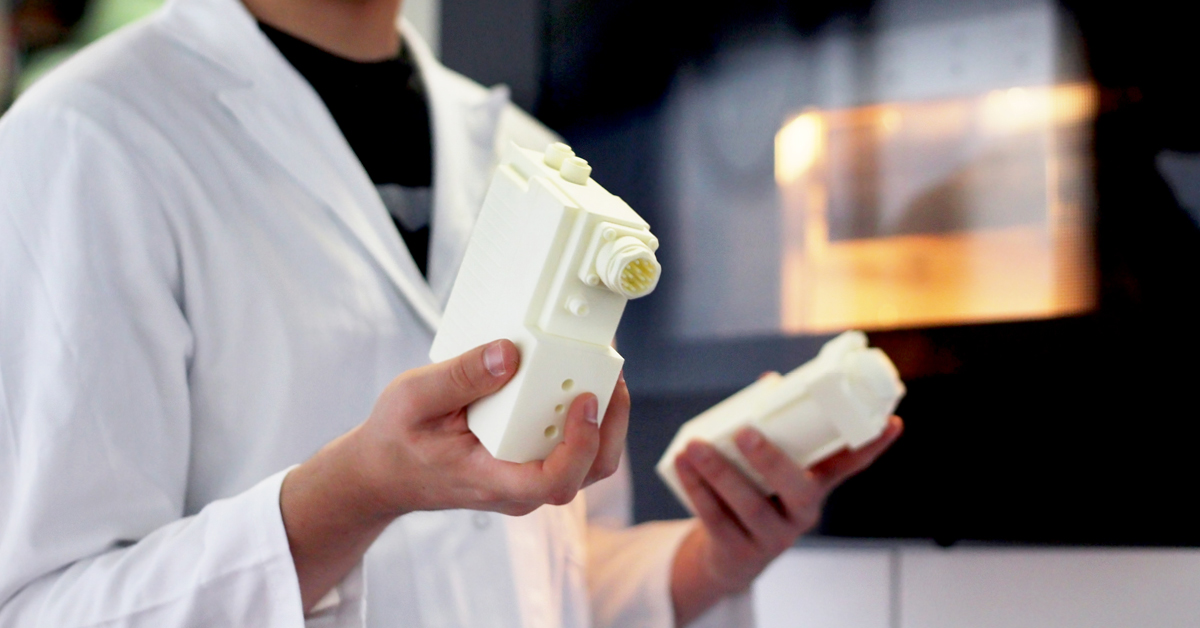
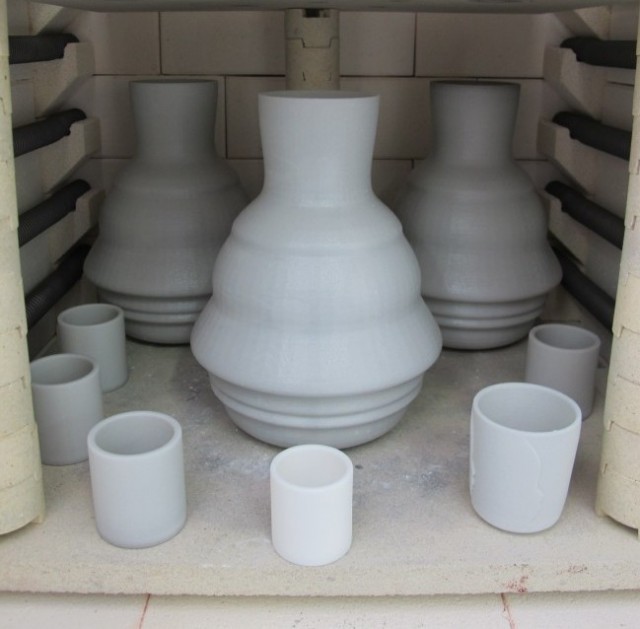
The design is first 3D printed by applying an adhesive layer-by-layer to the ceramic material inside the printer tray. Once it’s finished printing and the shape is formed, the object then goes through stages of firing and glazing just like with traditional ceramics. These processes can cause distortion in your design. For example, the firing stage can shrink your design up to 3%. And the glazing can add an extra 1mm thickness to all glazed parts of your design.
How Big Can I Print with Ceramic?
The maximum size for 3D printed ceramic is a bounding box sum of X + Y + Z dimensions = 400 mm (aprox 15.75″). The minimum size is a bounding box sum of X + Y + Z dimensions = 120 mm (aprox 4.7″)
What is the Minimum Wall Thickness for 3D Printed Ceramic?
Unlike other 3D printing materials, the minimum wall thickness for ceramic varies depending on the overall dimensions, or bounding box sum, of your design. The maximum wall thickness you can have is 15mm.
For designs with a bounding box sum between 120-200mm, the minimum wall thickness is 3.0mm. [ 120mm < X+Y+Z < 200mm = wall thickness of 3.0mm ] For designs with a bounding box sum between 201-300mm, the minimum wall thickness is 4.0mm. [ 201mm < X+Y+Z < 300mm = wall thickness of 4.0mm ] For designs with a bounding box sum between 301-400mm, the minimum wall thickness is 6.0mm. [ 301mm < X+Y+Z < 400mm = wall thickness of 6.0mm ]
8 Design Rules for 3D Printing with Ceramic
1. The minimum feature size, such as a detail on the surface of your design, is 2mm.
2. The minimum size for a gap, hole, or opening in your design is 5mm.
3. Your design must have a base or bottom on which to sit while it is glazed. The base of your design will not get glazed.
4. Do not use sharp corners in your design. The glaze cannot cover these corners. Use a radius to round your off corners. All corners and joining faces must have a minimum radii of 2mm.
5. Avoid shapes that go from thick to thin. This puts stress on the thin parts, and the design is likely to break.
6. Hollow designs must have a drain hole opening that is at least 10mm in diameter.
7. No moving parts.
8. Cantilevered parts of your design must be less than 20mm long.
What Colors Can I Print in with Ceramic?
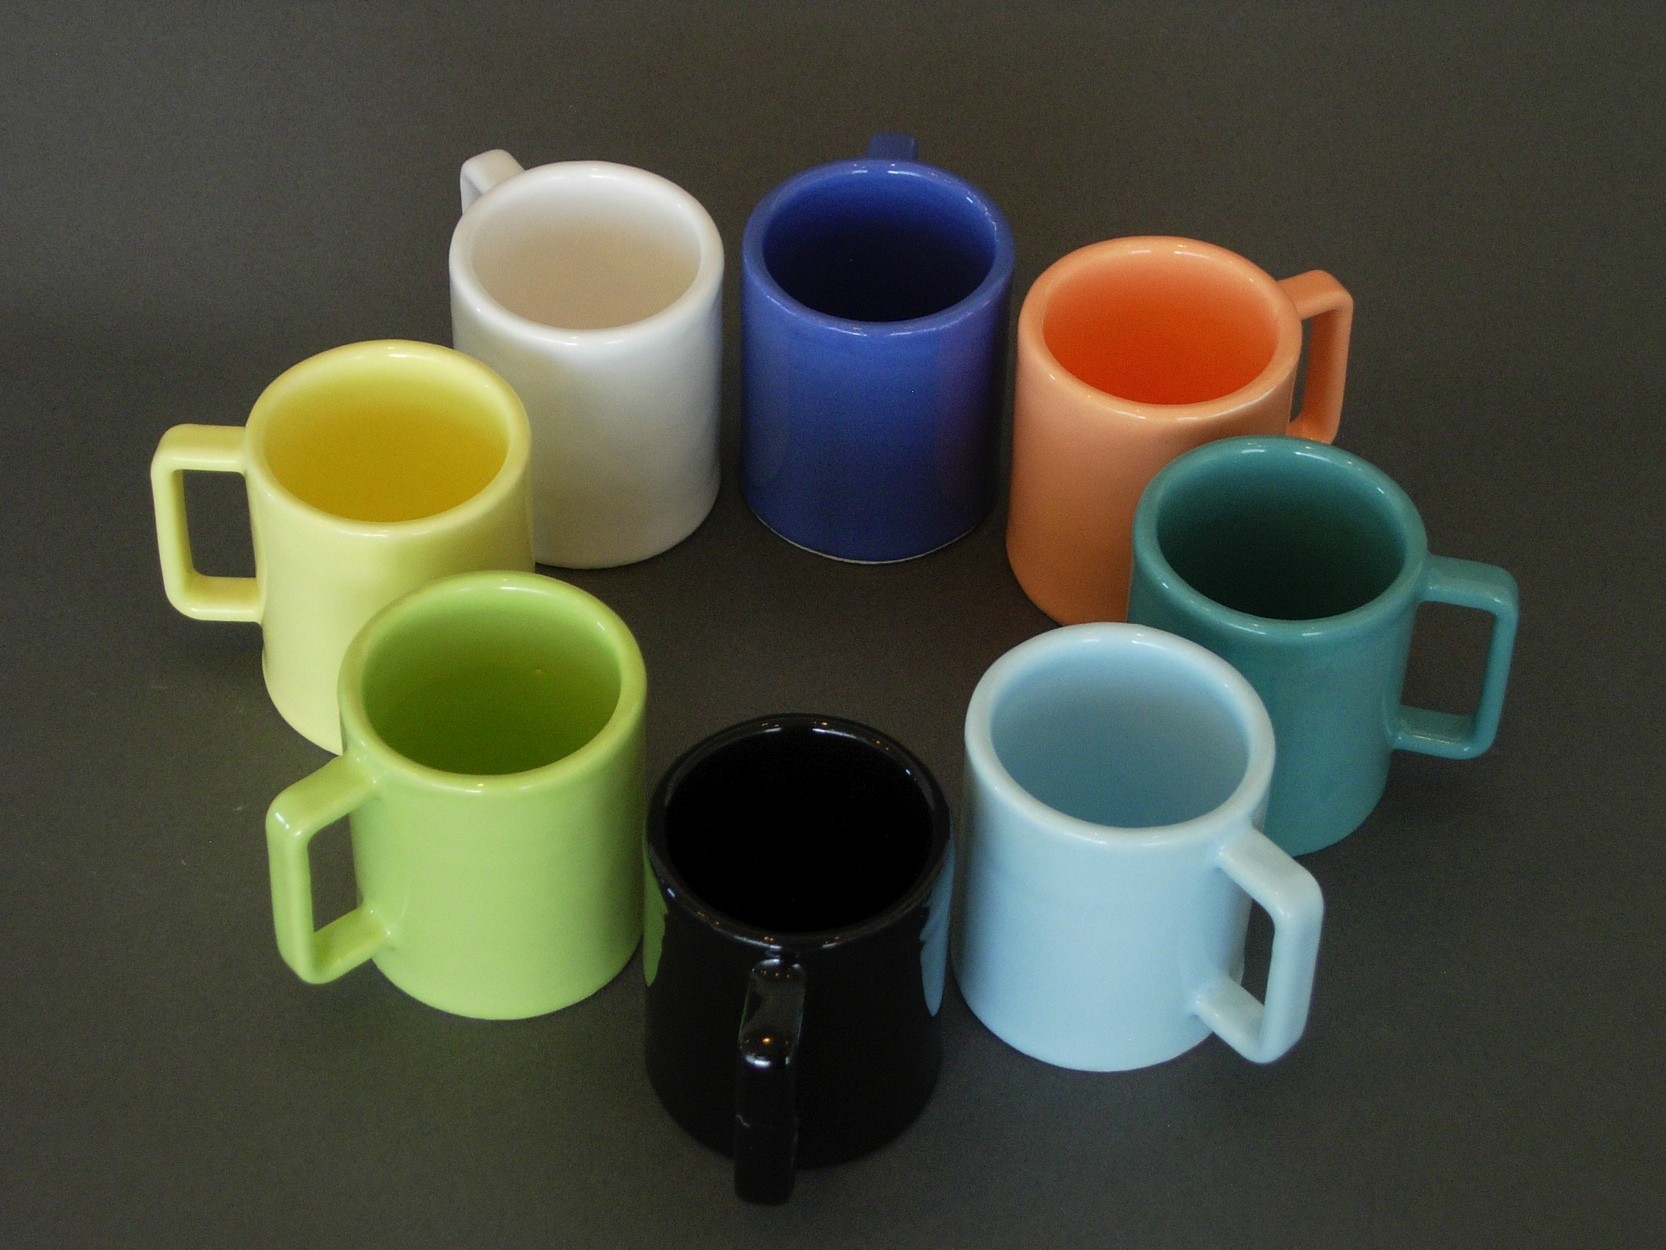
The color of your design depends on the color of the glaze. Sculpteo has 8 colors in 3D printed ceramic.
How Much Does 3D Printed Ceramic Cost?
The cost of printing your design with Sculpteo depends on multiple factors: 1) how much material is used, 2) how large your design is, 3) how long it takes to produce your design.
Although the ceramic and adhesive material is not particularly expensive, the process of firing and glazing the designs plus the careful handling and packaging take a considerable amount of time.
You can find out exactly how much it will cost to print your design by uploading your design file.
What’s the Easiest Way to Create a 3D Printed Ceramic Design?
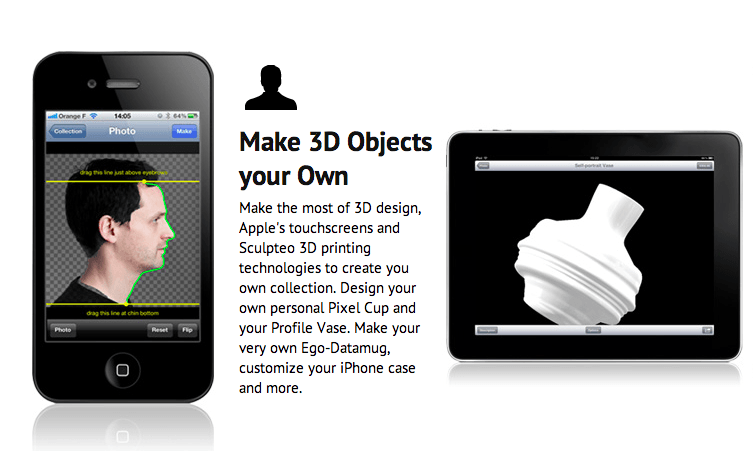
If you don’t know how to use 3D design software, you can use the Sculpteo App to customize a design like the profile vase shown below.


 Connect with Google
 Connect with Facebook