 Connect with Google
 Connect with Facebook
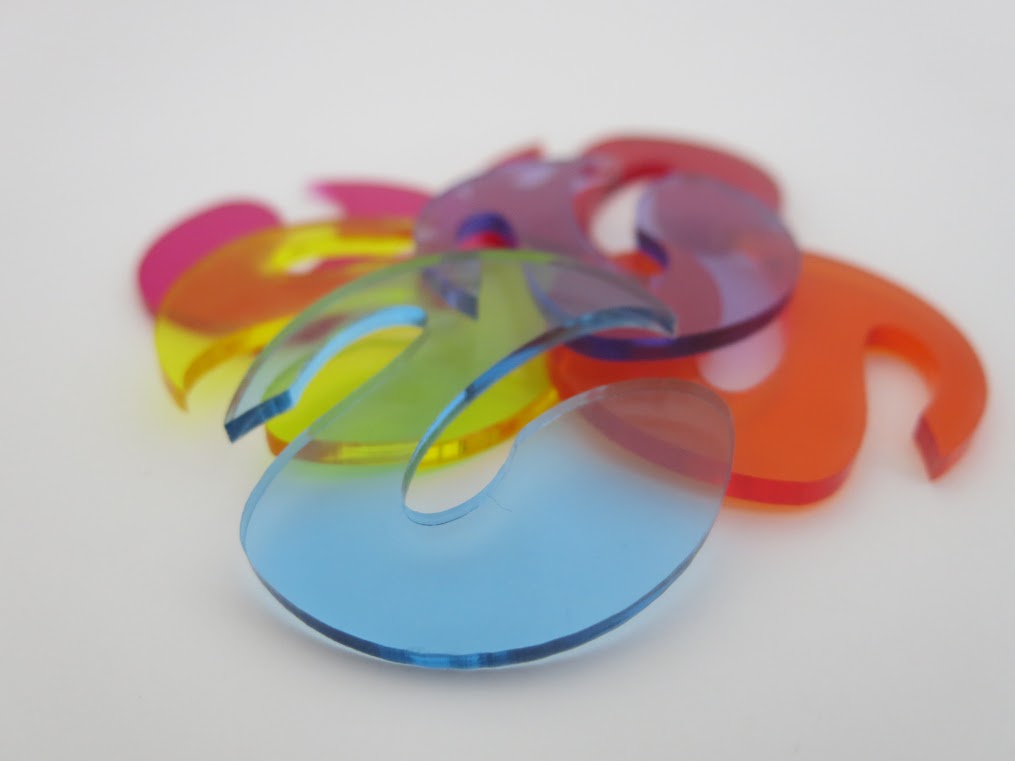
Create a trophy using Laser Cutting and 3D Printing
Posted By Nicolas Sadeghi on Jul 12, 2016 | 0 comments
With the launch of our laser cutting service, we are bringing you a new world of possibilities! Combining laser cutting and 3D printing, you can design beautiful creations and outstanding projects. Today, we’ll guide you through the creation of a trophy with laser cutting and 3D printing.
It will use the trophy base we made with laser cutting in our SketchUp tutorial. Of course, do not hesitate to customize it, and add customized parts to it.
For the second part, the body of our trophy, we’ll present two options: we can either laser cut it, and make a fully laser cut trophy, or 3D print it to give it some volume, and combine both techniques.
1 – Fully Laser Cut Trophy
If you want to fully make your trophy with laser cutting, you need to take into consideration the thickness of the material you are using. We invite you to first take a look at the materials available (we have more than 60 material options, varieties of our 4 main materials: plywood, cardboard, acrylic and MDF).
Once you’ve chosen your material, it is time to get the design ready. For the base of the trophy, you need to take the thickness of the material into account, as it will determine the width of the hole you have to do in the base to make the body fit. Make a hole slightly smaller than the selected thickness, in order to be sure that the next part stands still. We do so to compensate the kerf (a laser beam cuts and engraves material by burning its surface. When doing so, it leaves a kerf of a width that can vary, depending on the type of material and the thickness chosen. You need to take that kerf into account when designing your project. Check out the laser guidelines in each material page).
For the body, you are free to do whatever you want. Just make a bottom extremity with the width of the hole made earlier, and the length equal to the thickness of the base.
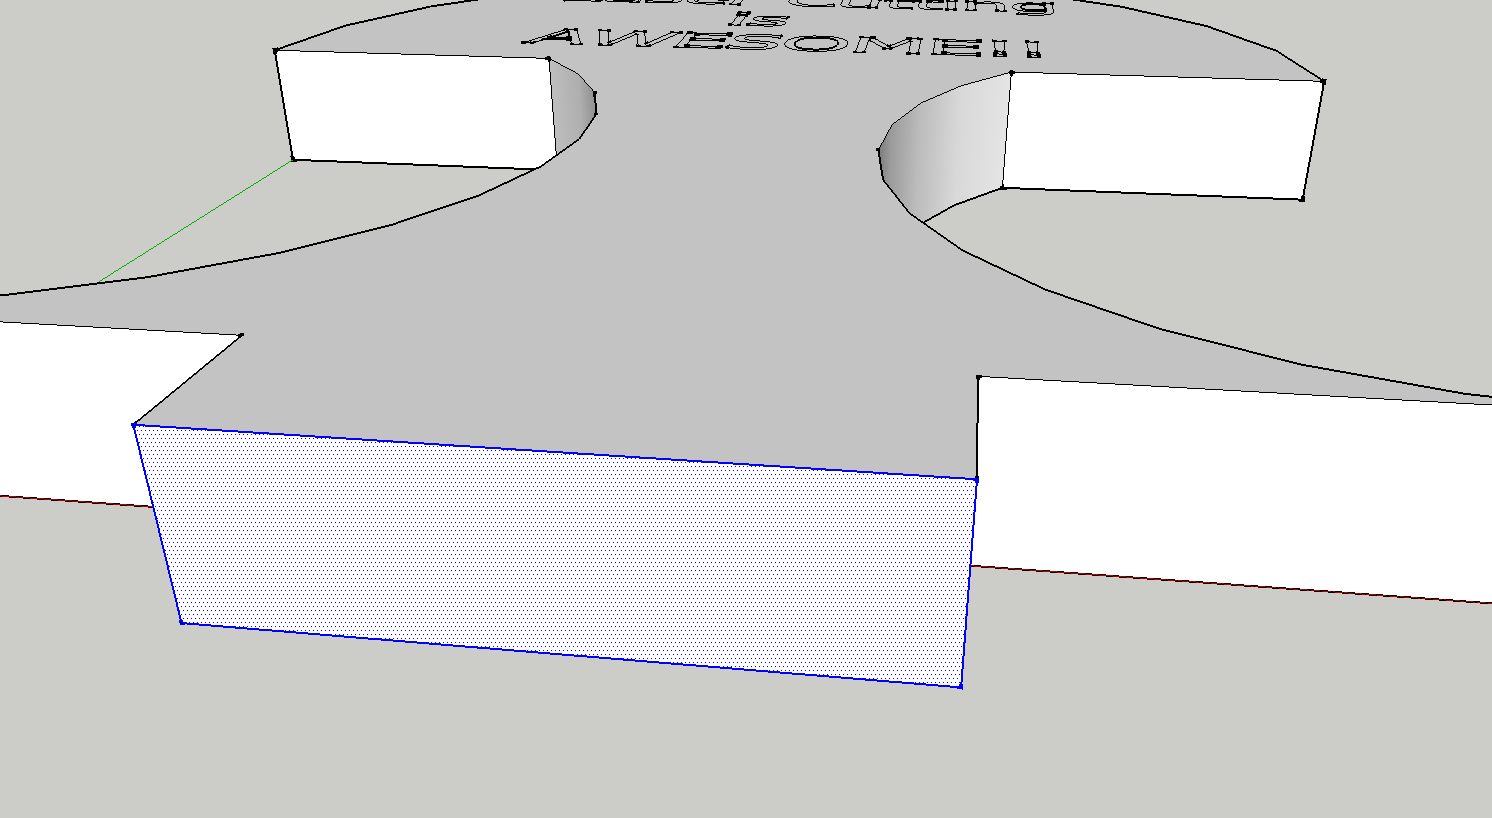
Use the measurements of the hole…

… To modify the bottom extremity!
If you are using SketchUp, clearly distinguish the parts you want to cut from the parts you want to engrave, with the FlightOfIdeas plugin. It will help you when you will upload your file to our website.
By using the laser cutting process, you will alter one side of the material. If it is a translucent one, a good advice would be to mirror any letters or non-symmetric design, as you will then be able to see them through the neat side (the one not transformed by the laser), giving the whole object a clean aspect.

Use the original design for opaque materials…
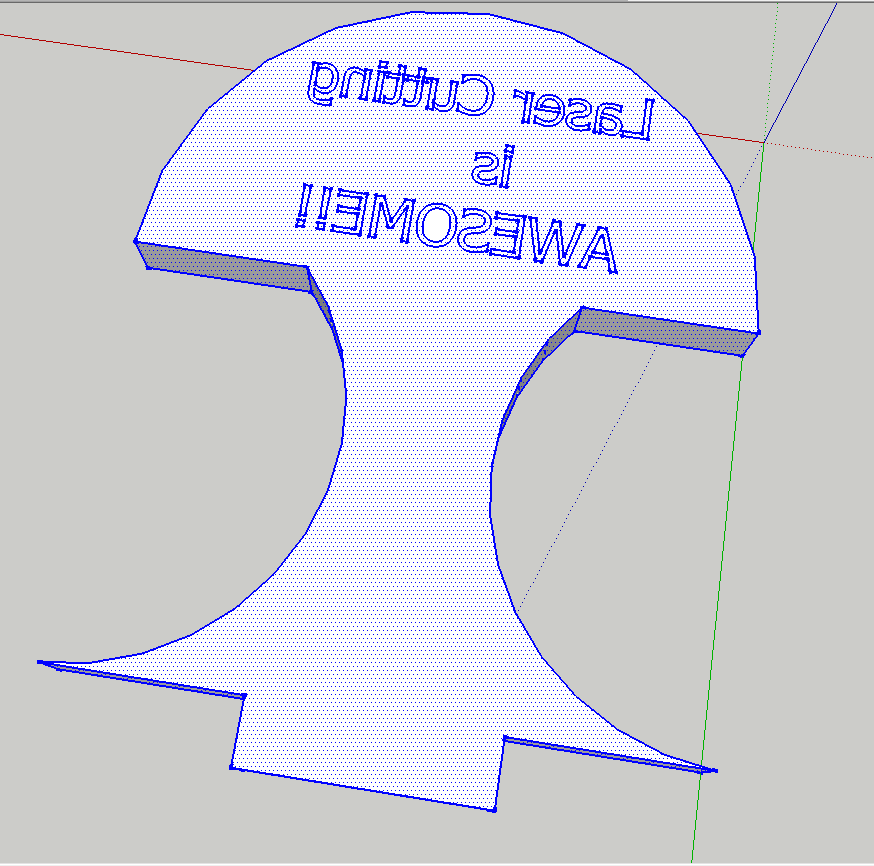
… And flip it for the translucent ones!
SketchUp provides you all the tools to write any text or to design a logo. Other software are also very efficient, take a look at our Top 8 Software for Laser Cutting, you will get a glimpse at the other options available.
2 – Trophy combining laser cutting and 3D printing
If you want to 3D Print the upper part of your trophy, you have even more freedom in the design.
First of all, choose the model you want to use, and make sure to have a flat surface on its bottom. Do not hesitate to make a plane cut if necessary.
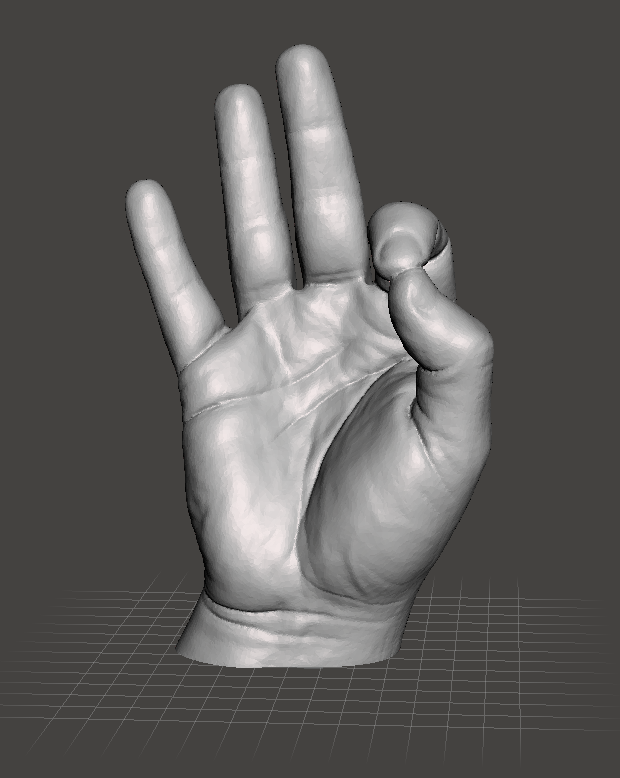
Let’s make a Hand Trophy!
Then, just like with a laser cut trophy, make a bottom extremity with the width of the hole. To do so, a lot of tools are available, such as MeshMixer. You just need to design them to the proper measures, and merge them with the original model. Use the Meshmix menu to do so, combined with the Transform tool to get it to the good scale.
Depending on the design, you may want to make more extremities like this (and thus more holes in the base), in order to stabilize the whole object.
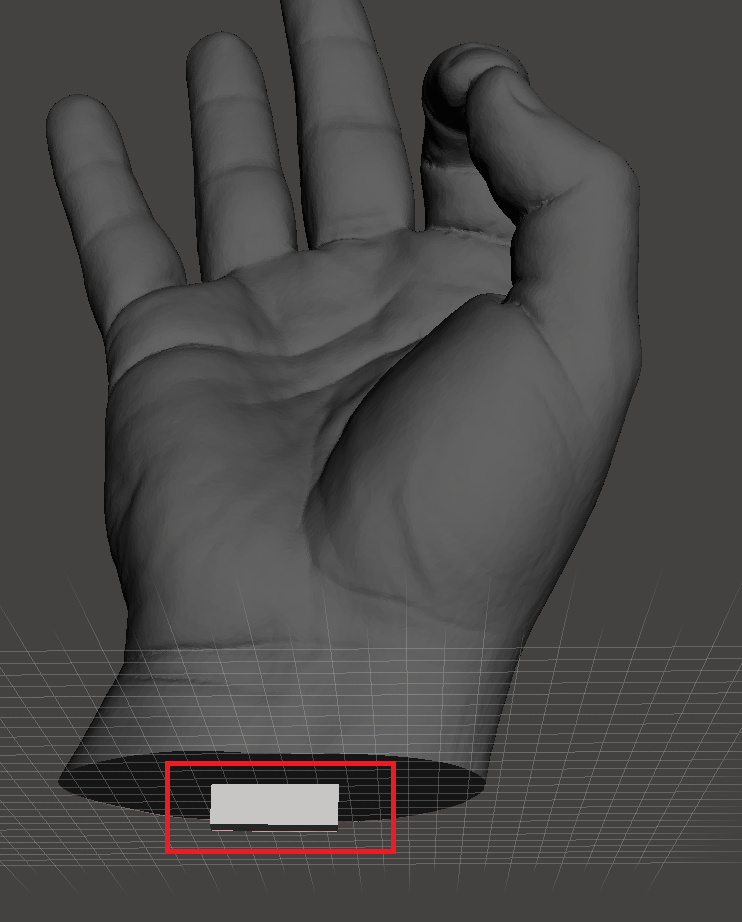
In our case, one extremity is enough
Again, it may be interesting to make the holes slightly smaller than the extremities of your creation, to make them fit without moving.
If you want to write anything on it, it is preferred to extrude the message instead of digging it in the matter. It will be more visible, and the result will be much better as no PA powder can be stuck in the model. The same advice goes for any logo or other ornaments.
You can find more information about our Beta program for Laser Cutting here, and you can start to upload your files here!