 Connect with Google
 Connect with Facebook
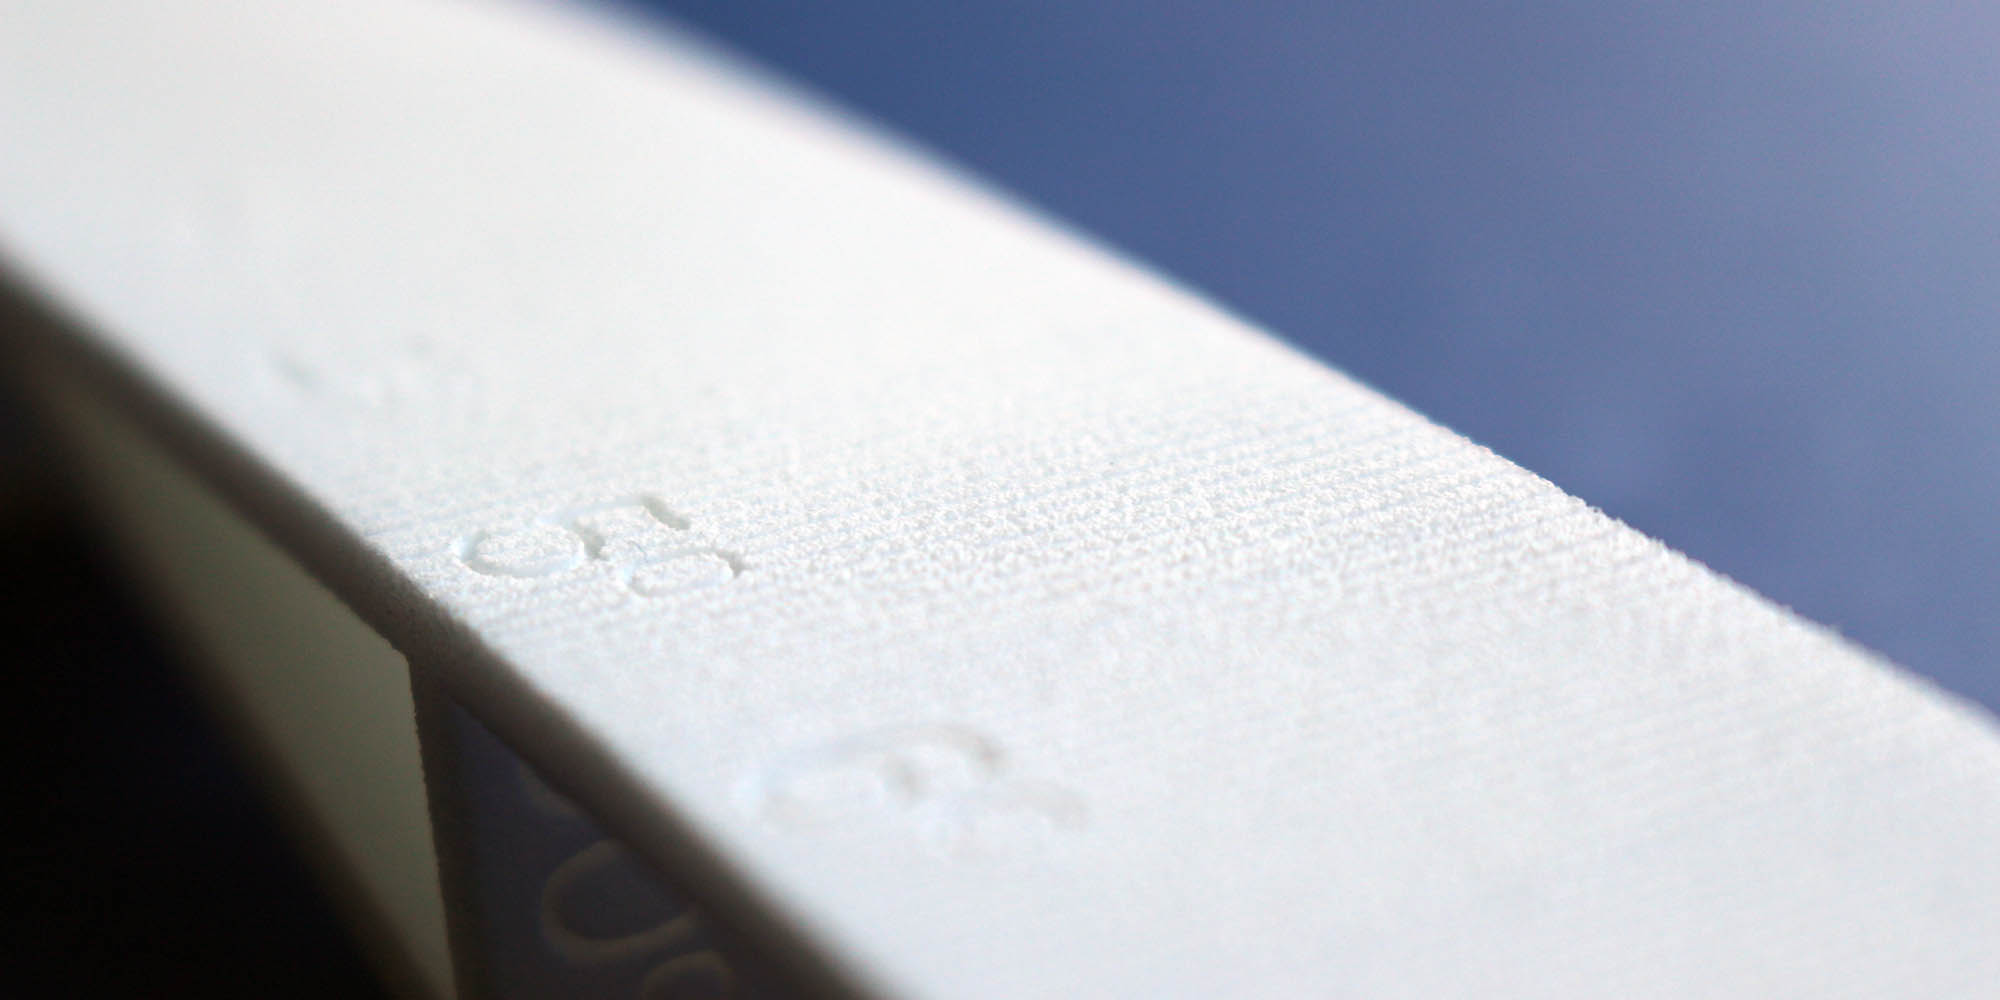
Make beautiful 3D prints: understanding the layer thickness
Posted By Arthur Cassaignau on Jul 29, 2015 | 0 comments
Creating a successful 3D printed object first requires you to anticipate the outcome. Our material pages are there to help you understand your design’s constraints, and provide you with material datasheets, etc. The important question is how 3D printing will render the object and what will be the result. We have therefore created an object to help you see the end product created by 3D printing when using layer-by-layer construction. The objective is to show you what causes 3D printing’s “staircase effect” when printing in plastic with Sculpteo, as well as provide you with a few suggestions to improve the outcome. Working on the layer thickness is the key.
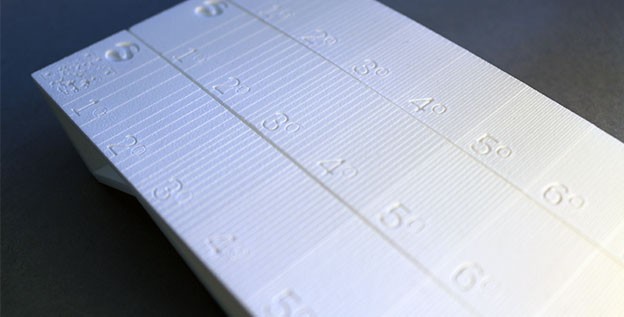
3D printing uses a layer-by-layer technique that creates a staircase effect when an object is printed. This effect is caused by the offset between an object’s printed layers when its curves vary, and it is more noticeable on oblique and curved surfaces. To highlight this, the model we created features a varying slope, thus enabling you to see the difference between curves ranging from 1° to 10° on the same model. The file contains 5 slopes in total, with the first ranging from 1 to 10° and the others showing the effect of layer-by-layer fabrication on 20, 30, 40 and 90° slopes, in a consistent manner.
The Staircase Effect
Sculpteo’s standard printing uses 100µ plastic layers. This means that for every additional layer, the object grows by 100µ. The staircase effect is generated by the offset needed between two layers in order to create a slope. It is the relation between the thickness of a layer and its offset when compared to the previous layer. For this reason, when examining the incline of a curve, it is not uniform. An object with a 10° slope will also have more “steps” than a 1° slope. This paradox is due to the fact that on a very gradual slope, the layers are much more visible. This is because there is greater spacing between one layer to the next. The two schemes bellow are a good help to visualize it:
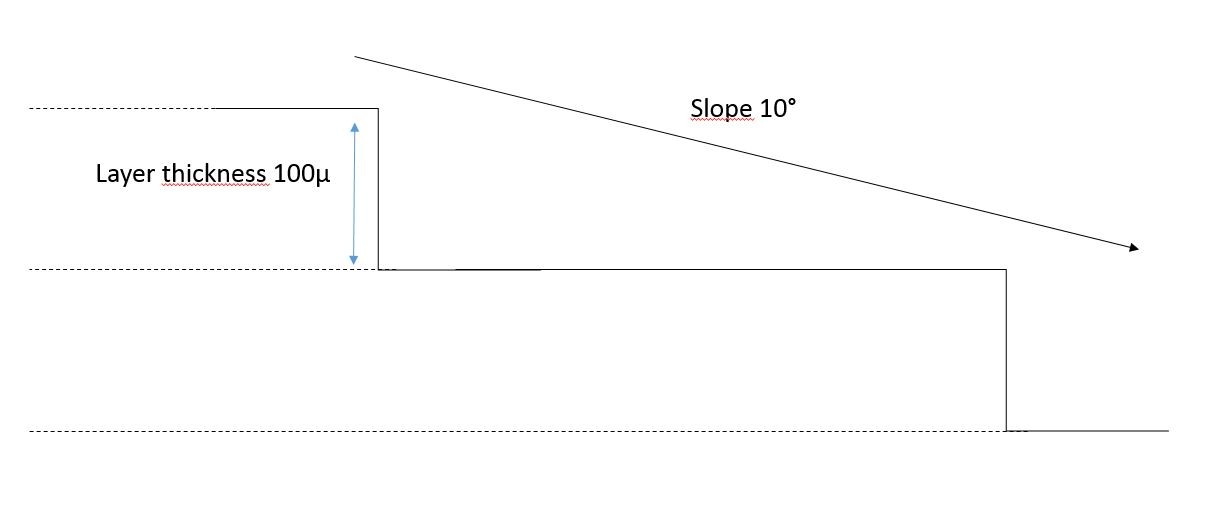
Representation of 3D printed layers on a 10° slope.
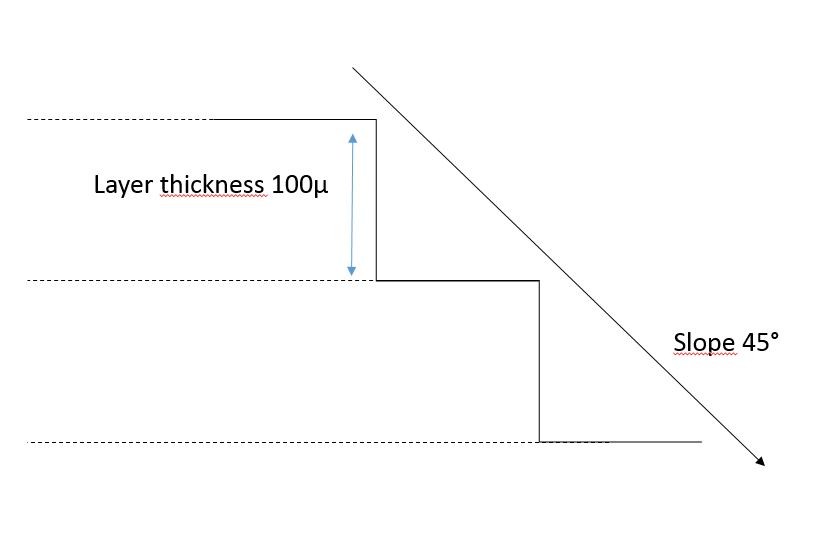
Representation of 3D printed layers on a 45° slope.
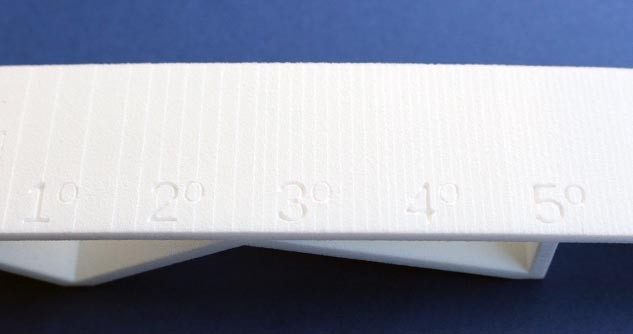
Therefore, an object with a steep slope will seem more regular than an object with a gradual slope. For example, a 90° slope will appear much smoother than a 5° slope. The photos below help illustrate how the staircase effect varies according to the slope.
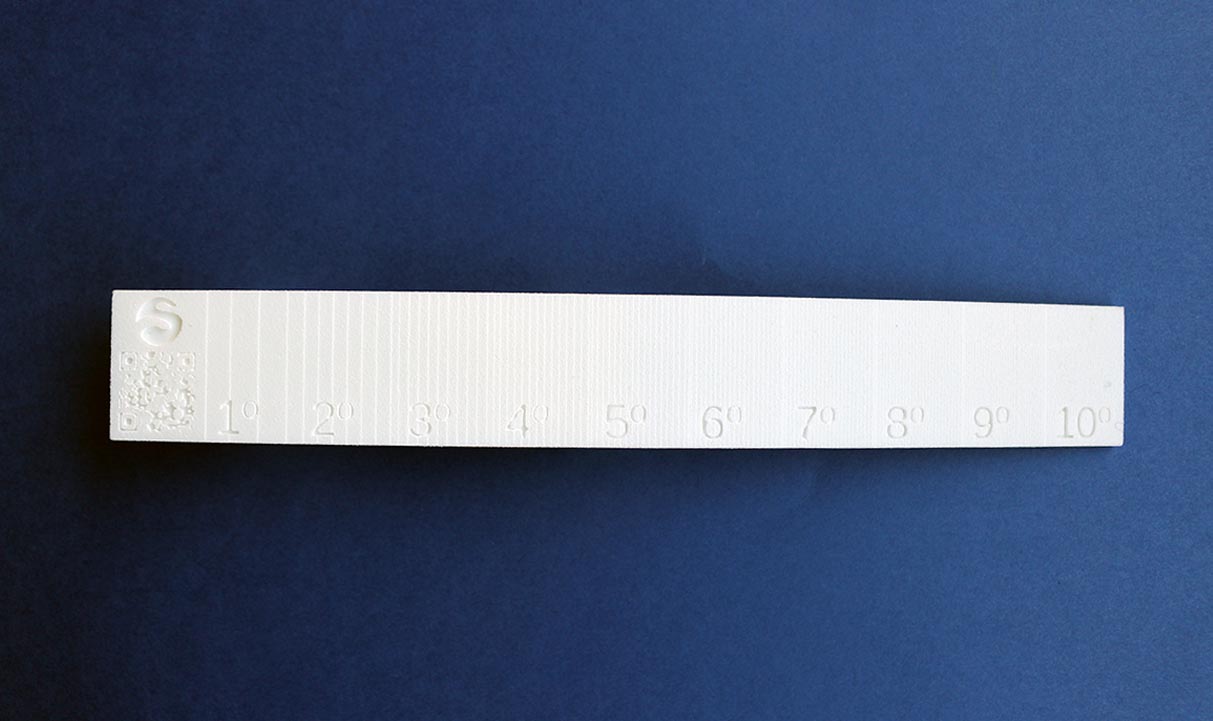
This photo shows staircase effect according to a slope from 1° to 10°.
This photo shows staircase effect according to a slope from 2° to 4°.
Polishing to the Rescue
In order to mitigate this effect, you can polish the object. Polishing will make the different layers more uniform, which will make the object smoother.
From the left to the right: Plastic part with 100µ layer thickness, 100µ layer thickness plus polishing, and 60µ layer thickness
To obtain an even higher quality, it can be double polished. However, use caution when doing so as there is a risk of damaging delicate parts. As a safety measure to prevent damage, certain objects should not be polished.
60µ vs. 100µ
We are also able to mitigate the staircase effect by printing with a layer thickness of 60µ. However, it will be more difficult to produce the object using 60µ than with 100µ, quite simply because the object will have more layers. Printing with a lower layer thickness does not generate a more detailed result, but it does ensure a smoother surface as well as a less noticeable staircase effect. To learn more about this subject, consult our post about design constraints when printing in 60µ.
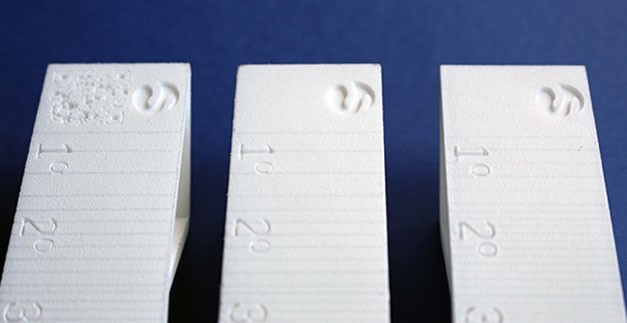
From the left to the right: Plastic parts 3D printed with a layer thickness of 100µ raw, 100µ polished and 60µ
It’s possible to see that both the polishing and the 60µ layer thickness parameter is giving smoothness to the part. We hope this helps you make the best choices when it comes to choosing the printing parameters for our plastic material. If you have any question, of course feel free to shoot them.