 Connect with Google
 Connect with Facebook
Thickening is here to stay
Posted By Arthur Cassaignau on Feb 3, 2016 | 0 comments
Our regular users know that Sculpteo is all about empowering you to make the most out of your 3D file. We keep on building exciting features so that your 3D file can still be optimized online without having to go back to your CAD software. Among the specific online 3D tools that we developed, there are Hollowing (to hollow the inside of your model), the Solidity Check (to test the solidity of the future object), our tool to analyse and repair your 3D file and of course Thickening, that lets you automatically thicken your model when it’s too fragile. After months of Beta, we’ve decided that the tool is here to stay. It’s a good occasion to let you know a little bit more about it.
The solidity of a future 3D printed object depends on many things, but there are two key basic factors to understand: the size and the material that is used. Depending on the kind of model you are working with (mechanical part or a decorative part), you can either play with one factor or the other and sometimes even both. To help you with this task, the list of our 3D printed materials will let you know more about the solidity and minimum thickness of each material.
Of course, the orientation of the print plays a role but not so much for a “regular” or “non-intensive” use of a 3D print. It’s rather the case when a 3D print is submitted to high loads or high weigh. In this case, depending on whether the forces applied to the objects have the same direction as the layers of the 3D print, the impact on the resistance of the object will be different. In other words, for very specific uses and qualified objects you’ll want to make sure that you can select the printing orientation. (By the way, this is something you can do with our Batch Control feature, which lets you select the orientation of a plastic 3D print).
How to verify the Solidity of a design
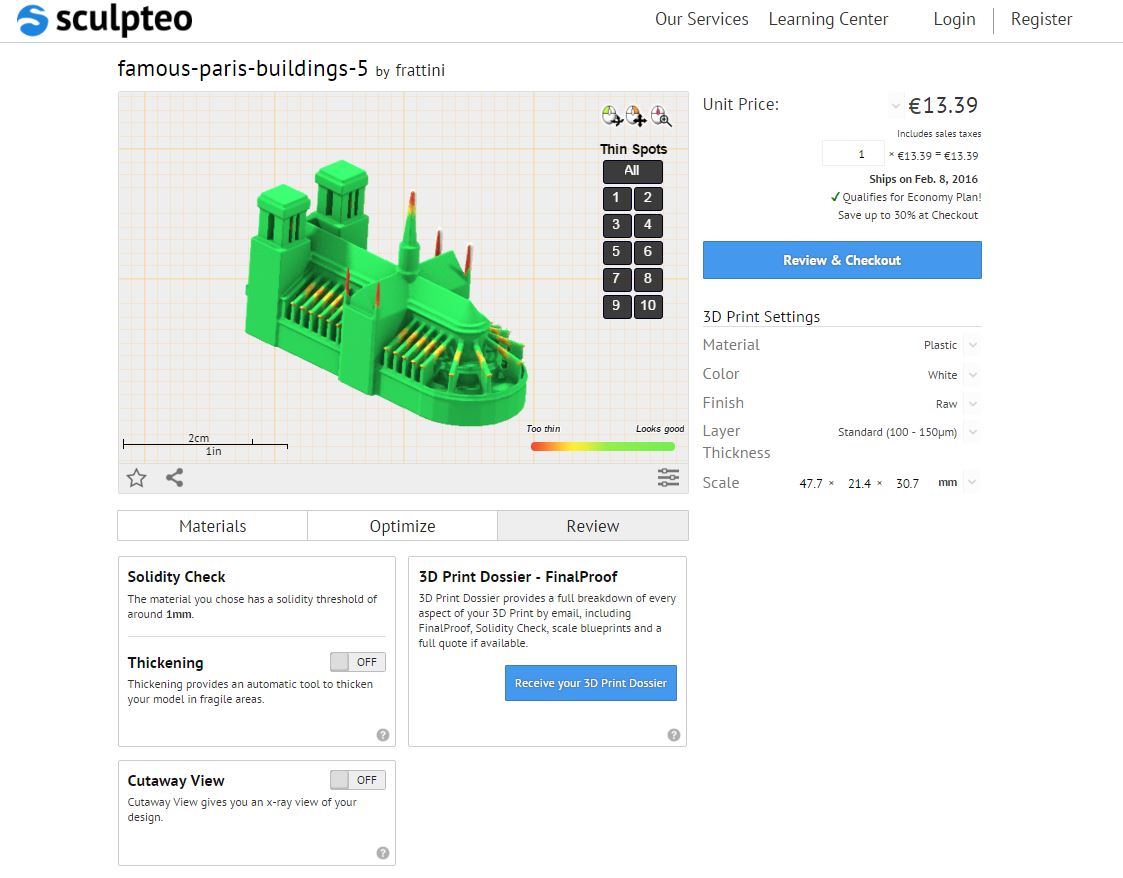
The “Solidity Check” is among the first tools we developed to let you order your 3D prints online with as little surprises as possible. In a nutshell, it’s a visual simulation of your 3D print’s strength. It’s fairly easy. If your model is all green, it’s a go. If you’ve got big red areas, you should consider to thicken them, make your print bigger or change your printing material. Now there is more to it. We’ve just improved it by making the “thickness measurement” feature of the solidity check a bit more user friendly.
When you order online from a 3D printing service, the strength and solidity of your future 3D print is a big concern. It’s even more important than every 3D printed material don’t have the same characteristics. For instance, when 3D printing in our plastic material, the minimum thickness is one millimeter, while it goes up to two millimeters if you use the multicolor material. (By the way, you can find all the design requirements for our printing material on this page.)
This is why we created the Solidity Check as a dynamical tool. It automatically updates the result as you’re changing the settings of your 3D print. For instance, modifying the printing size or the material will give you a different simulation of the strength. That way you’ll know before hand if printing your object is possible or not. The solution might just be to make certain section of the design bigger so that they become printable.
How to Use our Thickening tool
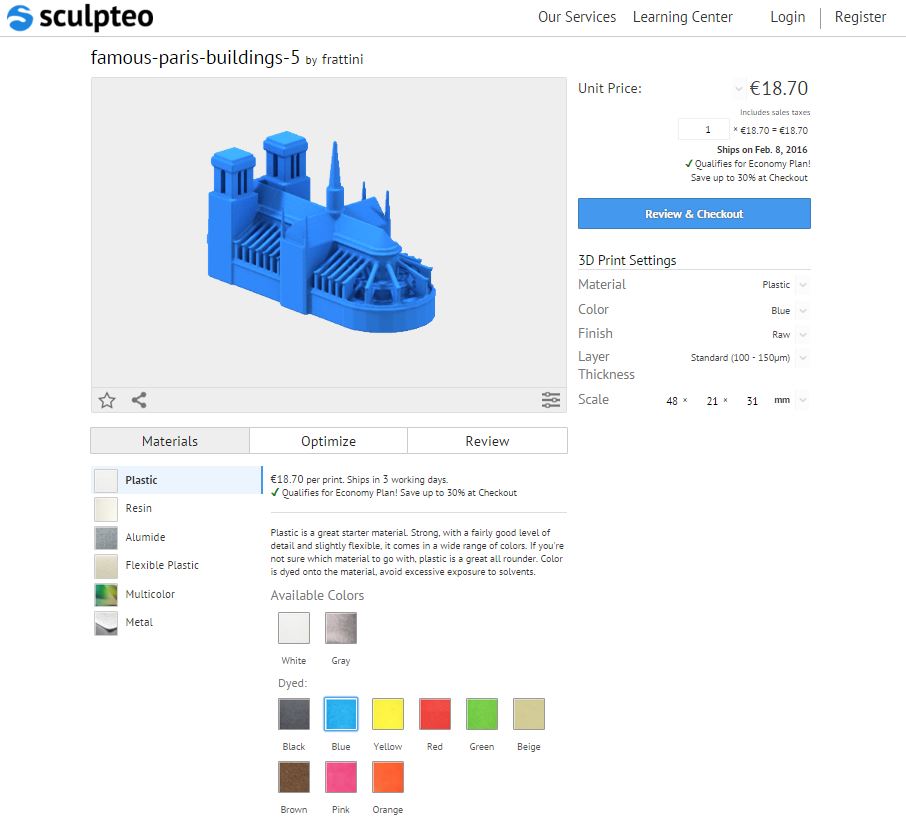
Our Thickening tool is available on the “Print Page” (meaning the page where you can select all the printing options, get a price and a delivery date). Once you’ve selected the different printing options, you can go into the review tab of the page (located just underneath the 3D viewer) to go on and check the solidity.
Clicking on ‘Review’ below the 3D viewer will display the parts of the model which are too thin to print in red. We’ll walk through how the new Thickening tool helps you fix these issues in a single click.
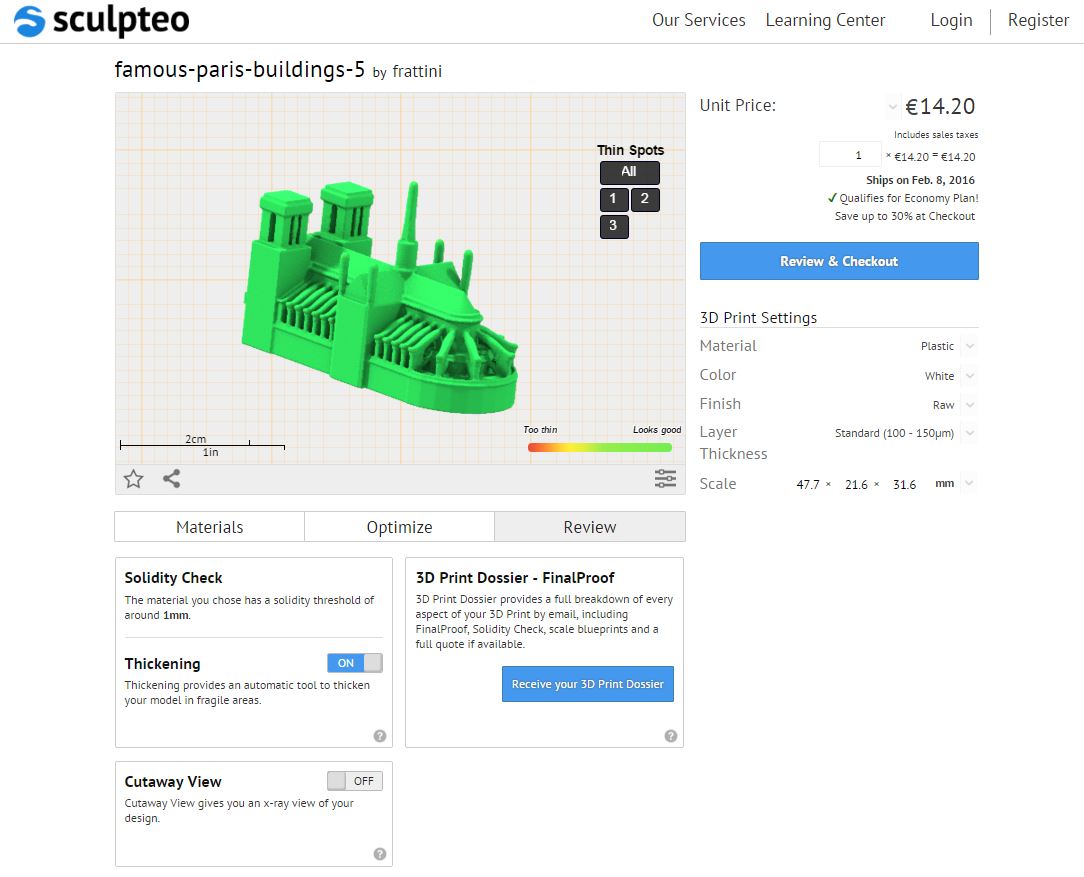
Then, at the bottom of the screen, switch the Thickening tool from OFF to ON and watch as your model is thickened. Keep in mind that this process may take a couple of minutes depending on the size and complexity of the model. After the thickening tool has finished, you will note that the entire model should turn from red to green (meaning it is now printable) with the minimum of disruption to your design intent and you will be given a price and the option to Review and Checkout.
You can also try but using this awesome skeleton model.
How It Works
Instead of inflating your existing geometry, which generally distorts it, our thickening tool recreates a new mesh that envelopes your design, which we found to be the best way to conserve design intent in the majority of cases. Bear in mind that your design is nonetheless modified and that you should double-check in the viewer that multicolor designs have not been too distorted, for example.
If you have any other questions about the model’s processes, feel free to contact us — or try it out yourself!