If you have any trouble logging in to your account, contact us.
Sign Up
To start 3D printing or Laser Cutting, you'll need to create an account here. Once done, you'll be able to upload your files and get live quotes of yours parts
By clicking on “Create my account”, you give Sculpteo the authorization to process the information submitted above to create your account on the website. By clicking on corresponding boxes, you give Sculpteo the right to send you by mail its newsletter, news from its blog and/or commercial communications. To know more about how Sculpteo processes your personal information, you can check the privacy policy.
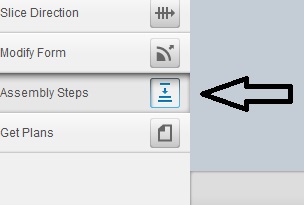
Select “Assembly Steps” on the left side of the menu. This option enables you to see step by step how you will assemble the 2D parts that you will laser cut in order to create a 3D model out of them.
You can view the assembly steps in any construction technique. Though, for thisexamplewe set the “Construction technique” back to the “Interlocked Slices” one as indicated in paragraph 1.4. At the bottom of themenuthere are a progress bar and some arrows.
They indicate the progress of the assembly process. By clicking on the arrow, you progress one step at the time.
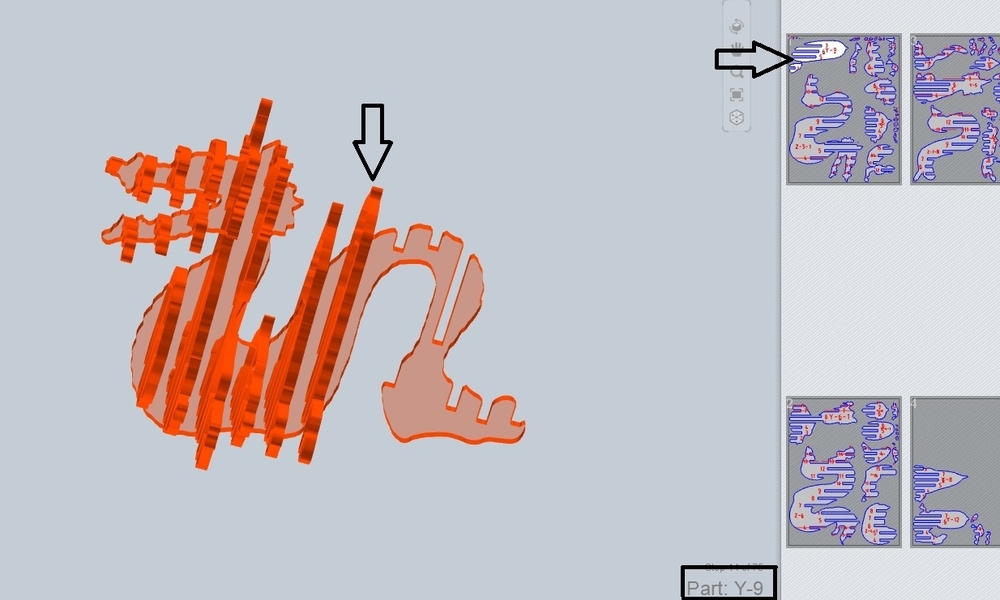
The procedure of the assembly of the 2D parts is dynamically changing. This means that, as you progress and you add more slices step by step, you get additional information. Depending on at what step you are, the part and the sheet that you are currently using are indicated. The pictures below show all these connected information.
With “Slicer for Fusion 360” you can visualize you 3D model in three different materials, commonly used in Laser Cutting: Cardboard,Plywoodand Plastic. To do that, go to “Assembly Steps”. Then, on the bottom of the menu select the material option you want.
The “Cardboard” effect would look like this:
If you select “Plywood” material you will get this:
The simulation with the “Plastic” material should look like this: