 Connect with Google
 Connect with Facebook
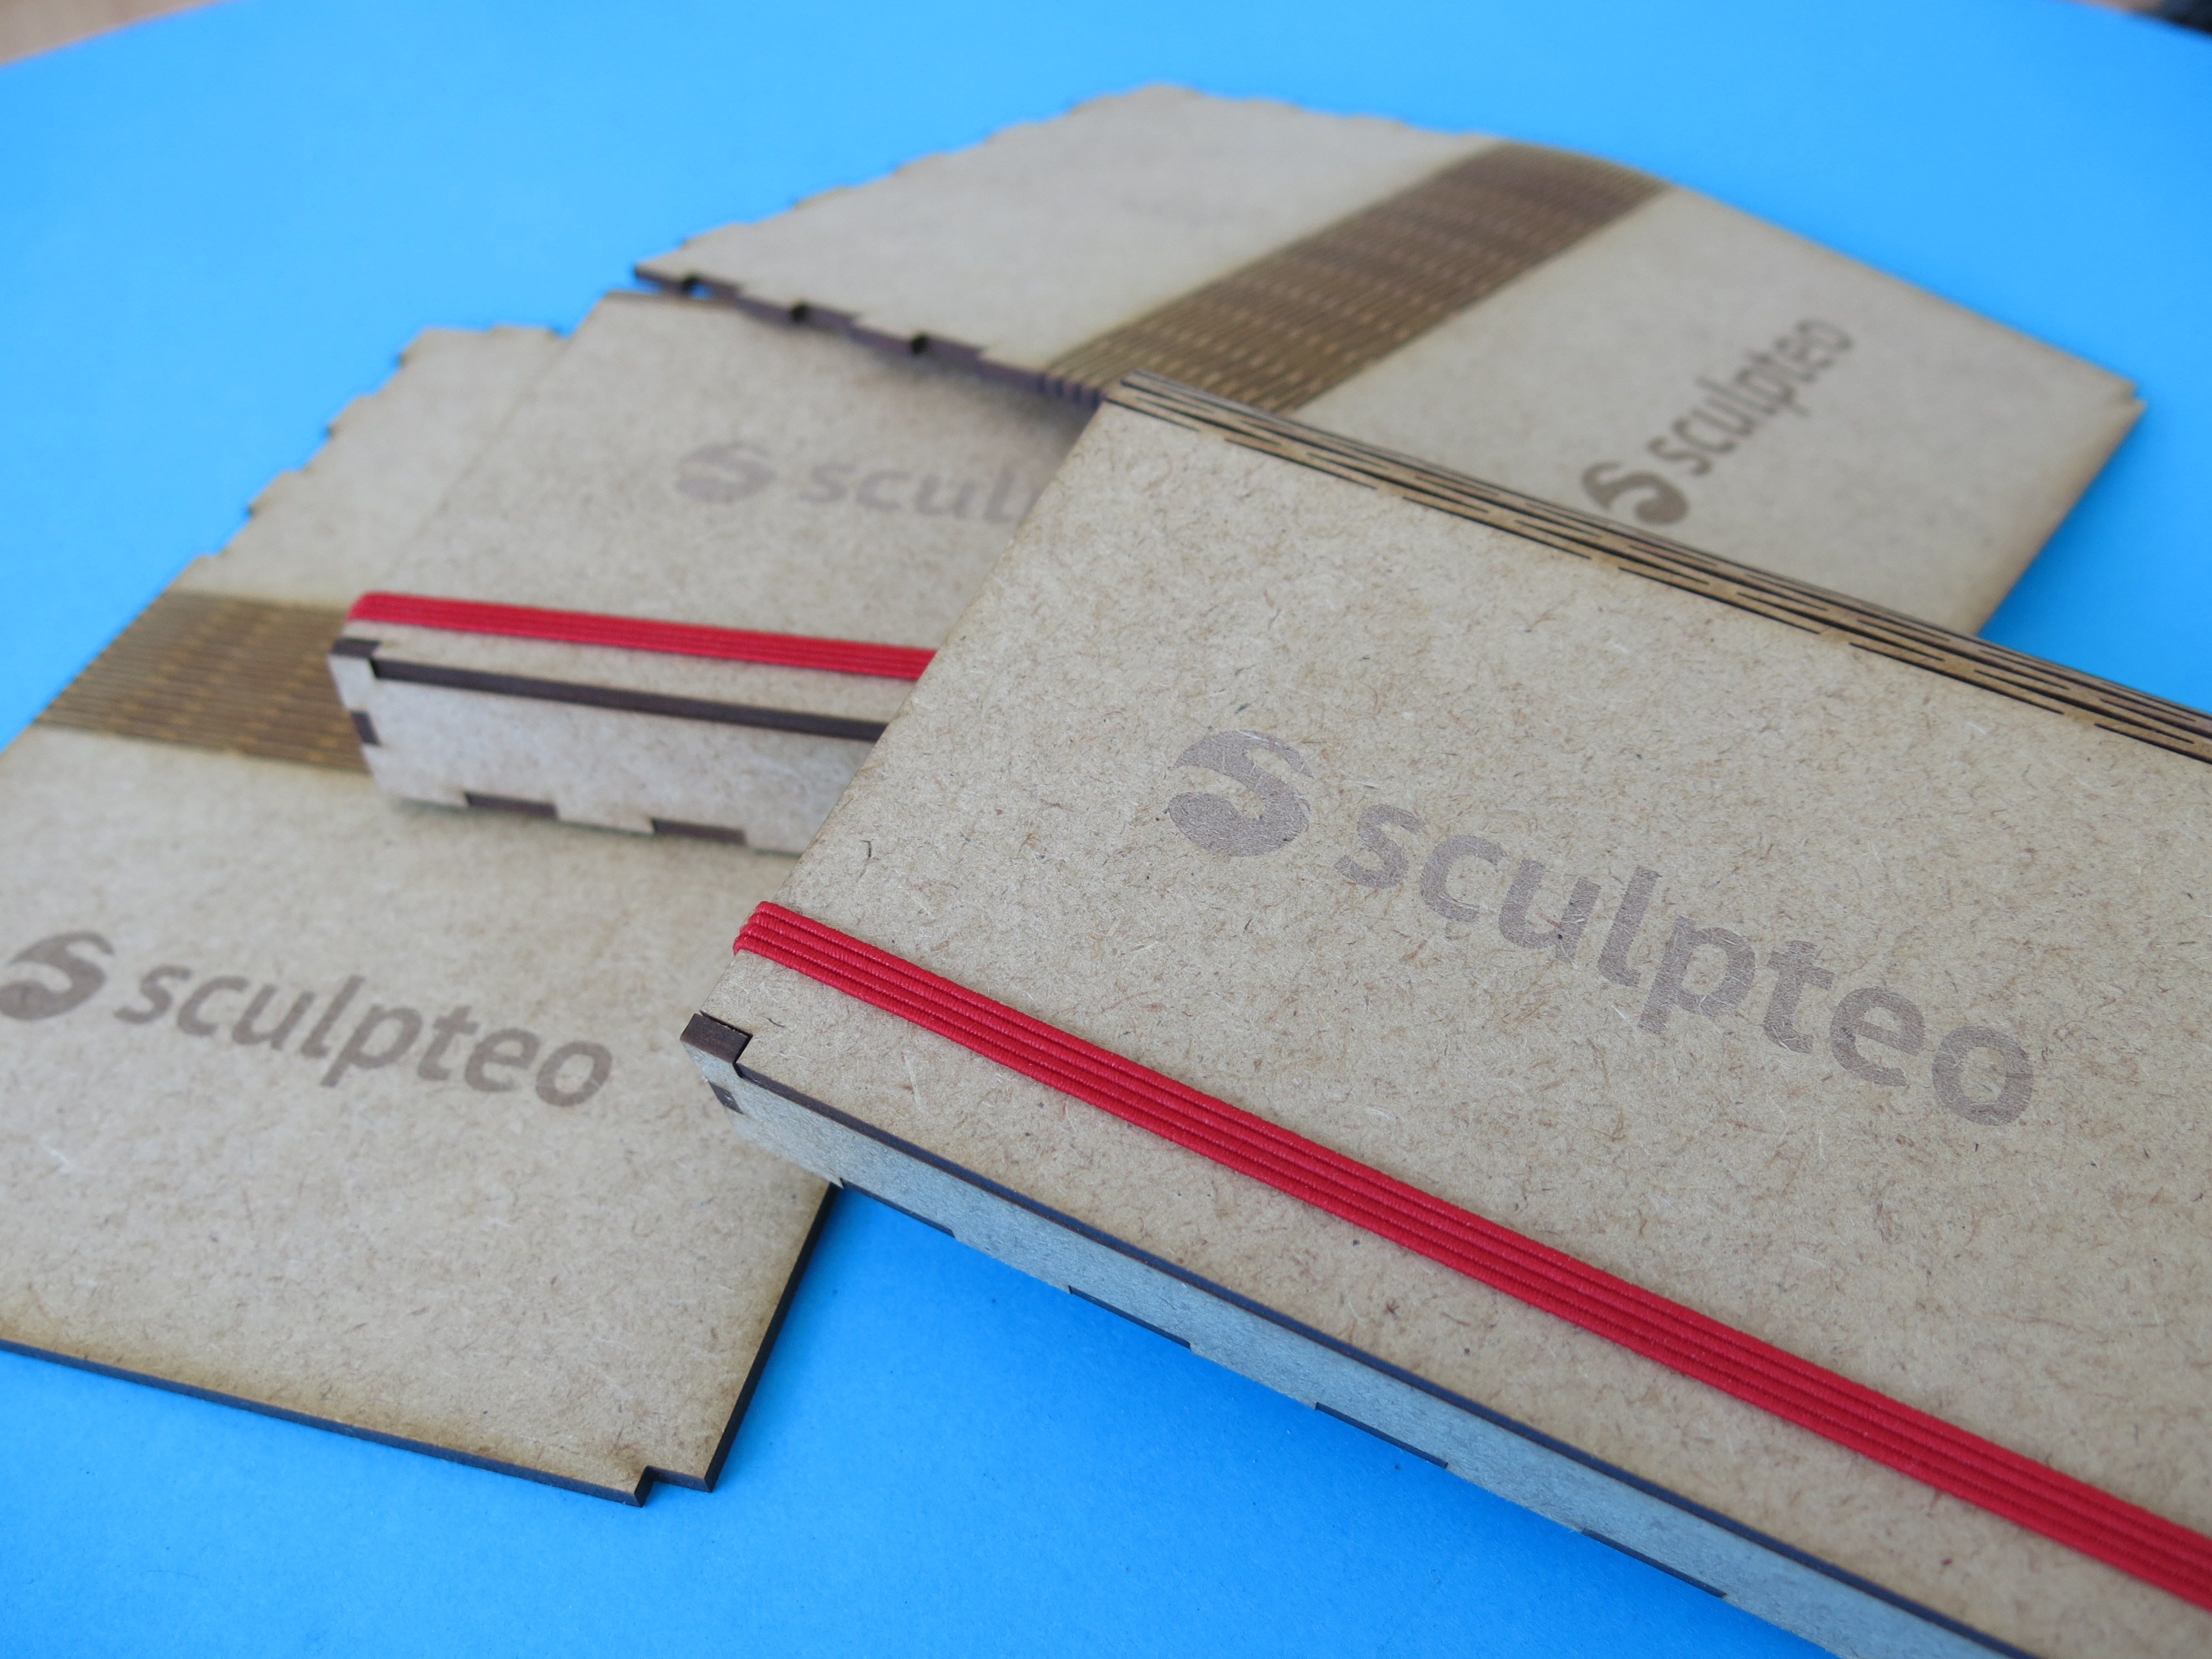
Living hinges in laser cutting: put a twist into your 2D objects!
Posted By Nicolas Sadeghi on Jul 19, 2016 | 0 comments
Laser cutting is a fascinating process, which enables you to create beautiful objects, most commonly in 2D. However, there are some techniques that exist and that allow you to create 3D objects from flat materials. Among them is what we call living hinges.
How do living hinges work?
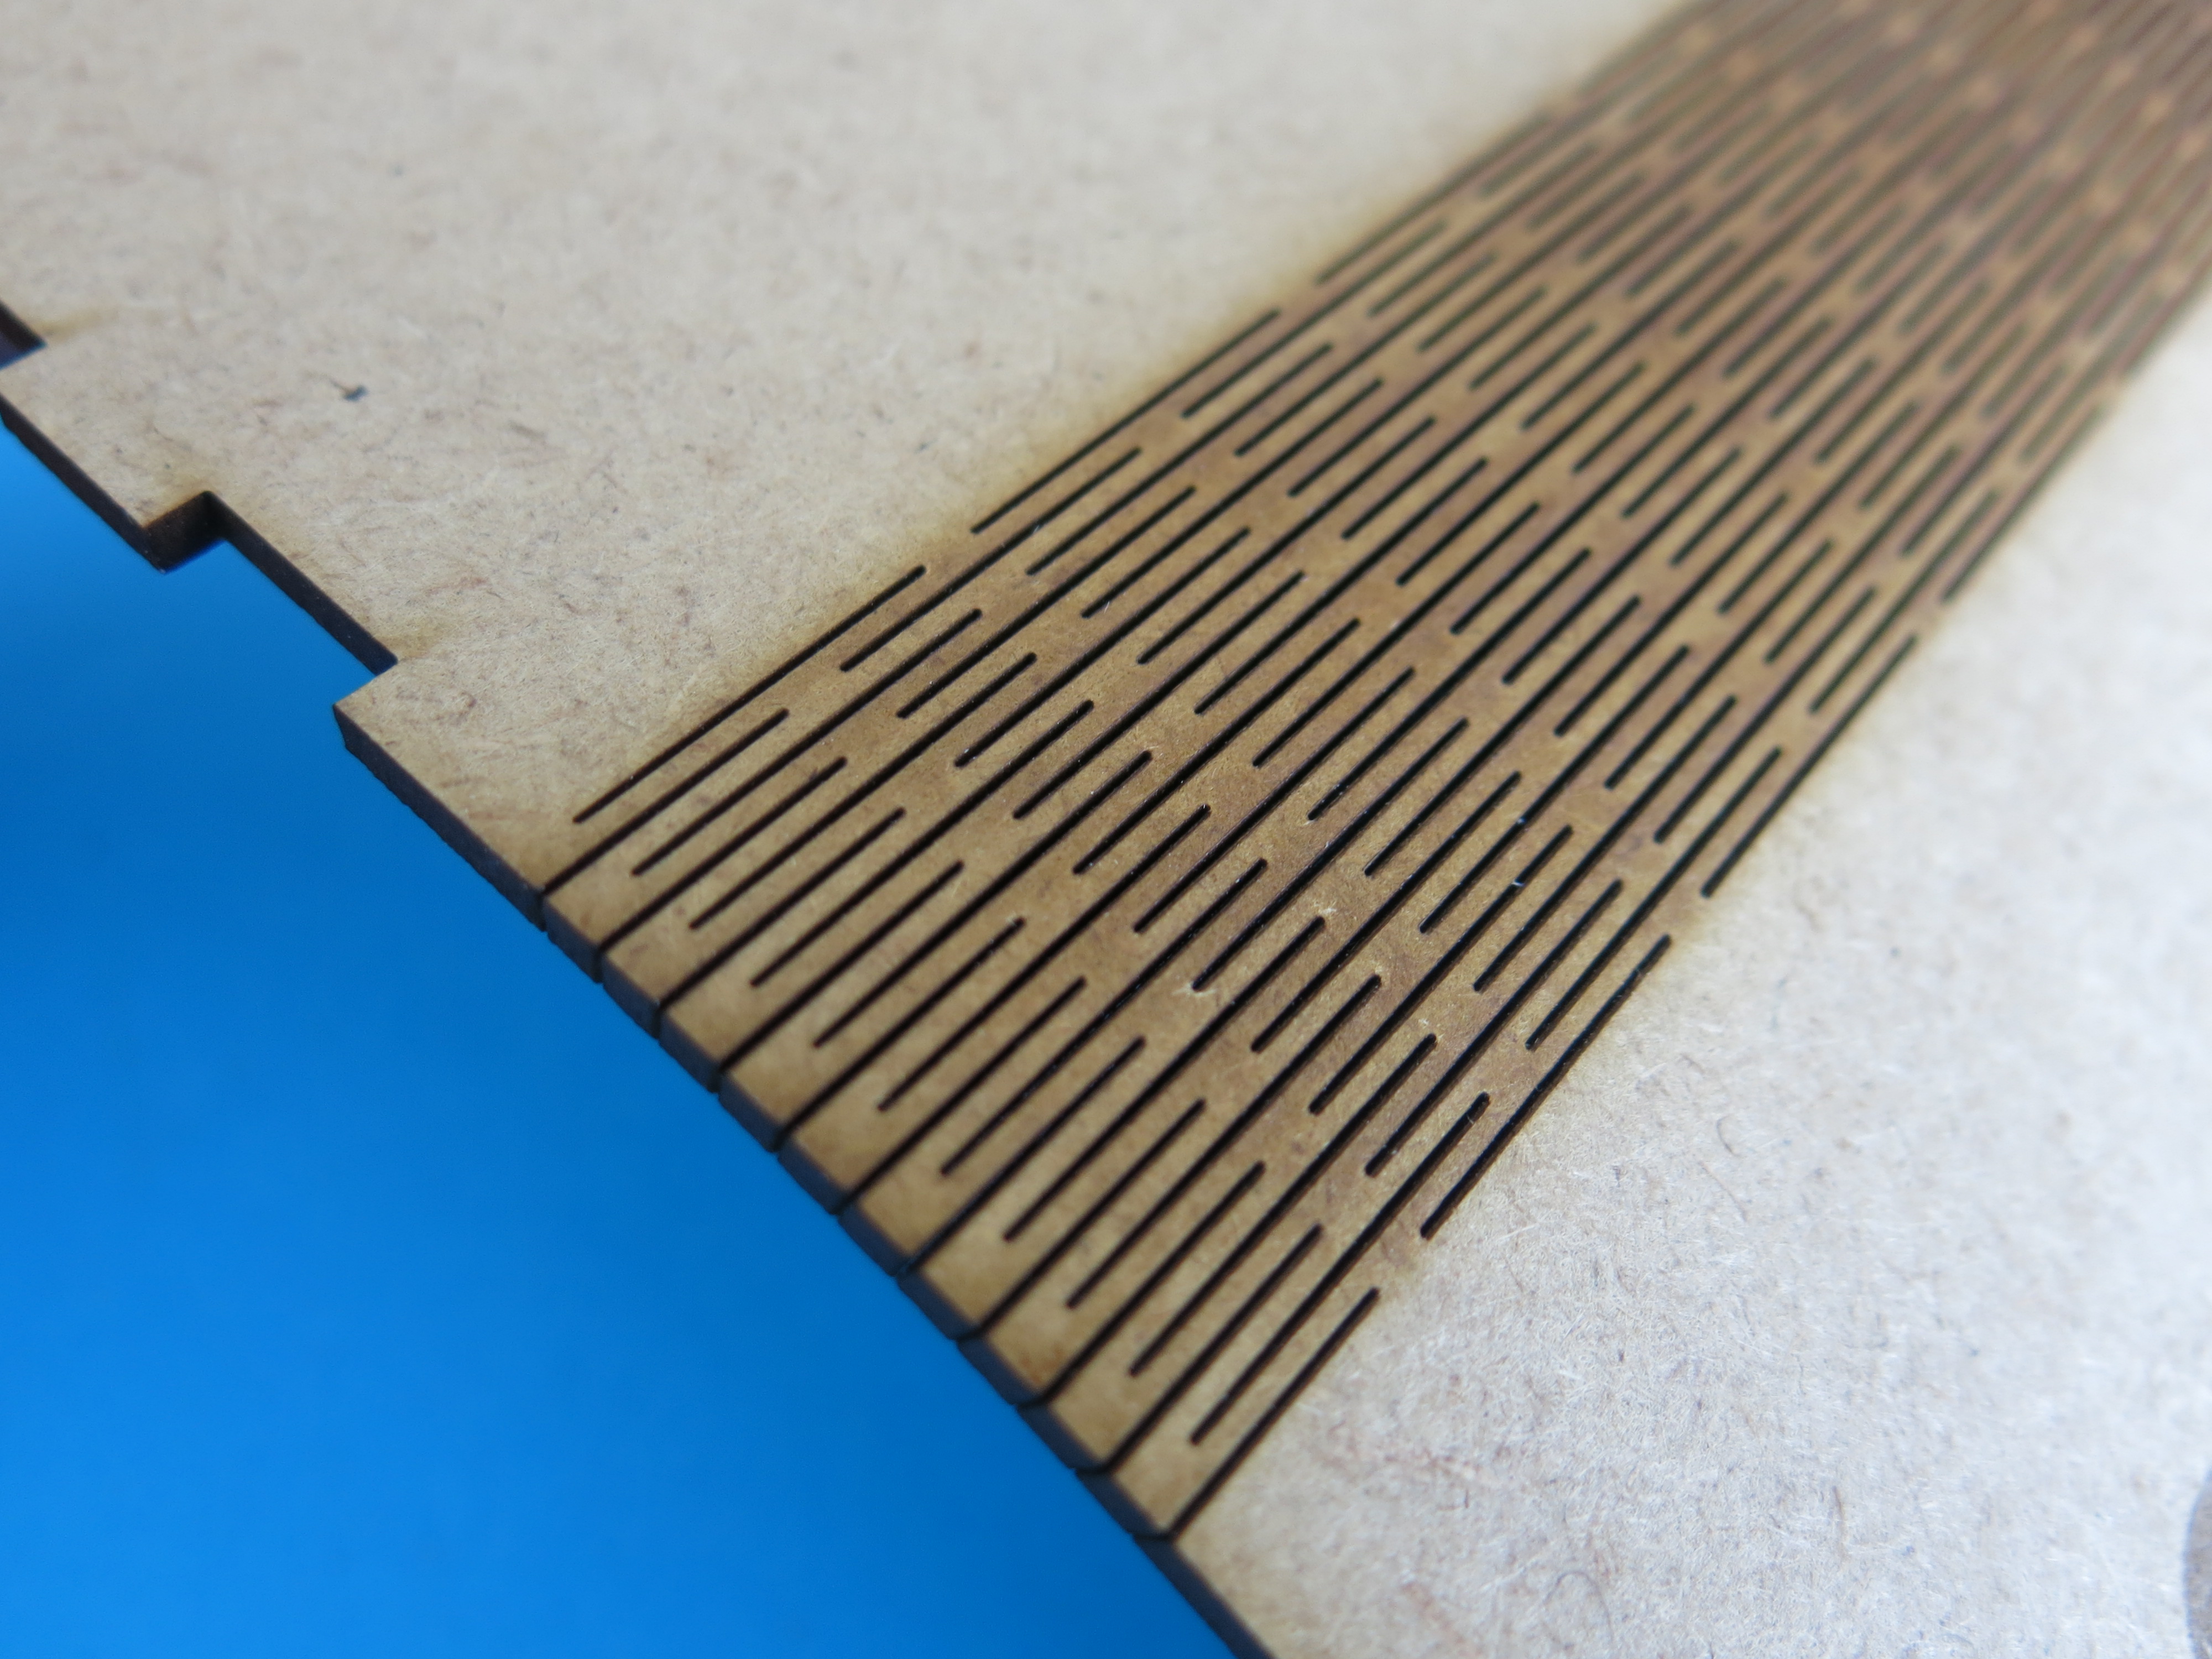
This method allows you to bend flat and rigid materials by cutting long and thin strips on the surface, without separating them. Each little strip can rotate slightly. When you add up all these rotations, the whole material bends in a more significant way. The process is quite similar to kerf bending.
Basic example of Living Hinges
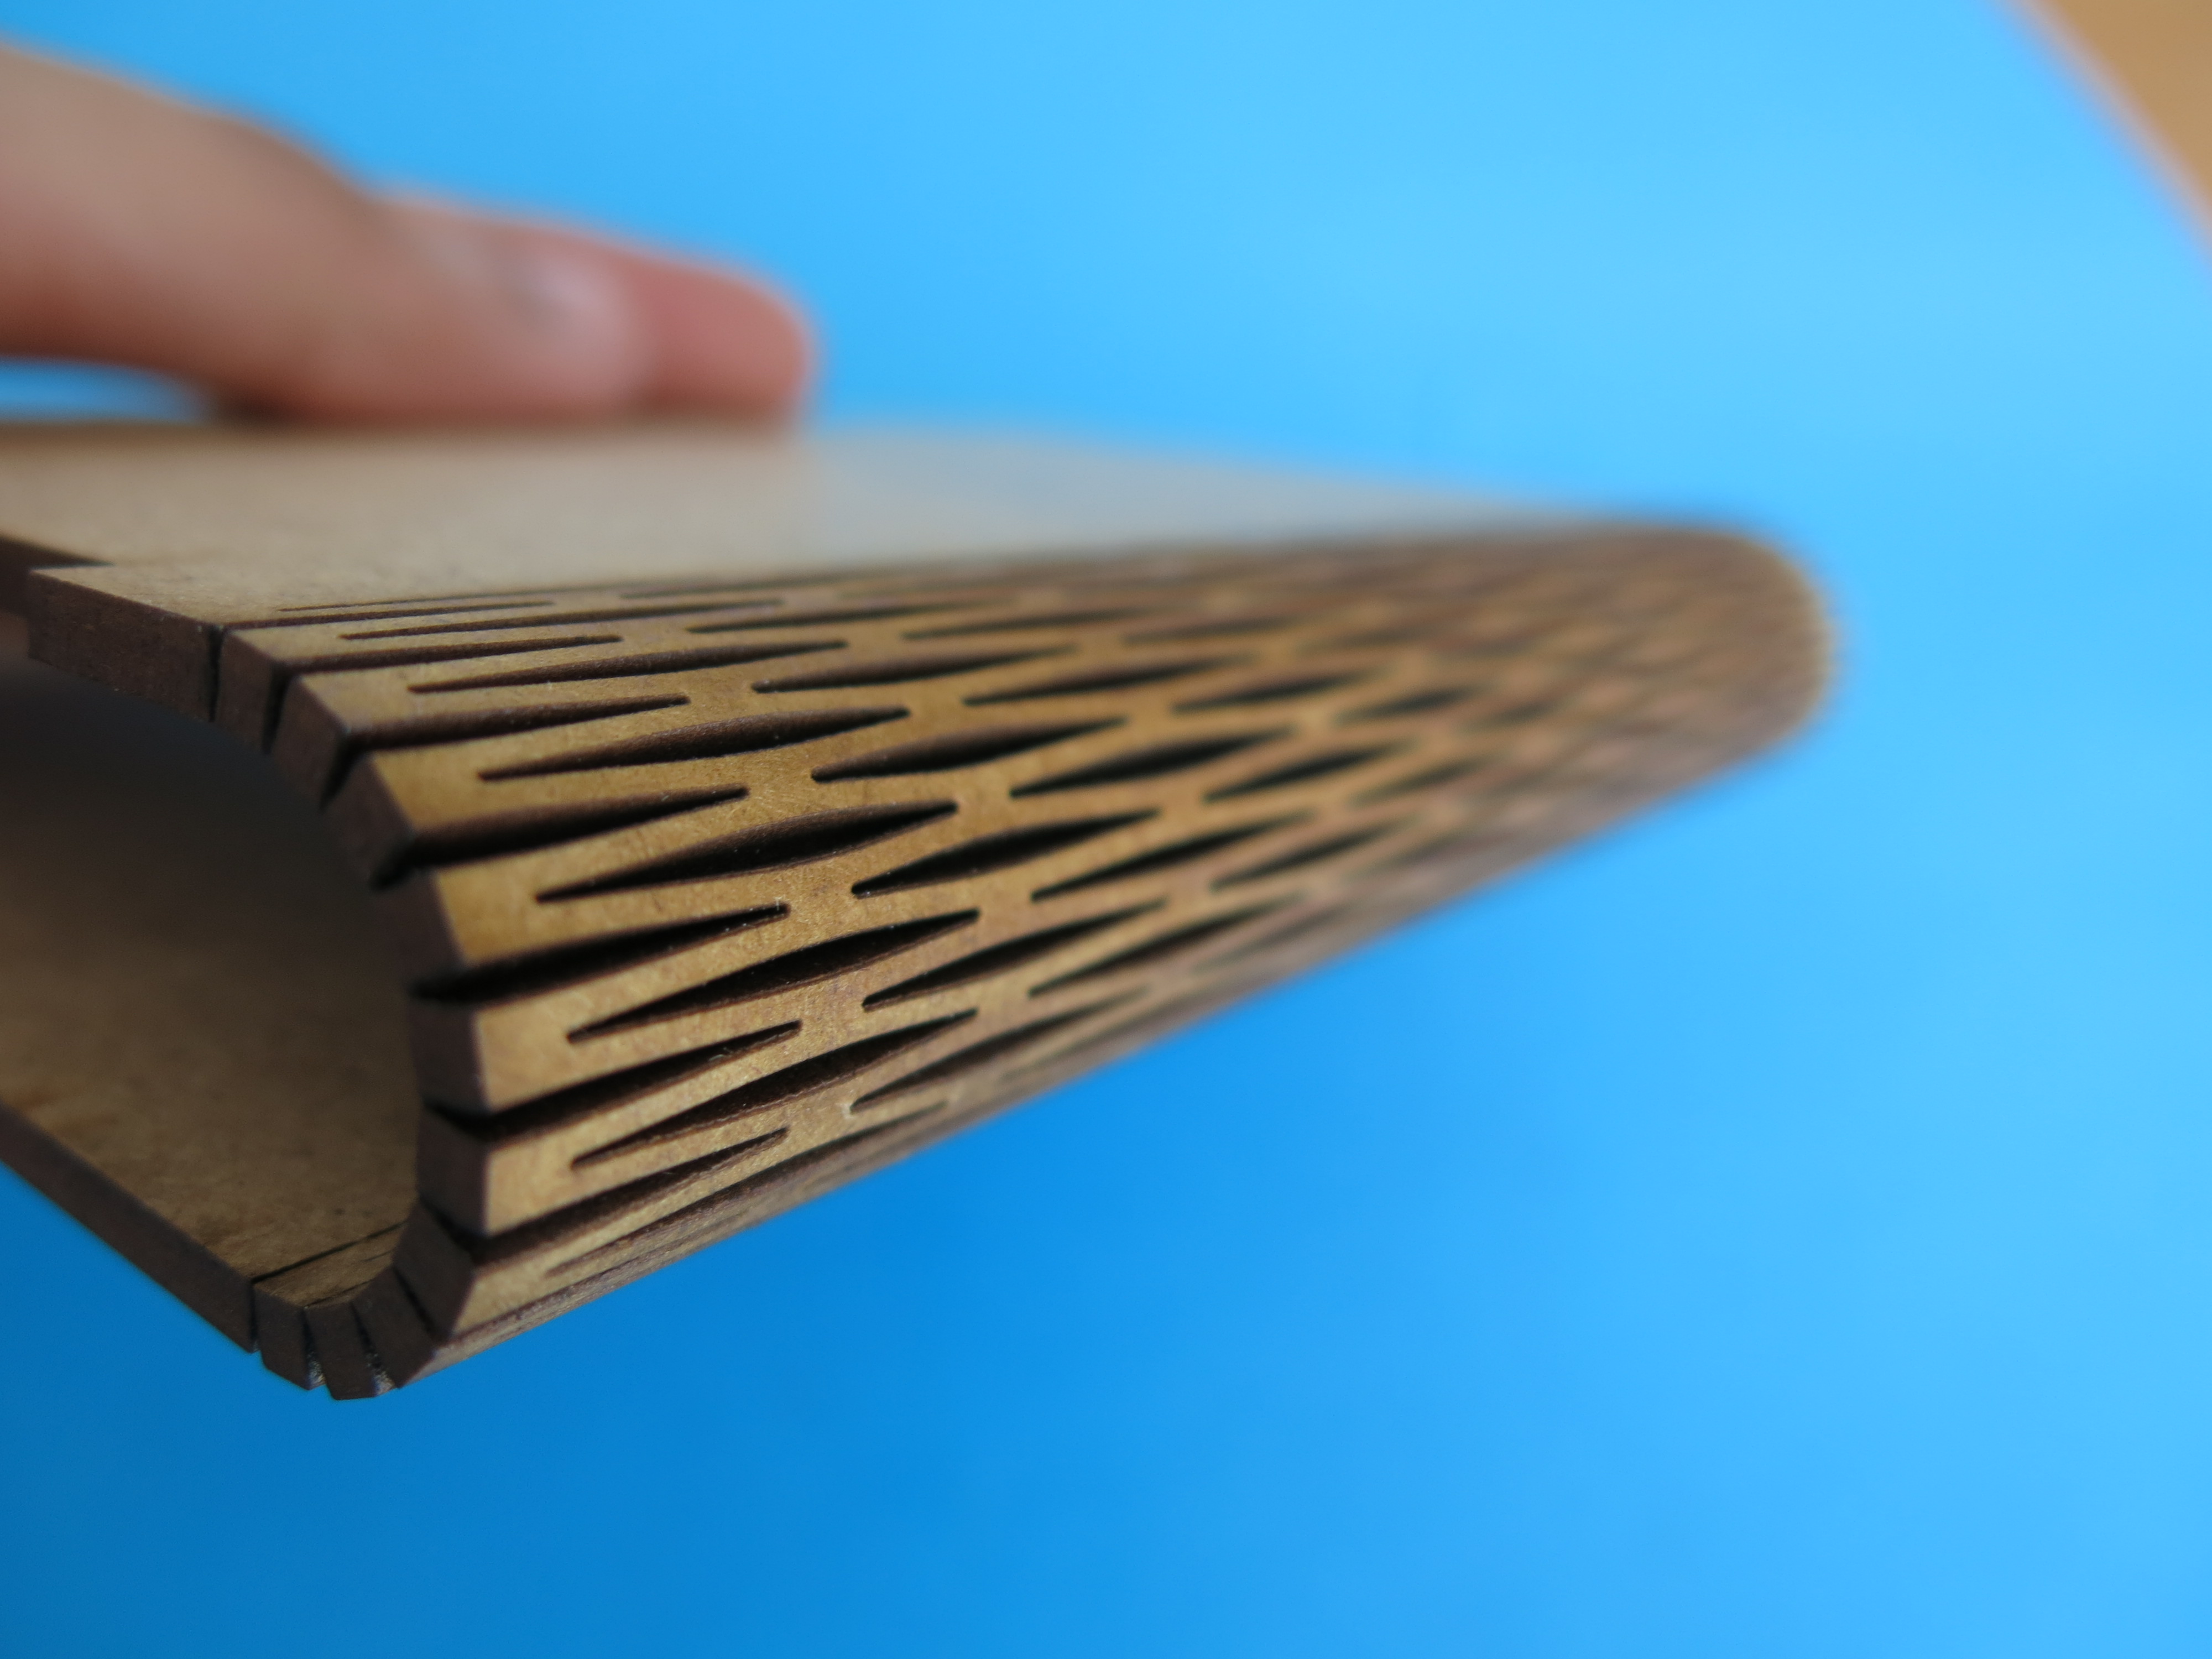
Under pressure, each individual part is slightly curved
The core of living hinges is the pattern you use for the connected strips. Different methods have been developed, and all don’t have the same flexibility. Of the course, the overall bending will vary with the length and width of your pattern, so choose those parameters wisely.
Among the most known patterns, you can find:
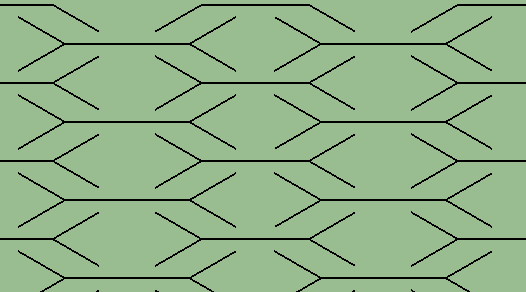
- Straight lines: this is the most common one, and also one of the most efficient (the one you see in the illustrations of this article).

Straight Pattern
- Wave pattern: a good alternative to the straight lines, it has comparable properties.
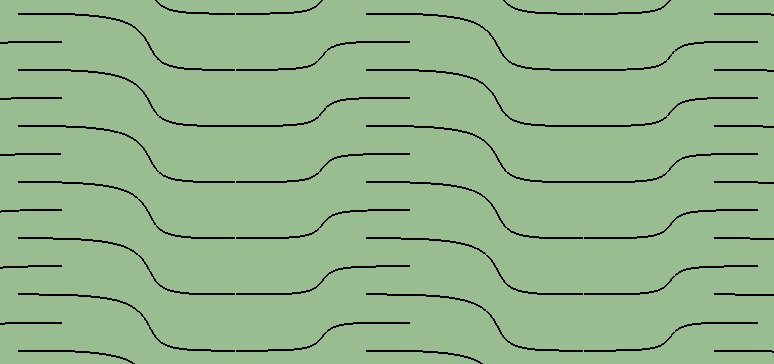
Wave Pattern
- Cross pattern: surely one of the most flexible pattern you could do, enabling you to bend your material in two directions if executed correctly (and if the material is thin enough).
Cross Pattern


(patterns provided with courtesy of Obrary)
All those patterns reiterate the same model over and over, enabling the bending and giving the model this particular aspect. While its width can grow with the one of the material, the length of the original pattern should be small enough. Otherwise, you won’t reach a decent bending angle. We recommend you design one that is not bigger than 5 mm in length, as it will provide a decent rotation while still remaining solid. Of course, this also depends on the material used, and the final aspect you want to give to your project.
What are their limits?
However, this process is not perfect. Living hinges can still break if they are pulled apart (in the perpendicular direction to the hinge), or if you bend it more than what the material can handle. Nevertheless, they are quite durable, so as long as you use them cautiously, there should be no problem.
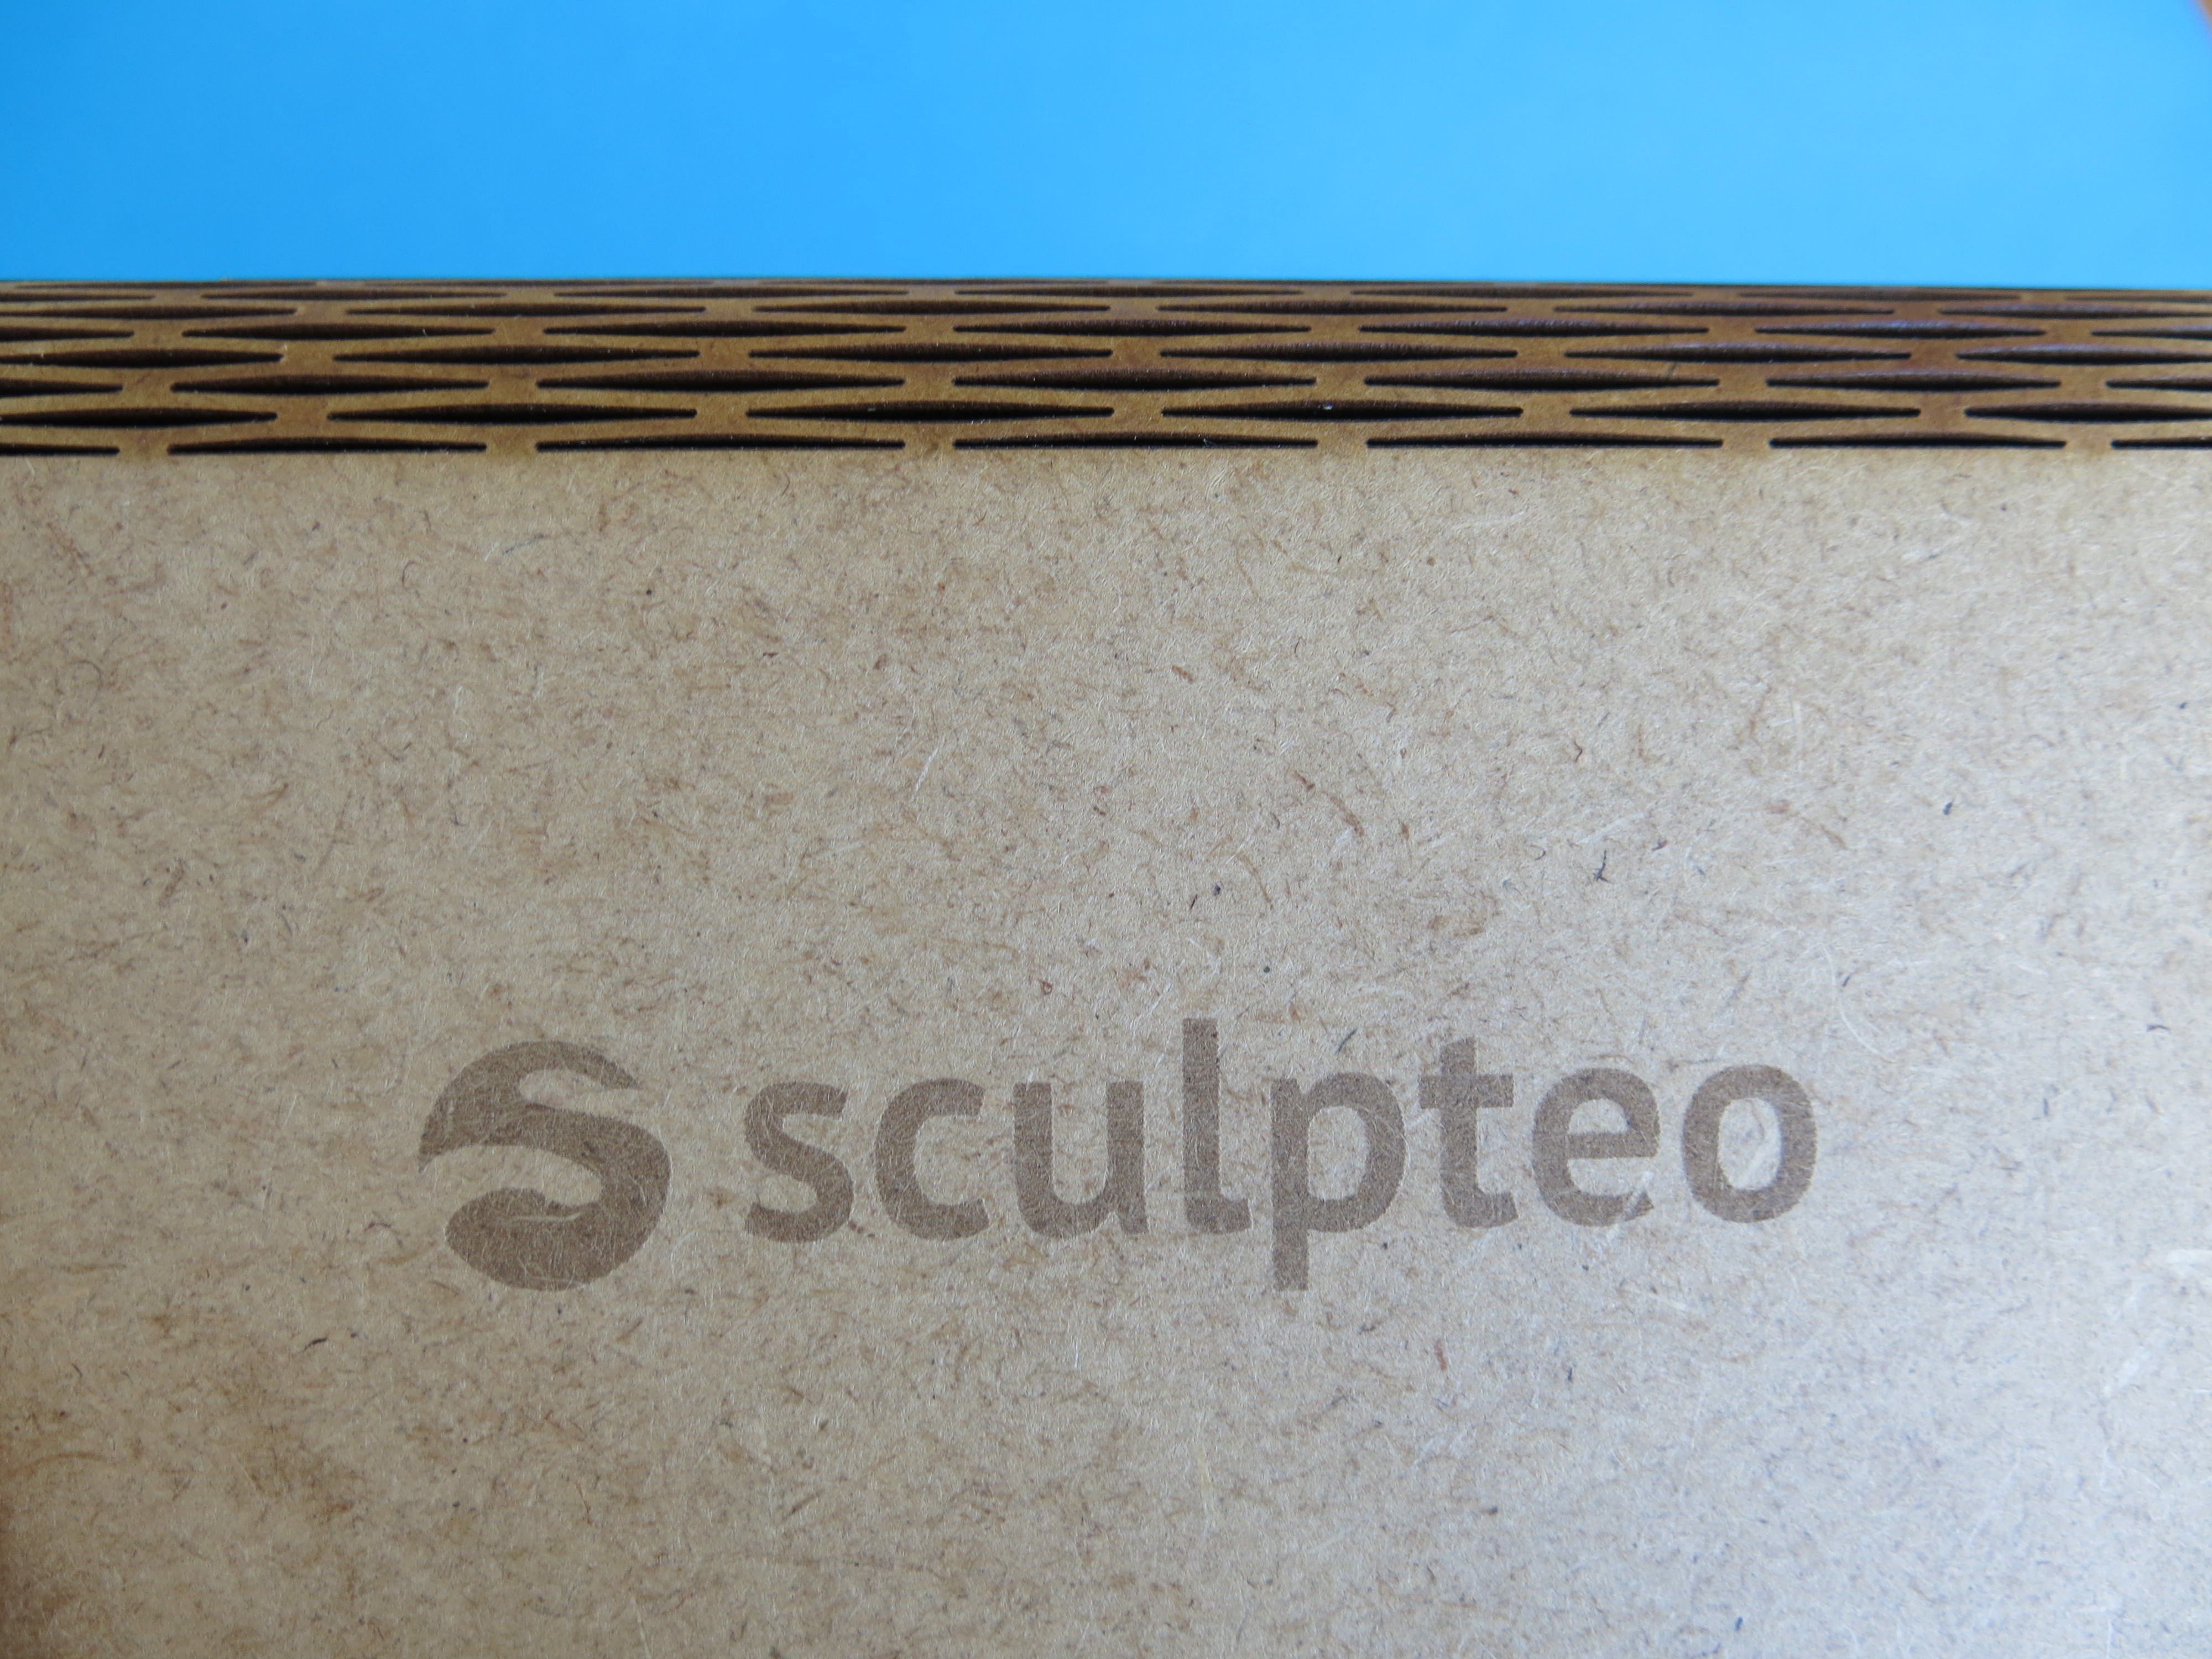
Furthermore, while the living hinges can be done on all the materials we use for laser cutting, the results may not be optimal with acrylics or wood. Indeed, the laser is putting a lot of heat into the material. With normal cuts, where everything is spaced enough, it is not a problem, but in the case of living hinges, it is a different story. As we are playing on the proximity between the cuts, the acrylic may melt because of the laser, and the final result won’t fit your expectation. In a similar manner, with wood, the matter has chances to burn during the process, thus making the living hinges more fragile in some locations.
You can check more information about those materials on our Laser Cutting materials page.
This is just a preview of the possibilities you can achieve thanks to living hinges. They provide you a way to create 3D designs with 2D objects and give you an interesting aesthetic. Do not hesitate to try different patterns, to see the one that pleases you the most, but also to realize all the projects you can tackle with laser cutting.
Unleash your imagination!