 Connect with Google
 Connect with Facebook
Online Optimization Tools for 3D printing
Posted By Sculpteo on Apr 5, 2017 | 0 comments
Our main mission as digital manufacturing service is not only to provide the best 3D printing and laser cutting service, materials quality but also to make 3D printing accessible to everyone. That’s why we do our best to enable you to manage your 3D file directly from our online interface without returning to the 3D modeling software. Today we explain one of the sets of online optimization tools we have created to help you improve your 3D file and optimize it for 3D printing online:
1. Hollowing
2. Batch Control
3. Customized Orientation.
They will allow you to: Reduce your price, Optimize your 3D model for 3D printing, Increase its surface aspect and Reduce its weight.
Hollowing
As you already know, 3D printing price is determined by many factors: the 3D printing material chosen, the finishes, the amount of material used, the space occupied in the 3D printer… Hollowing is an online feature which allows you to hollow your 3D model in a few seconds. This can reduce the amount of material used and thus the 3D printing price.
How does it work?
The hollowing tool can be used without having any particular 3D design skills. Right after you uploaded your file, you can simply activate or deactivate this feature in the “Optimize” section of the “Print” page by clicking on the button “NO” / ”YES”. We’ll take as an example this 3D model that uses the hollowing tool.
This feature works by adding two or more holes depending on your model. These holes will drain the unused material during the printing process. To add the holes, you can simply give a left click where you want to put the holes in your object and click “Finish” once two holes are placed successively.

If you want to switch your materials and make the size smaller, you do not need to go back and change it again. Once you’ve created two holes, our algorithms will do the job automatically and will optimize it directly for 3D printing after the order is passed. However, each hole will abide by a minimum width so that there is enough room to empty out the model in the material you’ve chosen.
What are the benefits using this feature?
- Less material used for 3D printing means obviously a smaller 3D printing cost.
- Using hollowing, which evacuates the unused material will make the 3D printed object very light, which can be important for some applications, as well as for transportation and handling when ordering in bulk.
Batch Control
Additive manufacturing is becoming more and more a valued alternative to traditional production techniques. Our batch control option is available as soon as you order 20 or more times the same item – thus 3D printing a small series. Through batch control feature, we offer you a virtual control of our professional 3D printers where you can customize the option that suits your need and reduces your 3D printing cost.
How does batch control work?
When you order more than 20 units of the same item, you can see that your “Unit Price” is automatically decreased (on the right of the screen).


Once the price is changed, you can click on “Review batch” in the “Optimize” option. This option will show you how your items will be positioned in the printer tray of our 3D printer. We also offer the option to edit your 3D printing orientation where you can access to the manual focus of your 3D print.

What are the benefits of using this feature?
The advantage of enabling batch control is certainly reducing the price per unit of your object. The bigger quantity you order, let’s say at least 20 items of the same 3D design and the same material, the unit price will reduce accordingly even up to 80% of the initial cost in some cases.
It also enables control over the orientation of your parts.
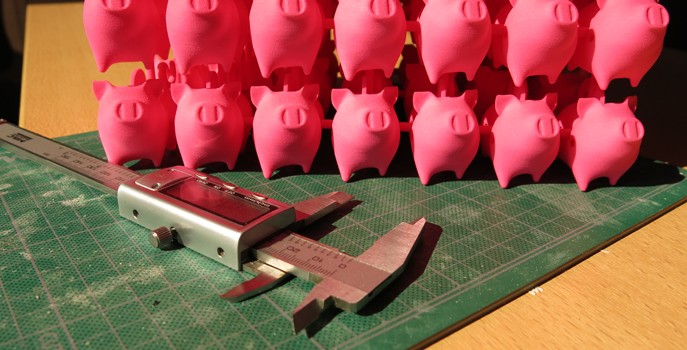
The result of a series 3D printed with batch control!
Customized Orientation
The custom orientation is available with the batch control and the expert mode. When you activate the batch control option, it will allow you to choose the orientation of the 3D model when it is 3D printed. Part orientation is important since the object is manufactured layer by layer and to customize the orientation means choosing where and how the layers will be most visible, and how those layers will be oriented.
How do you customize your object’s orientation?
Once you’ve activated the batch control or achieved the Expert mode (after 5 or more successful 3D printing orders), in the same option of “Optimize” you can turn on the “Customize orientation” button.

Your 3D viewer will then show some specific buttons to change the orientation of your object, on the left and at the bottom.

While orienting your object, you can see the price of the object at each angle, updated automatically by the online software. This way, you can see which direction fits best with your budget and design. To read more about the importance of your 3D printing orientation, read this article about the “custom orientation” option.
This feature open for batch order and it allows the expert users to experiment with the effect orientation on aspect, strength and surface finish. To know anything about the Expert Users status, click here.
Read our article regarding the tips to reduce your 3D printing price to give you more info to complete your 3D project.