 Connect with Google
 Connect with Facebook
Tinkercad tutorial: How to design 3D models with this online design tool
Posted By Amandine Richardot on Aug 23, 2017 | 2 comments
Today, we would like to introduce you to Autodesk’s Tinkercad, one of the simple and free CAD tools. This online app is handy, accessible and free to use for 3D modeling in order to create your first 3D print.
It’s not necessary to have previous 3D modeling experience, even though this CAD tool can be really useful also for the ones who already have a wide knowledge and want to take advantage of some of its tools which are not common in many expensive 3D modeling software.
Now, let’s create your first 3D print in a few minutes with our Tinkercad tutorial for beginners, to help you build the best 3D printing projects! Just follow these easy steps!
Getting started with Tinkercad
Let’s go to Tinkercad’s website after creating an account or logging in with your Autodesk account you can access the browser-based app. It’s now time to discover the Tinkercad interface!
You can do the first tutorial that Tinkercad will automatically show you – it’s recommended if you have never used a 3D modeling software – however you can always skip it and follow our tutorial. After doing it or skipping it you can continue choosing ‘start a new project’ to get to your empty work plane.
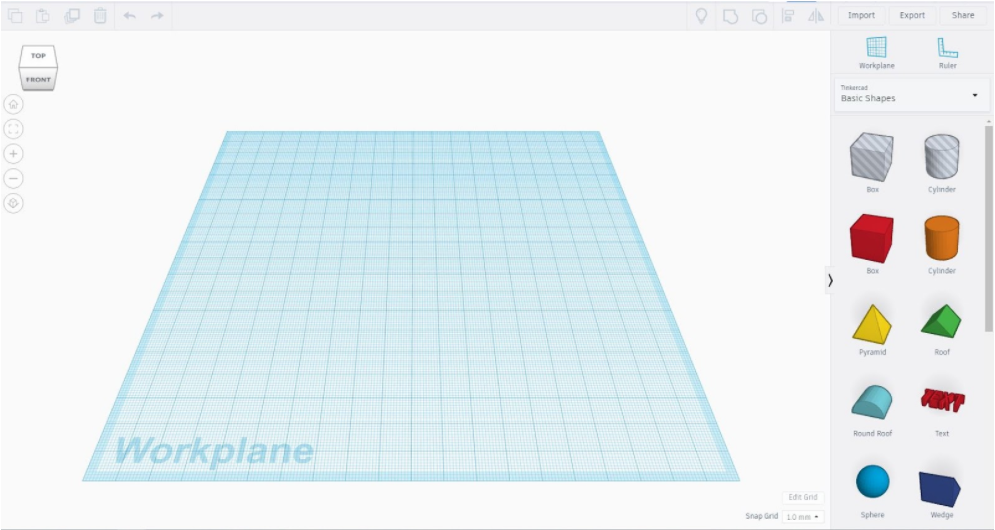
In addition to the work plane, you will be able to see the colorful basic shapes tools. They are predefined geometric shapes to which you can give dimensions and you can add or subtract them in order to create complex 3D shapes.
Also, regarding file format, it is important to note that you can also add mesh files, like STL files, that you can modify, and work with as if they were objects created with the Tinkercad app. Importing 2D files is also possible.
Now let’s make our first solid clicking on the “Basic Shapes” tool to use these simple shapes. We chose the “Box” shape and then simply click and drag to place it on the workplace.
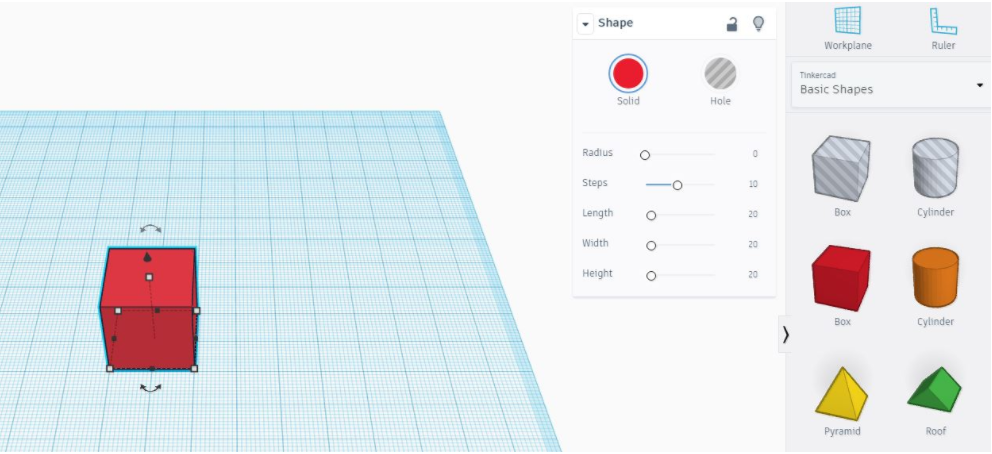
You will be able to see a number of arrows and dots on and around your box if it’s selected. You can directly change the shape of the geometry clicking and displacing the dots. This tool also changes the size of your bow if you want to do so. Also, you can move and rotate the solid around the three axes using the arrows.
To get a better view of the box you can zoom in with your mouse wheel. You can then turn the angle of your view with the right mouse button, and navigate around your work plane by holding down the mouse wheel.
If something went the wrong way you can always use the undo and redo buttons.
In the window “Shape” you can modify some characteristics of the solid, so let’s change them.
Joining multiple geometries
After modifying the geometry let’s make another one, so let’s simply click on the “Basic Shapes” tool “Text” and place it near our box, aligning shapes together.
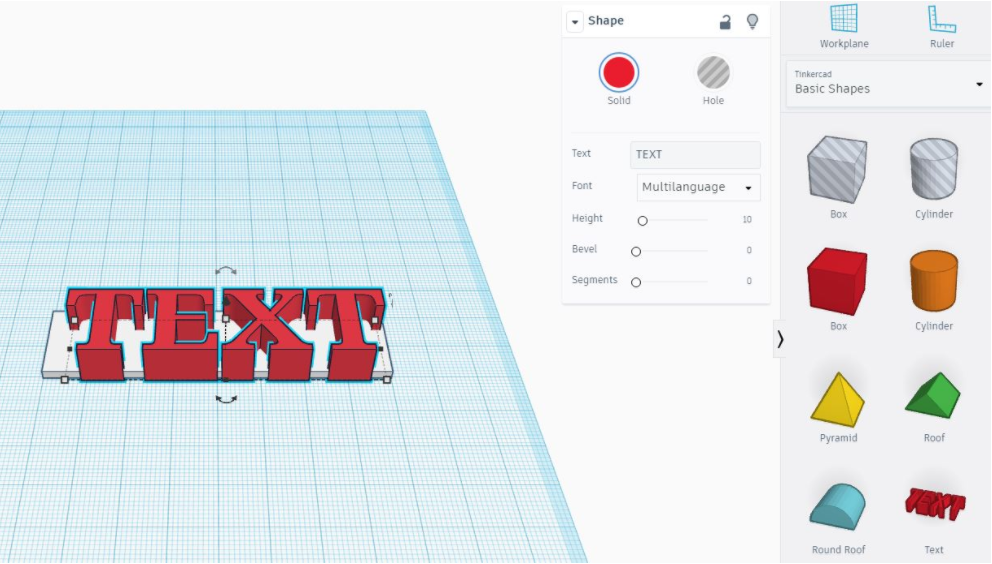
Then you can change the text in the “Shape” window.
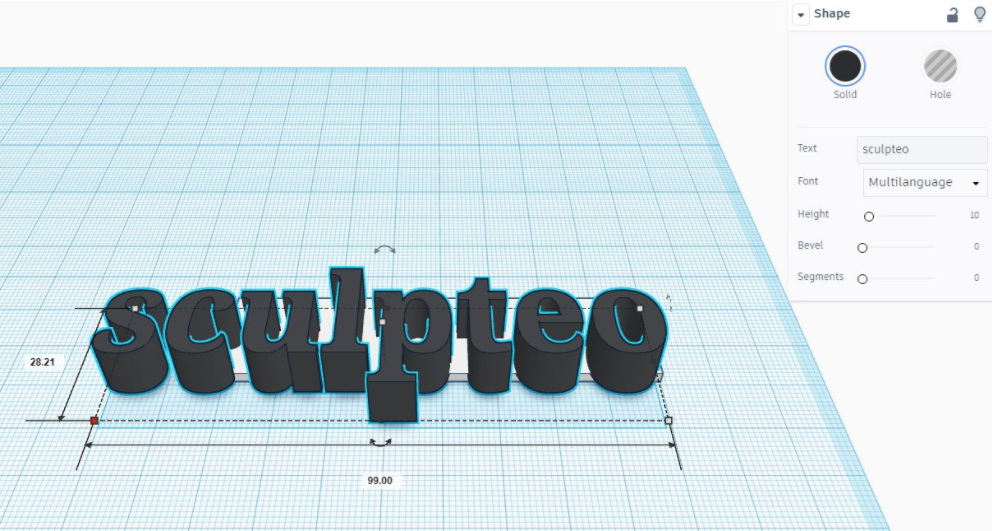
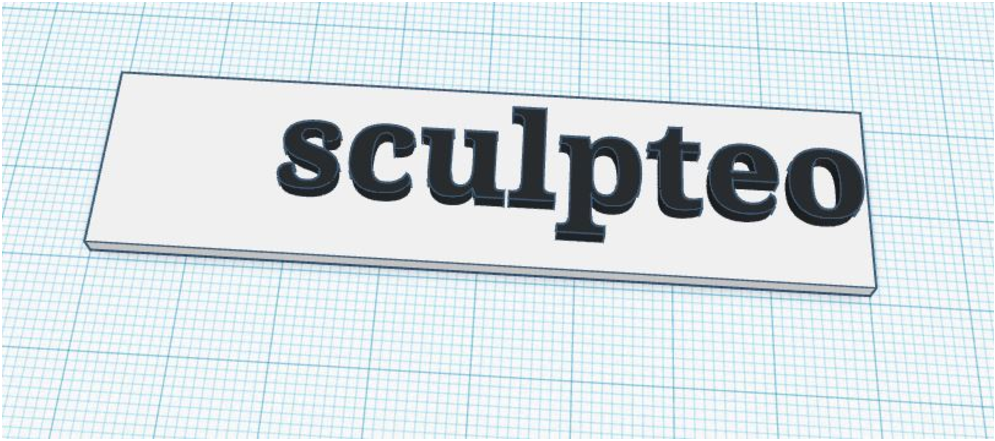
Let’s use the same height of the box and then place the text right onto the box leaving a space on the left side.
Now you can join the geometries by selecting them and clicking on the “Tool” group.
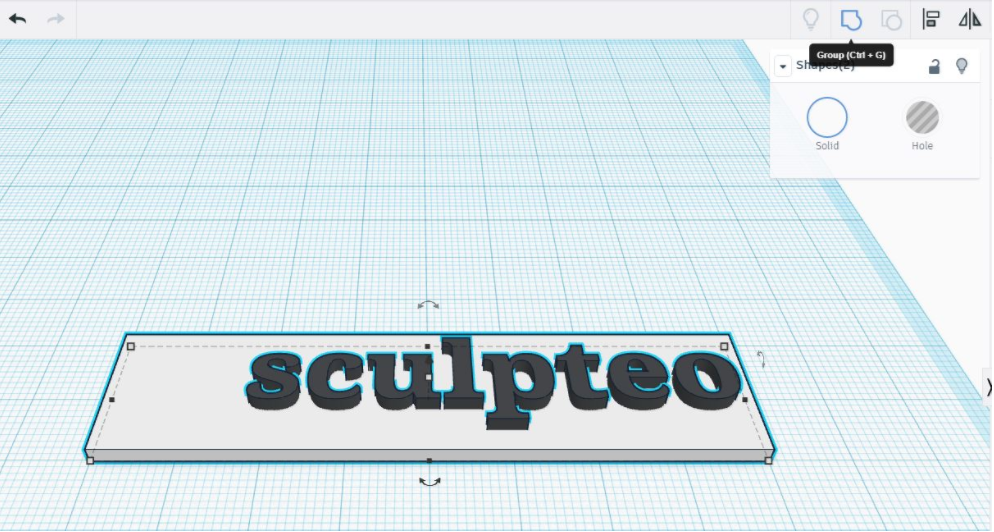
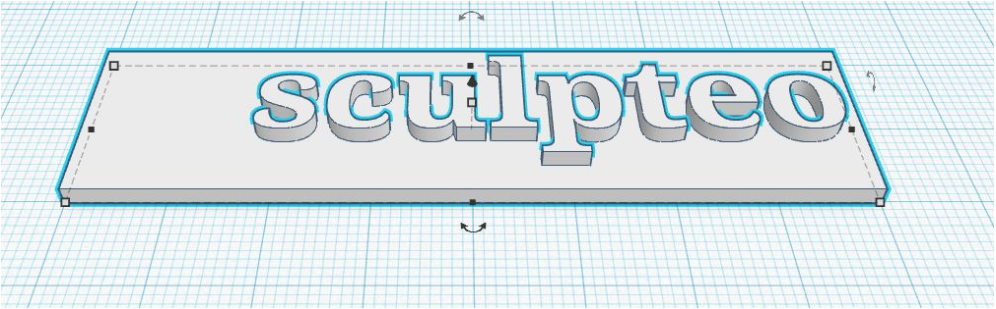
As they will become an only object they will turn into an only color.
If the merge didn’t work as you expected you can use the “Ungroup” tool at any moment.
Making different geometries
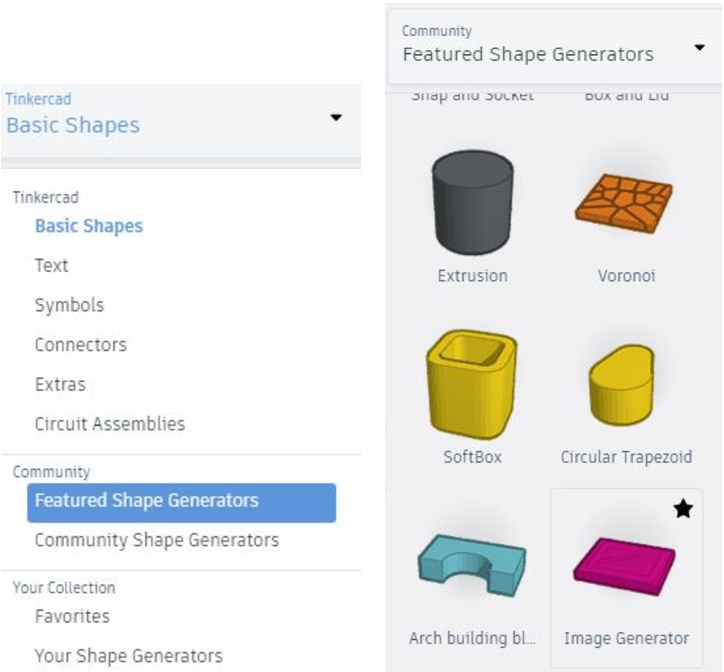
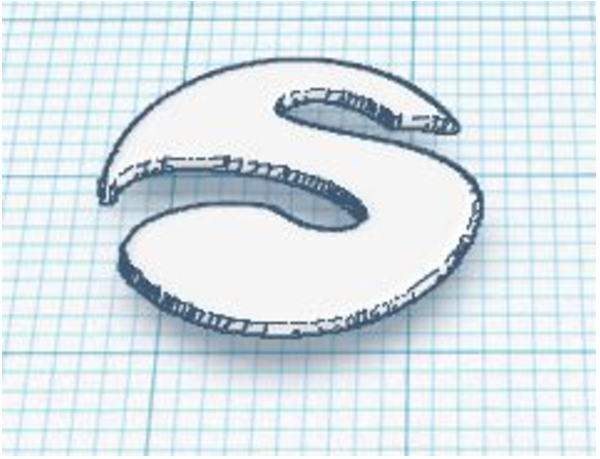
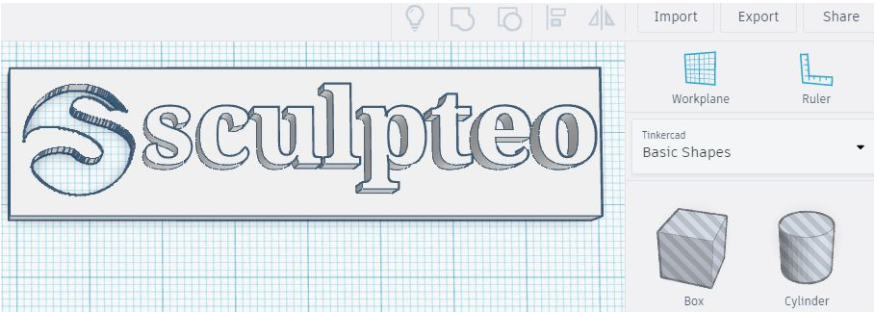
Now you are going to expand the “Geometry” toolbar and select the “Featured Shape Generators” tool: “Image Generator” and place the object on the work plane.
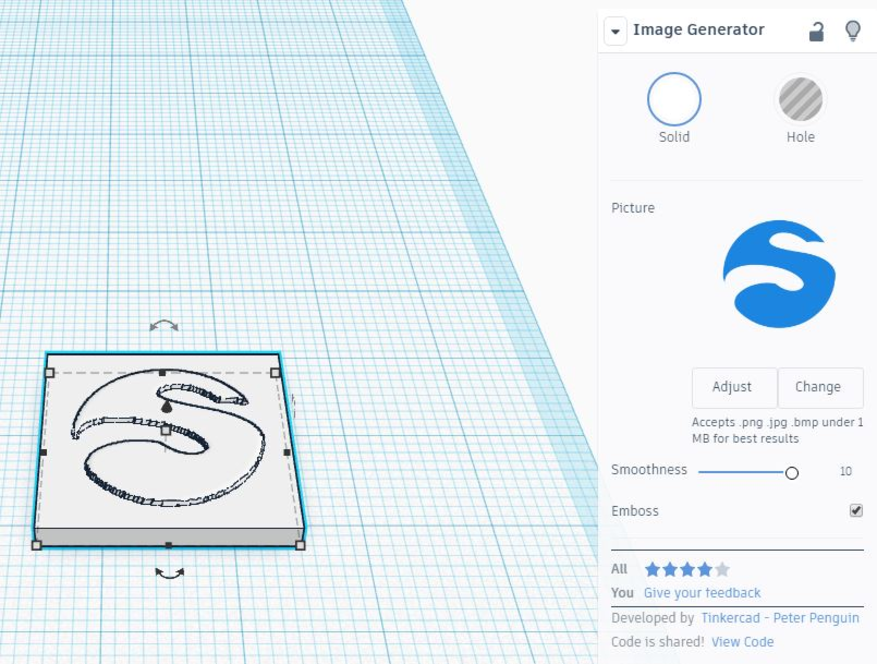
As you can see, this tool gives you the possibility of recreating the shape of an image based on the difference in brightness of the image.
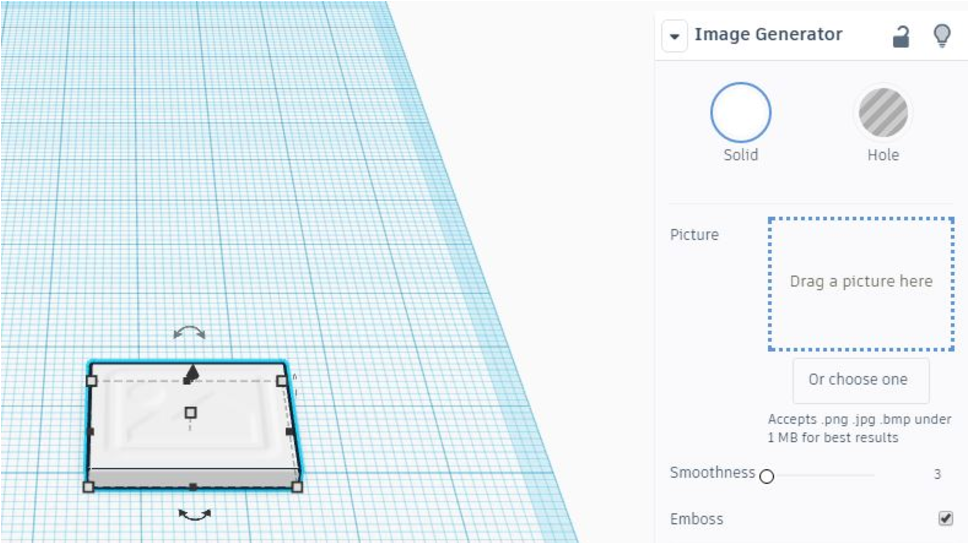
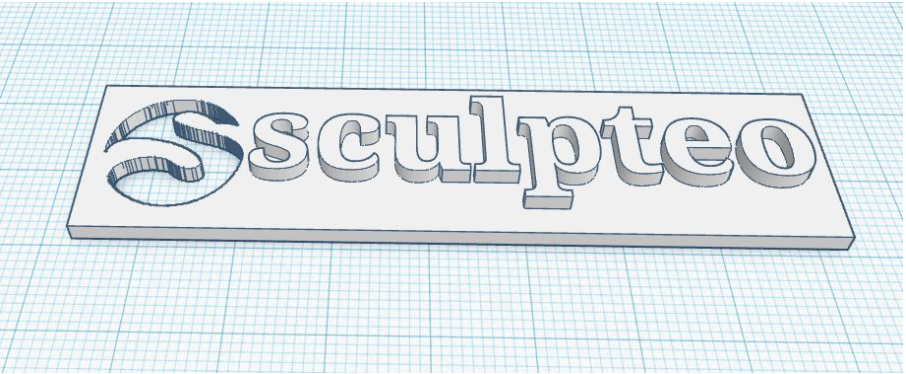
So we are going to choose an image with clear edges defined like our Sculpteo logo.
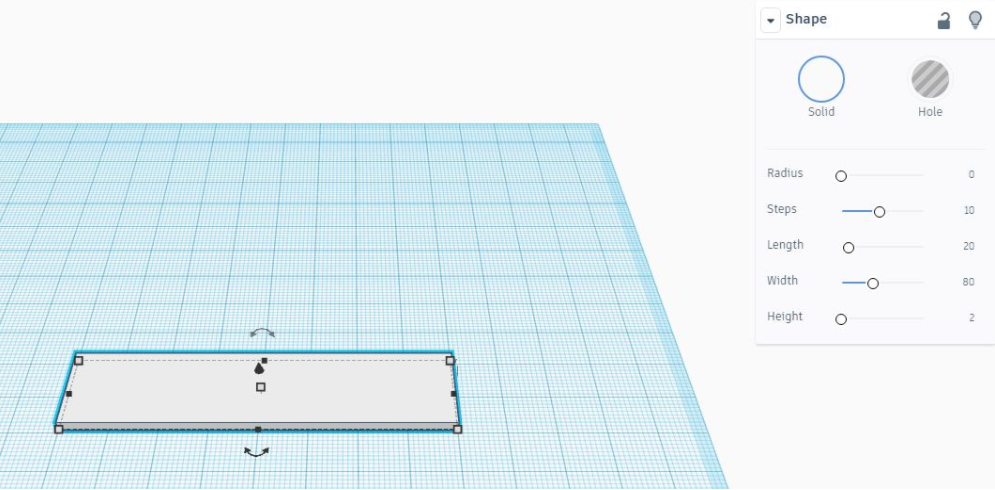
Then, we are going to create another box in order to leave the logo alone. To reach that goal, we have to make a box with the same measures than the base of the Image Generator’s object.
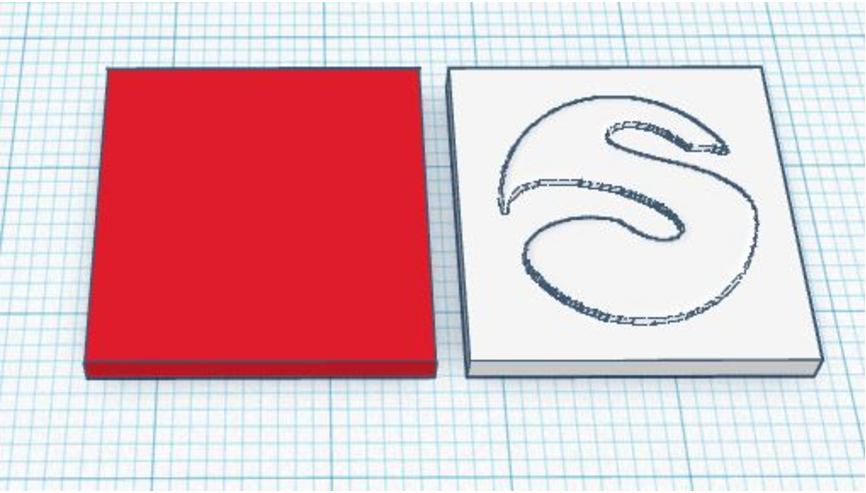
Then we are going to select “Hole” instead of “Solid” in the Box’s Shape window.
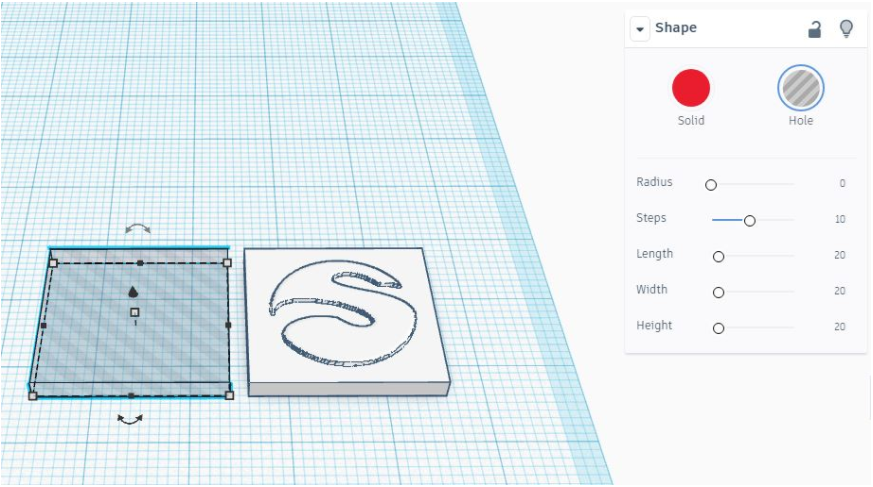
After that, we align both objects.
And finally, we use the “Group” tool.
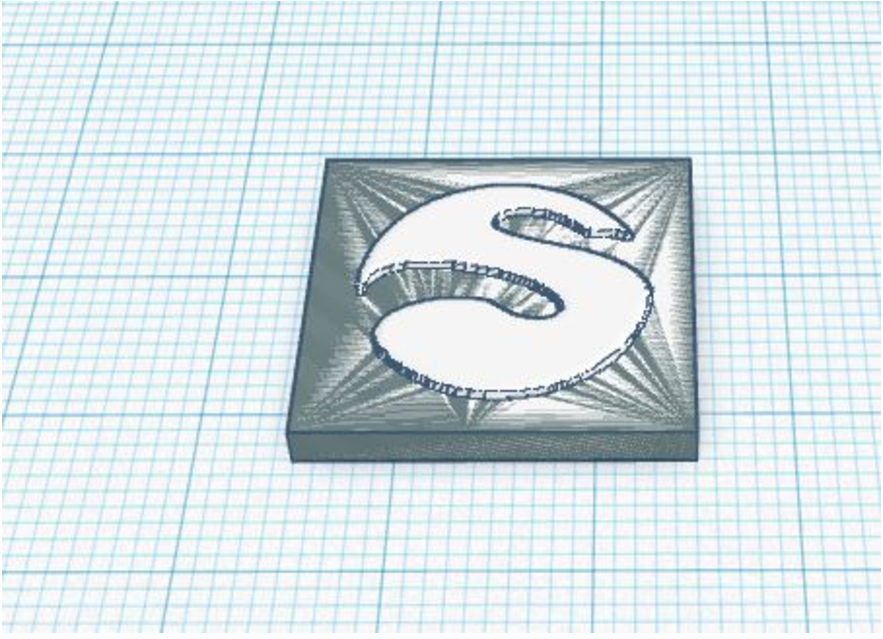
You will see that the box was used to subtract the base of the logo.
Now we are going to do the same with the logo on our first object. In order to make it we have to change the height of the logo as you can see.
Then we change the nature of the logo from “Solid” to “Hole” to use again the “Group” tool for subtracting the logo’s shape to the first object.
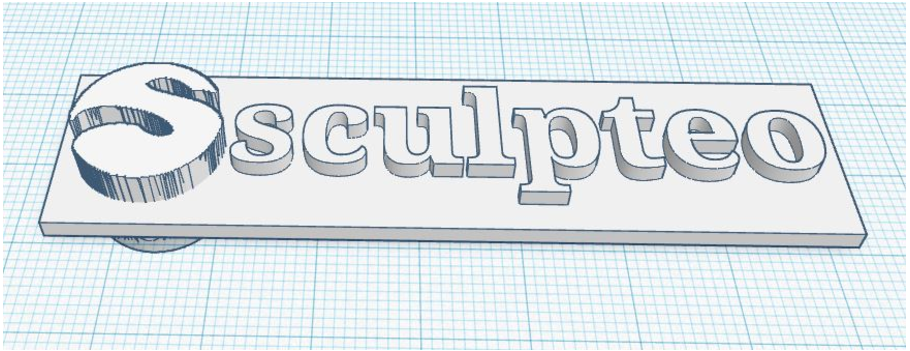
Getting ready to 3D print your CAD model
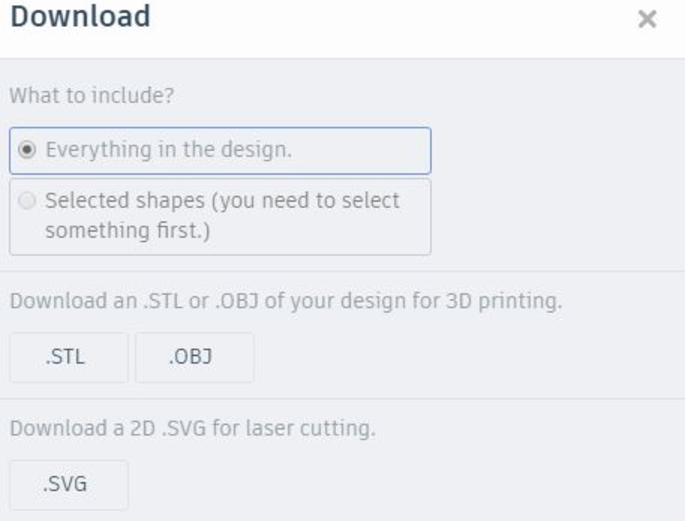
In order to 3D print our object we will need the mesh file. We can obtain it clicking on “Export”.
And finally, simply click on “.STL” to download your file.
Interested in CAD software tutorials? Discover our wide range of tutorials on 3D modeling for 3D printing and learn to design with the best ones, from simple CAD tool to complex 3D design tool!
- Solidworks tutorial
- Sketchup tutorial
- Fusion 360 tutorial
- Inspire tutorial
- And many others about great 3D design tools!
Do you feel familiar with the basics of 3D modeling with Autodesk Tinkercad now? Create your own 3D design and print it with us! Upload your 3D model now and start using our 3D printers to get your own 3D printed products. Also, we advise you to use our online tools to make a final check and ensure that your model is 3D printable using our 3D printers!