Our best tips to optimize your designs for 3D printer powder removal
Posted By Amandine Richardot on Mar 26, 2018 | 0 comments
Powder removal is a very important aspect to take into account when designing a 3D model for 3D printing. Indeed, since many technologies are powder-based processes, it implies some constraints. Why do we need to remove some powder from your 3D prints? How to optimize your 3D models for powder-based additive manufacturing processes? You will find all the relevant answers in this blog post!
1. Why does power need to be removed from some of your 3D printed parts?
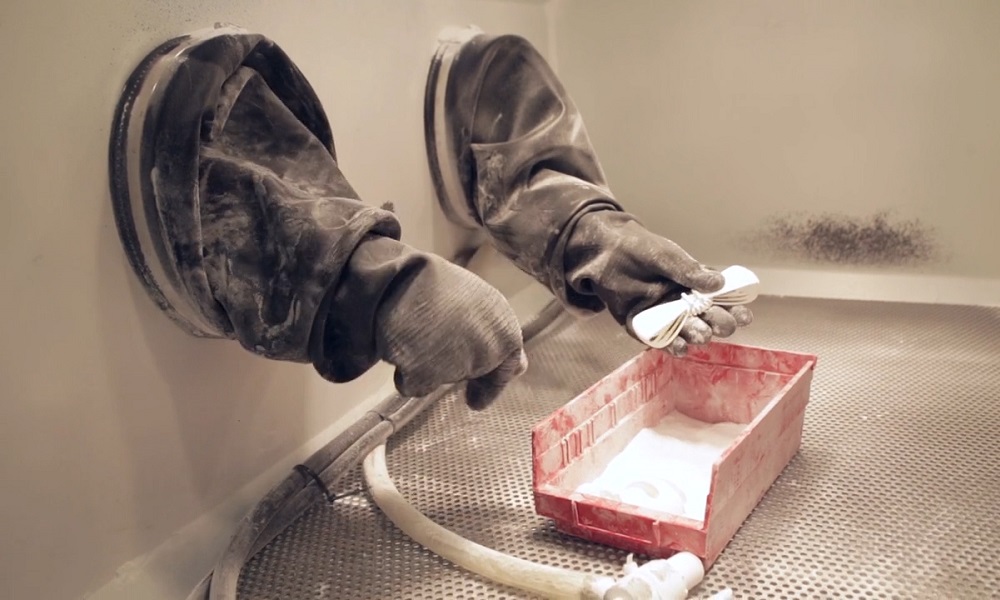
Many 3D printing processes are based on the use of powder material, which is then fused, using lasers. That’s, for instance, the case with the SLS technology (Selective Laser Sintering). A batch of polyamide powder is fused using a laser which sinters only selected parts of the powder, according to the 3D designs that need to be printed, layer per layer. But your object is made inside a building box full of powder. Thus, we need to remove the objects from the powder once it’s fully 3D printed. And we need to remove the powder from it.
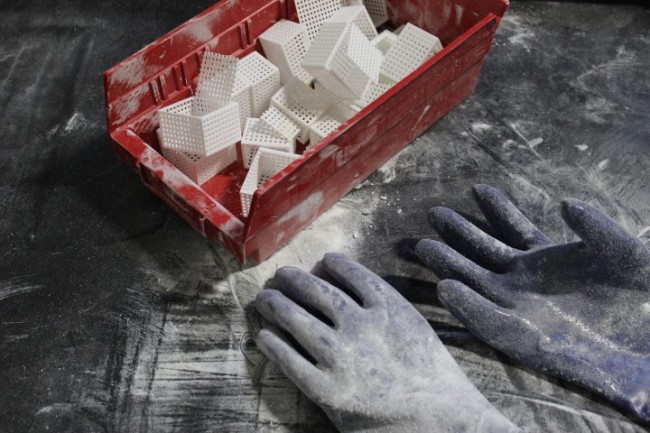
For objects without holes or complex designs, that’s quite an easy process. They’re first brushed, which removes the major part of the powder, and they’re then sandblasted to remove what the brush may have missed.
But if your design includes holes or complex features, you need to keep this step of the process in mind when creating your file for 3D printing. Indeed, we need to be able to remove the powder that could be stuck inside your object. If we don’t do so, the consequences could be that your object would be heavier than expected, or that some mechanical properties of your object might not respect what you wanted.
2. 3D printing with powder-based technologies
Many additive manufacturing technologies actually are powder-based processes. The most used one is Selective Laser Sintering (SLS). It allows you to create 3D objects with various plastics, such as Nylon PA12, PEBA, Glass-Filled Nylon or Carbonmide.
Another commonly used powder-based 3D printing technology is HP Multi Jet Fusion. This innovative process is also based on the fusion of specific parts of a powder batch, layer per layer, according to your 3D design. The main difference between the MJF and the SLS 3D printing processes is that, on HP’s technology, a fusing agent is also applied to the powder to make it fuse faster and at a lower temperature than with Selective Laser Sintering. With this technique, you can create parts in MJF PA12 material, a robust plastic which has a grey color when non-dyed, and which can be dyed to get a black color.
To know if the 3D printing technology you wish to use is a powder-based process, you can refer to our pages dedicated to our additive manufacturing materials. You will also find the complete design guidelines for each material on all of these pages.
3.The basics of designing for powder-based 3D printing processes
To first get started with the concept of powder removal for your 3D printing models, you need to always take into account that we need to be able to remove powder from your object.
On a plane surface, there won’t be many issues: brushing and sandblasting will perfectly do the job.
But if we have to remove powder which is located inside your object, you need to think of the fact the it needs not to be stuck. If the holes or design features you inserted for powder removal won’t let the powder out, your object won’t be successfully depowdered.
Getting the 3D prints out of the powder (SLS process)
4. How to optimize your 3D designs for 3D printer powder removal
If your part is a simple object, such as a cube for instance, with no holes at all. There should be no issue: powder can’t be removed from the inside of your object anyway.
If your part is still a simple object, such as a cube, but in a hollowed version to use less material, and thus make your object lighter and cheaper (because the pricing of your 3D printed parts also depends on the amount of material used), you have some constraints. We need to be able to remove the powder. Thus, you need to add at least two holes to your model so that it serves as a drain inside your object.
For a successful hollowing, we recommend you to use our hollowing tool, available online. Thanks to it, the minimum size of the holes is automatically indicated for a successful result. To learn how to get the best result thanks to this online 3D printing tool, you can read this blog post.
If your design includes complex structures, with holes and powder that needs to be removed from design features such as tubes, you also need to pay a special attention to your 3D model. Indeed, if your tubes are too thin, the powder risks to be blocked at some point. Also, if they are not straight, but curved, the powder could also get stuck. If it’s a key feature of your object, we strongly recommend you to be careful and to try to make the tubes as large as you can to make powder removal possible.
We hope the design constraints linked to 3D printer powder removal are now crystal clear to you! Ready to start your next 3D printing project with us? Just upload your 3D model on our 3D printing service!


 Connect with Google
 Connect with Facebook


