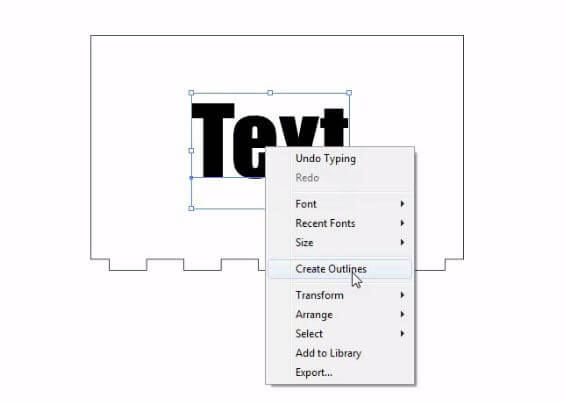
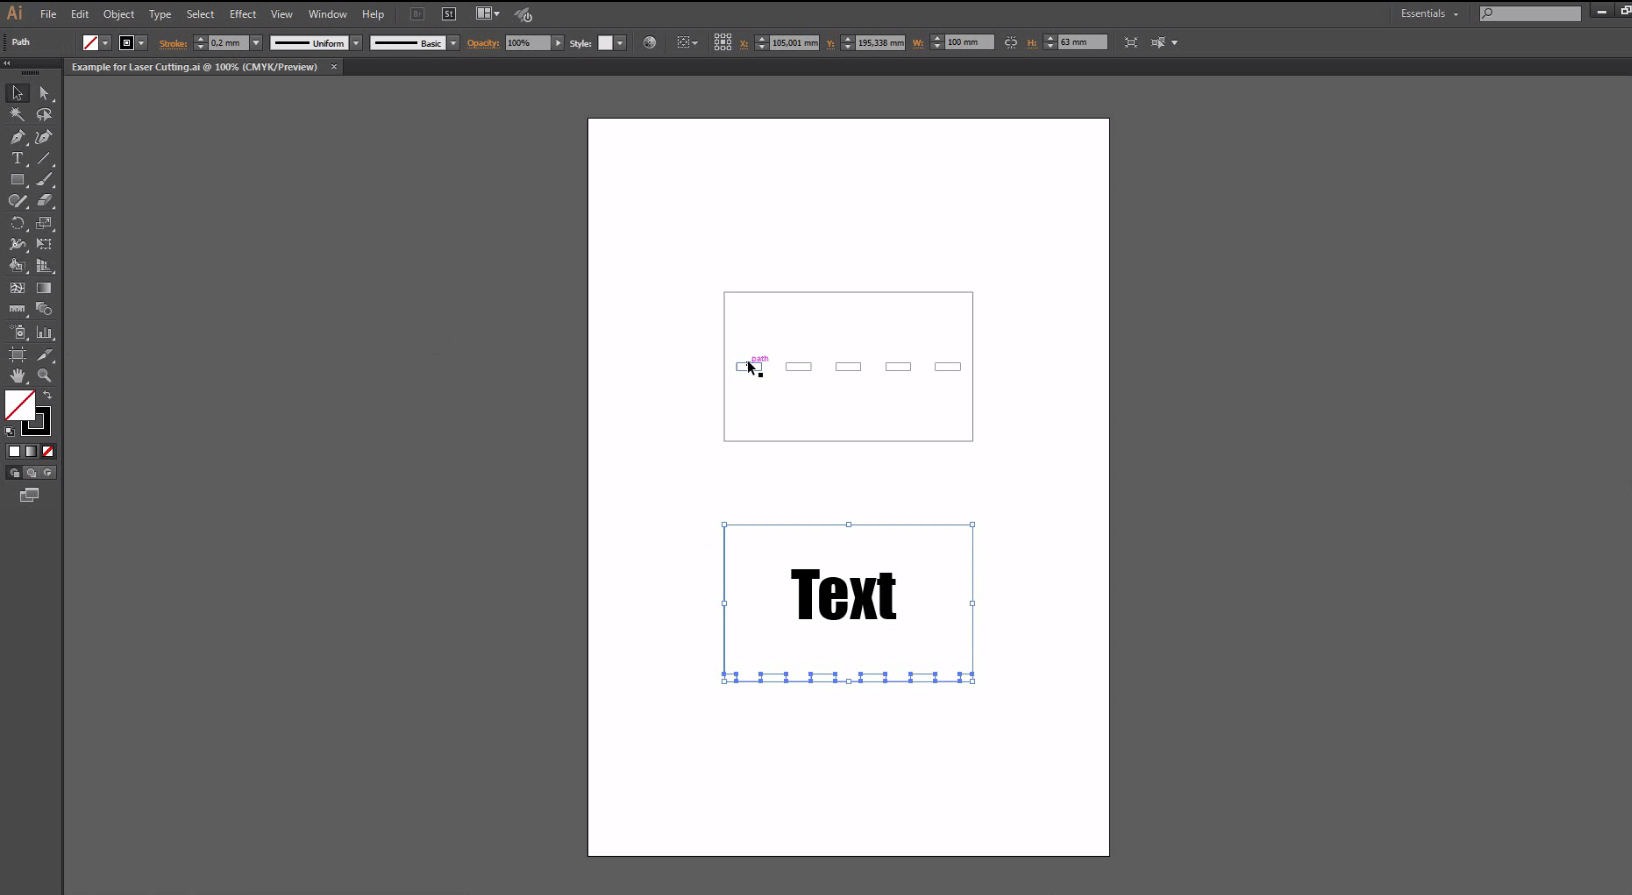
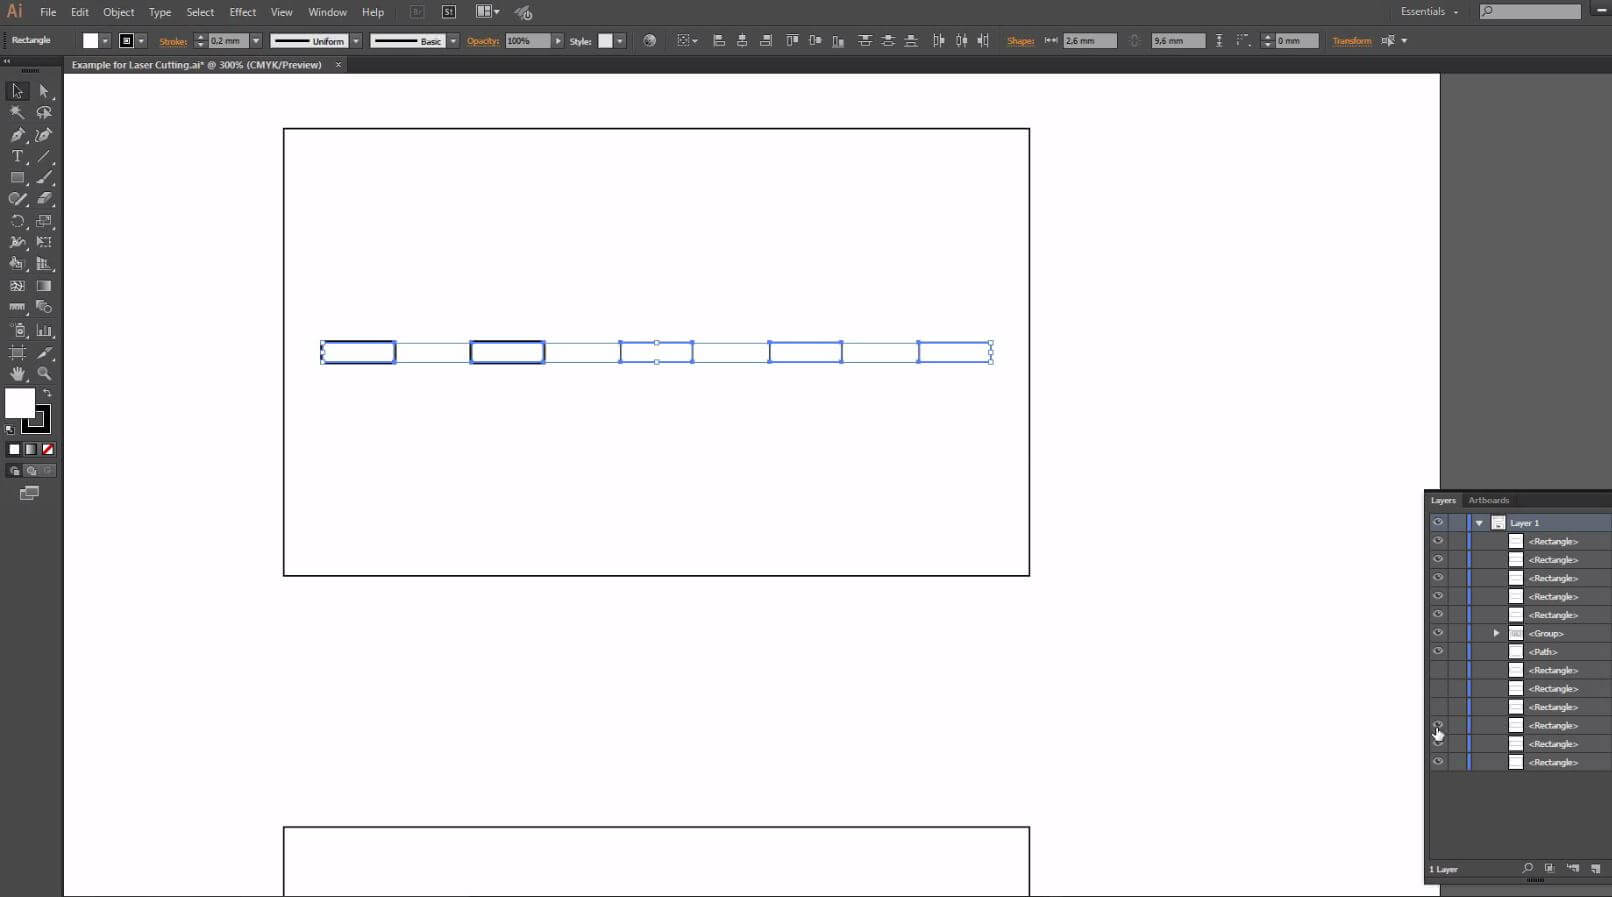
For this tutorial, we’ll take a very simple example. As you can see in the image below, the two parts are supposed to embed into each other: each of the small platforms of the lower part will fit into a hole of the part above.

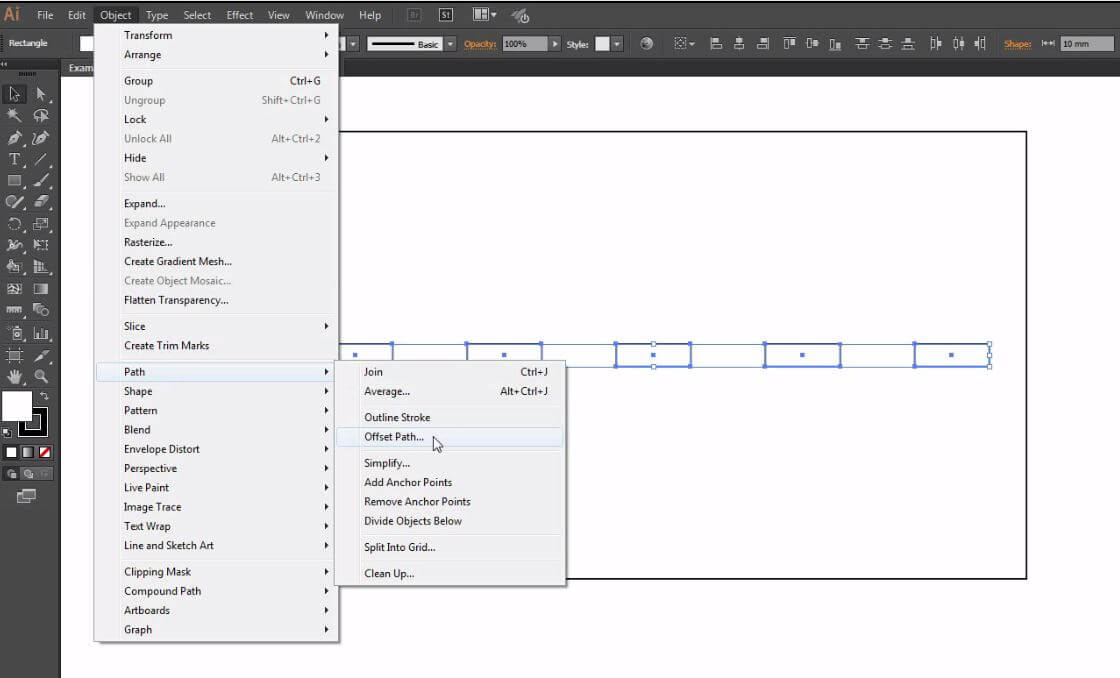
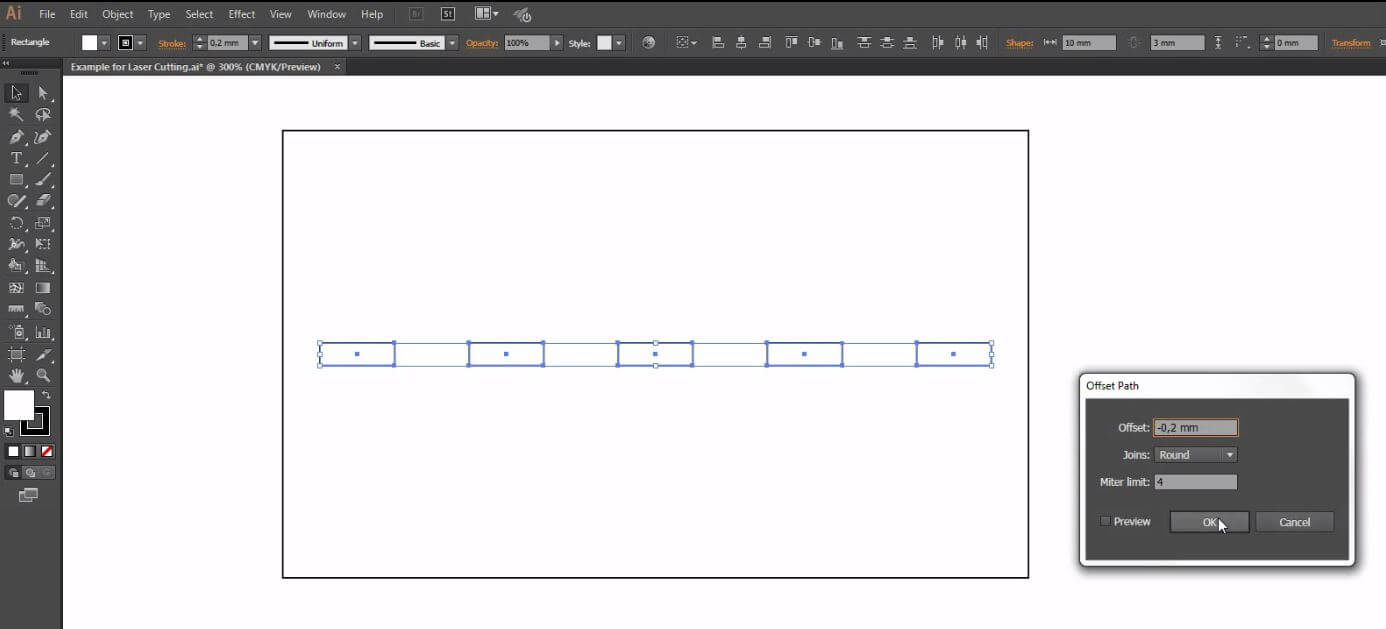
1. Take the kerf into account: decrease the hole’s width. On the design, the length of the platforms and the length of the holes are the same. However, the he size of your design will be reduced by the laser’s kerf, which means that, once cut, the parts won’t fit into each other exactly. That’s why we’re going to slightly modify the design, so that the parts stay together. We simply need to decrease the holes’ width in order to anticipate the kerf phenomenon. You can do object > path > offset path. You must set a negative value, because we want the offset to happen towards the inside.


2. Make the previous lines invisible: You can cut and paste at the same place, and make the previous lines invisible, since they’re not useful anymore. This way, you make sure the parts will fit together properly, and the final object will stay put.

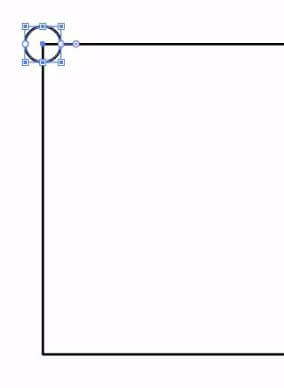
3. Create circles in the corners to prevent breakage
If the part is embedded as is, there is a risk that the platform will break in the corners, since the effort is very important. We advise you to cut circles, so that the effort will be distributed, and we’ll avoid the risks of damage.
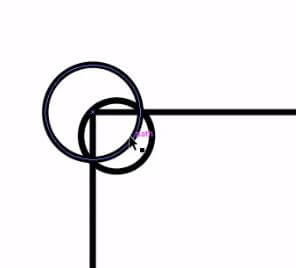
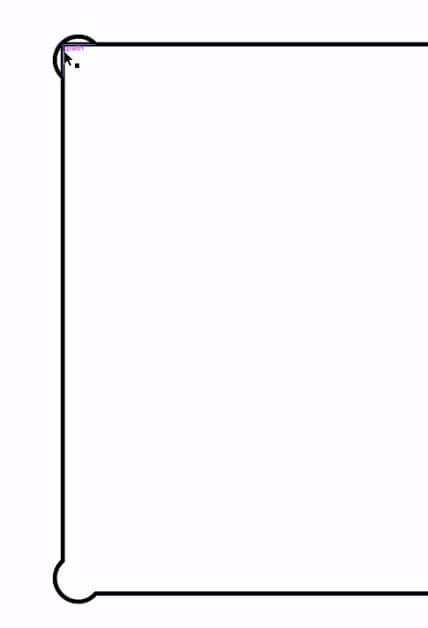
1. Start by drawing a circle, and then decrease the circle’s size to 0.3mm. Then, check that the circle is properly positioned at the corner.

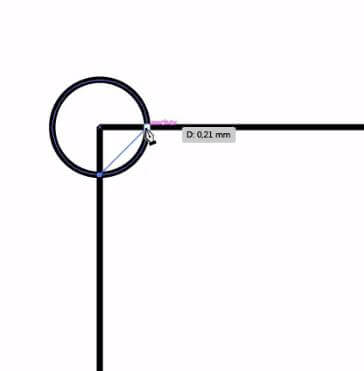
2. Draw a line that links the two intersection points between the circle and the rectangle.

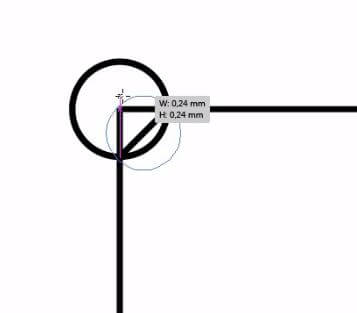
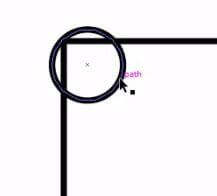
3. Draw another circle, that goes through the rectangle’s corner and these two intersection points. This last circle is the one we’ll keep to bow the corners. The goal is to have as little matter removed as possible.

4. You can now delete the construction lines.


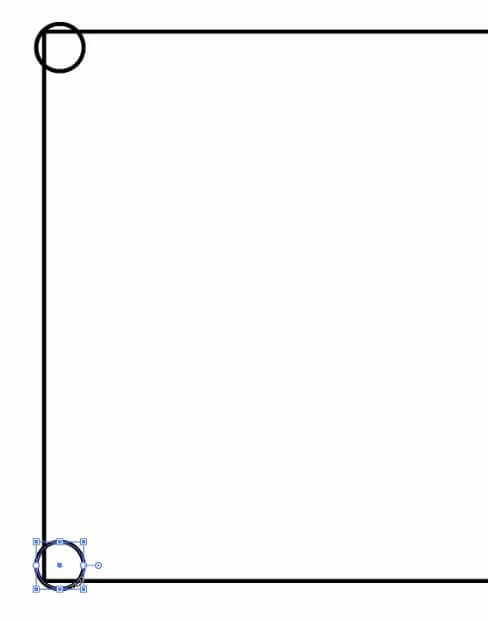
5. Duplicate this circle. CTRL C, CTRL SHIFT V (CTRL V is to copy the circle, CTRL SHIFT V is to copy it in its position). Move the circle to the lower left corner.

6. Duplicate once again, to create the circles of the two remaining corners.

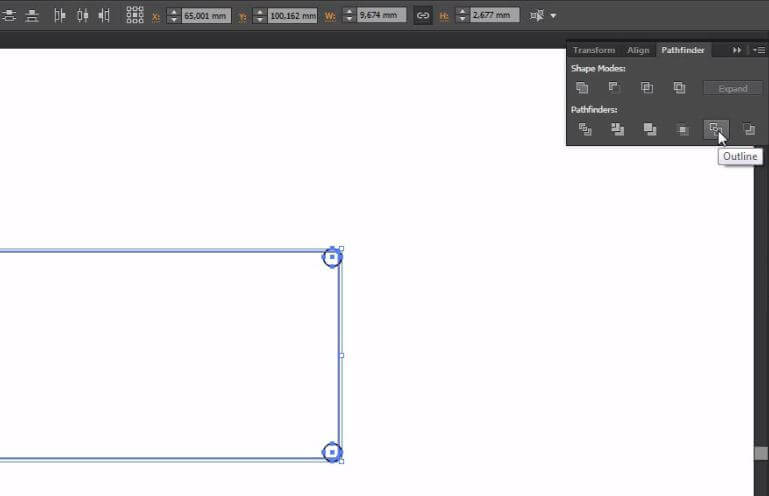
7. Use the pathfinder tool to combine these different shapes. The pathfinder tool will generate intersection points where the lines intersect and separate all the lines.

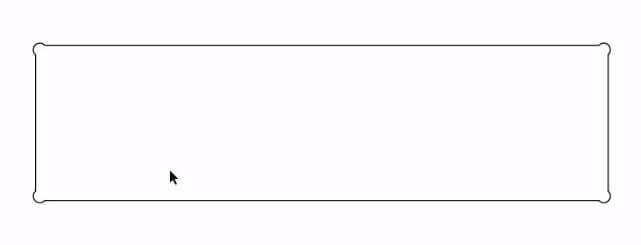
8. As you can see, each one of the lines has been separated, and you can delete those that you are not interested in: the part of the circle that is inside the rectangle, and the previous corners of the rectangle. All we keep is the lines of the rectangle, and its new round corners.


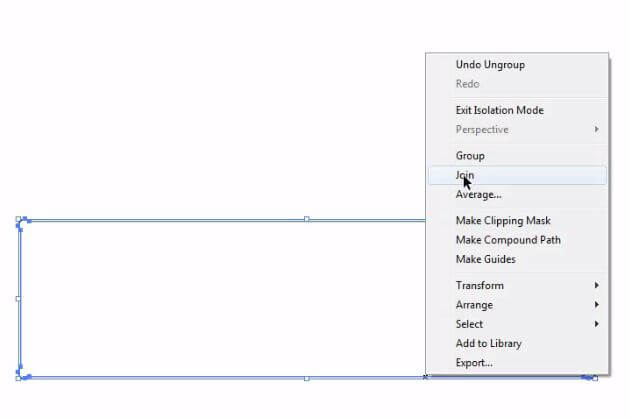
9. All you have to do now is ungroup theses lines, and join them, in order to get one shape, that you can now replicate, for the other holes.


 Connect with Google
 Connect with Facebook