Laser Cutting with Inkscape: Tips for Laser Cutting

Summary​

1. Laser Cutting with Inkscape: Customizing your Document Properties on Inkscape

Laser cutting Inkscape kerf.gif 

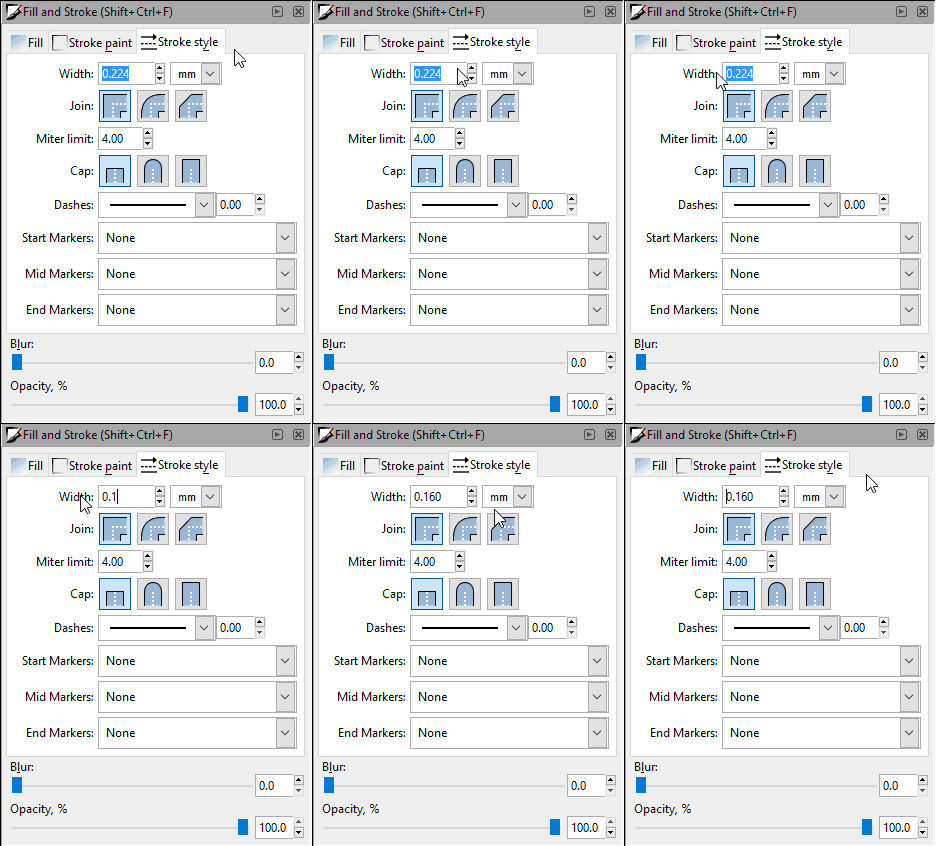
The kerf is the material removed by the laser when cutting (while very thin, it can impact dimensionally sensitive designs). Here’s where setting our stroke units to mm helps out a lot. Click on any critical cut lines that you want to verify. In the bottom left of the window, where it says “Stroke”, double click to open the Fill & Stroke panel. Go to the “Stroke style” tab and set the width to be the same as the kerf for the material you want to laser cut in (0.08mm in our case). Once you’ve done this for all of the lines you want to verify, you can clearly see if the kerf will have a negative impact on your design. If it will, adjust accordingly.

Since we set our page size to be the same as the maximum dimensions of our chosen material, we can quickly and easily see if our design is too large. Simply rearrange or re-scale your elements to fit within the bounds of the page and you know we’ll be able to laser cut it for you.

Laser cutting Inkscape Spacing.gif 

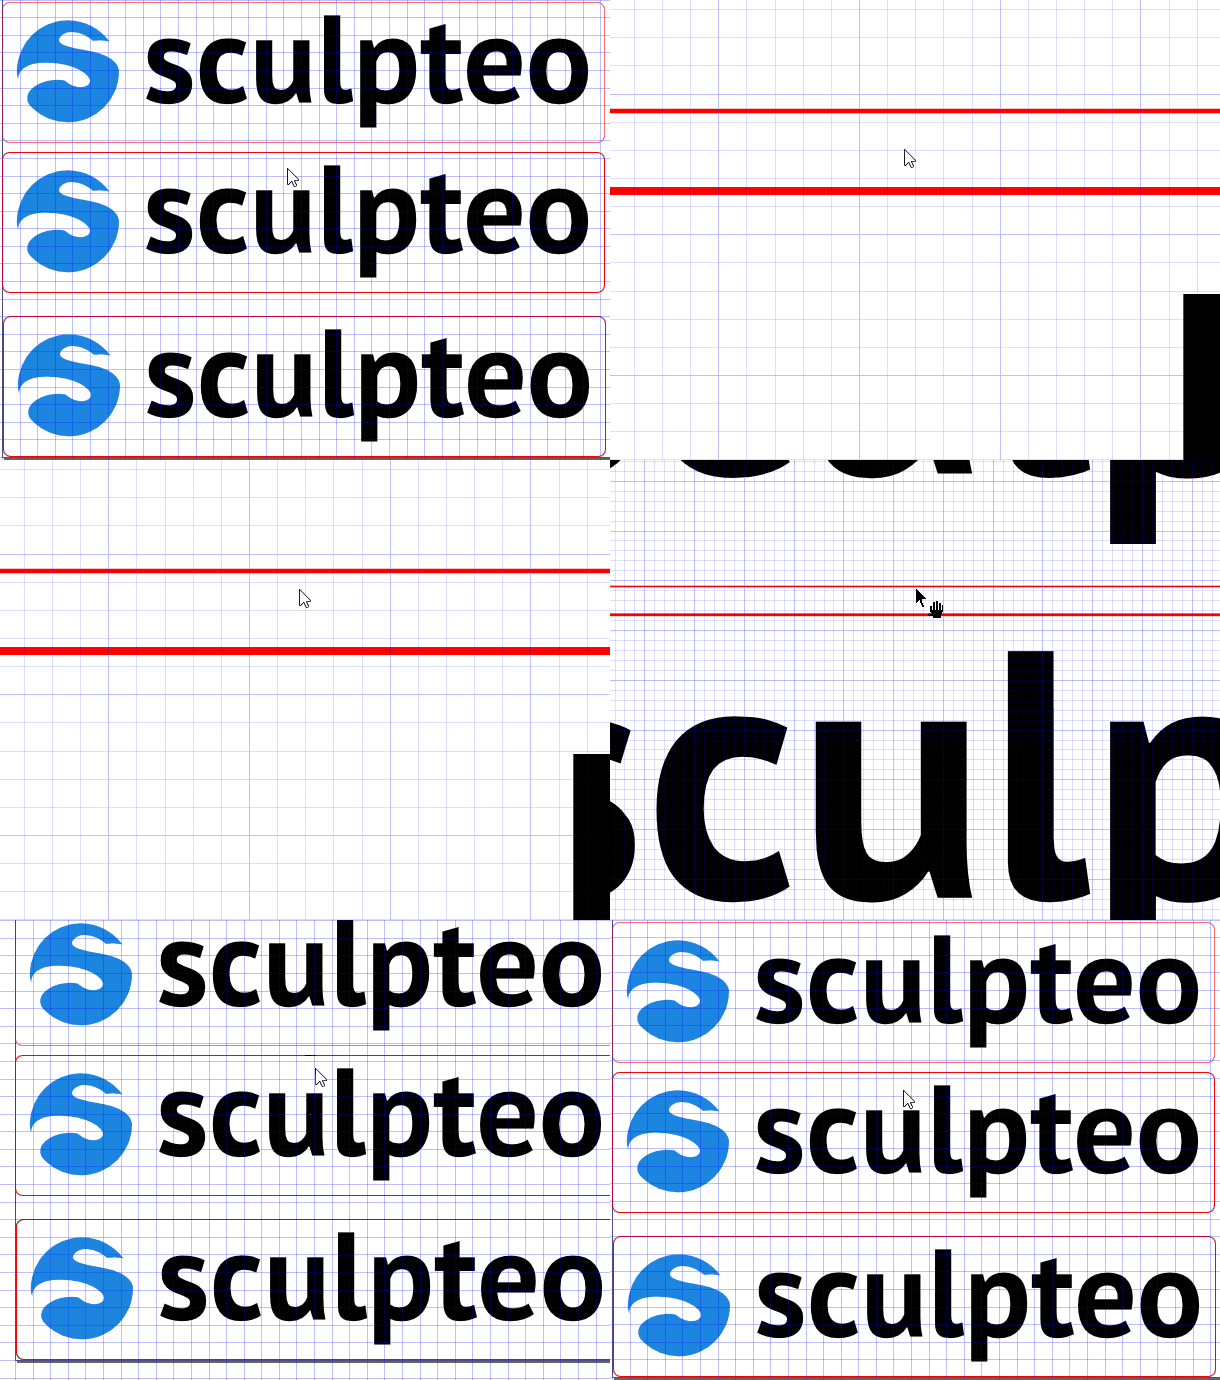
We set the grid spacing to the minimum safe line spacing earlier, now we just have to zoom in on areas of our design where lines are very close together. If anything is closer than a single grid spacing, it risks being particularly burnt or fragile due to the close spacing of the laser passes. Think about moving the elements further away from each other if possible, until at least a single grid spacing is between them.

It’s a little difficult to spot superimposed lines sometimes. Depending on your file, path unions can make key design elements disappear and worse. This is why it’s generally better to manually go to any likely suspects (where two objects share a side is often a very likely candidate) and check their nodes. 

You might need to convert your objects to paths to do this, “Path -> Object to Path”. 

Editing superimposed lines can be done by switching between the select and edit cursors. Using the select cursor (f1 key), move an object and see if its side was really shared or not. Undo the move (typically ctrl+z). If the line really was shared, switch to the edit cursor (f2 key), select the overlapping nodes by holding shift down while clicking, or by click-dragging your mouse. Now click the ” Delete segment between two non-endpoint nodes” icon to remove one of the redundant lines. 

Continue like this until there are no more overlapping lines.

Sometimes, superimposed lines are desired, to reduce laser time and thus your price. You can snap objects to each other to ensure that the resulting paths are superimposed and then remove a redundant line as described above. 

Snapping can be turned on and off for different types of nodes using the icons on the far right of the window. Play around with these to find which suits best for your needs. “Snap to cusp nodes” is generally a good place to start.

Text needs to be converted to outlines to be properly laser cut. This is easy, simply select all of your text and convert it to Paths using ( Path -> Object to Path). The outline of your font will now be converted to explicit paths, ready to be laser cut.