Reviewing Tools To Finalize Your 3D Printing Process
Posted By Hilmiyati Kusnadi on Apr 19, 2017 | 0 comments
Our learning sessions about online tools are coming to an end. In the past two weeks, we discovered the Optimization tools and Repairing tools. Today we are going to learn more about the Reviewing Tools. This function will help you check the various settings and avoid finalizing an order that can not be printed. Our main goal is to ensure your satisfaction when you receive your 3D printed object.
When you upload your 3D file, you can optimize your model with hollowing (to reduce the quantity of material used), batch control and customize orientation options which will help you reduce the cost of your 3D printed objects. You can then select an option in repairing tools that adapts into your preference and to your 3D file as well. Once you’re done, we offer four tools that are useful:
1. Solidity Check
2. Thickening
3. Cutaway view
4. 3D Print Dossier – FinalProof
Solidity Check
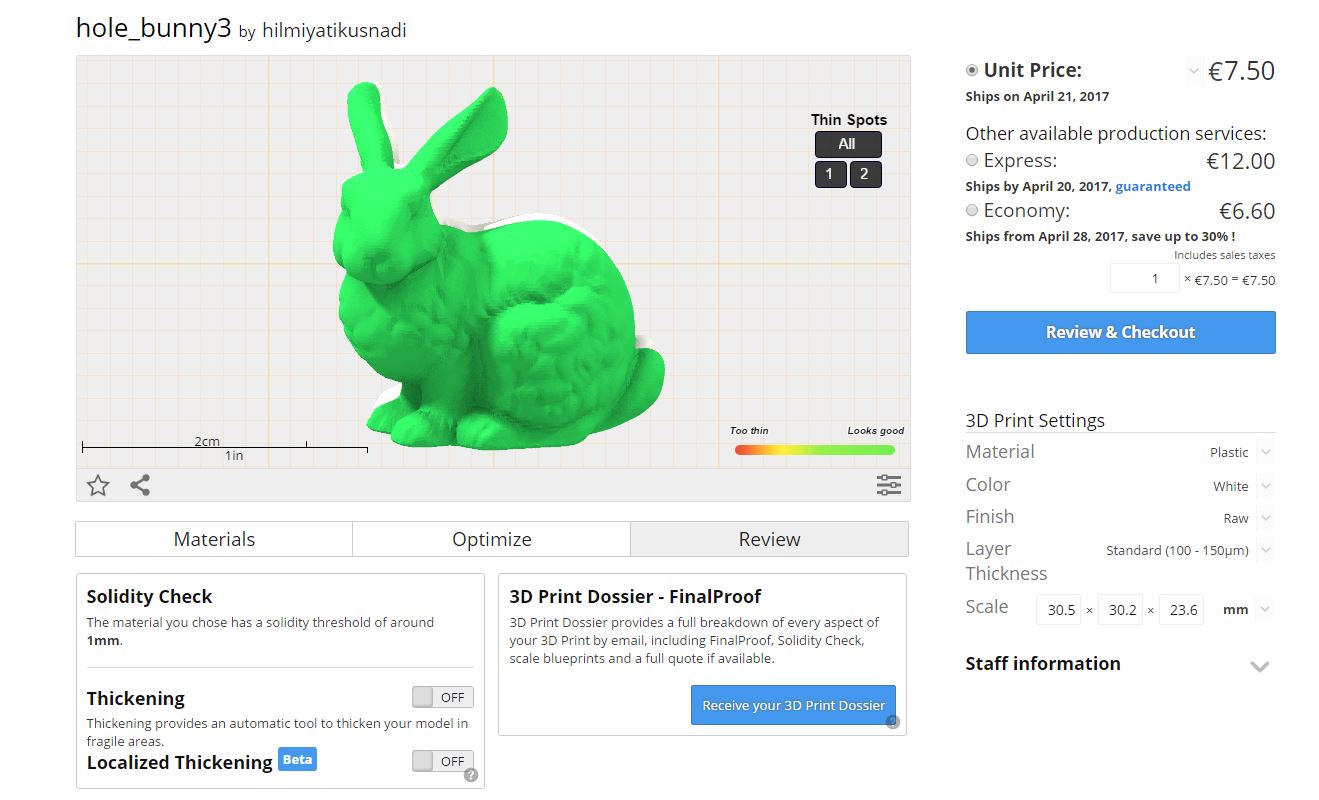
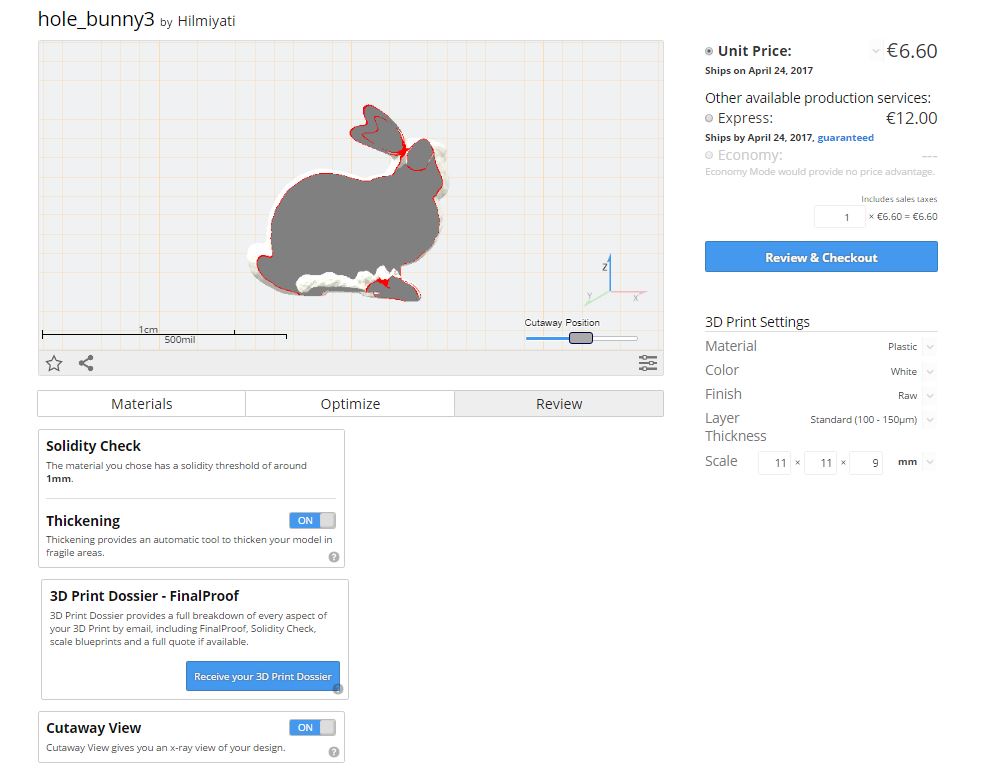
A “Review” tab can be found under the 3D viewer. Solidity check is the first step to take before finalizing your order.
What is the solidity check?
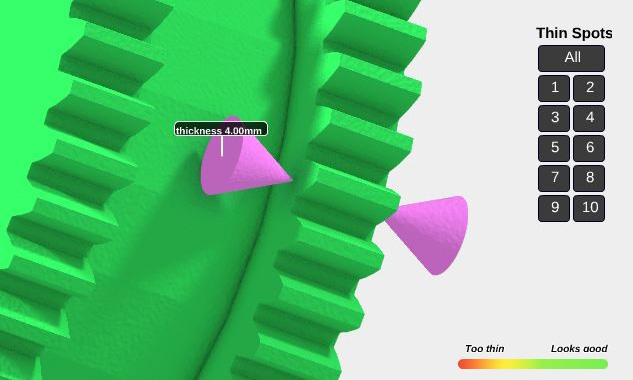
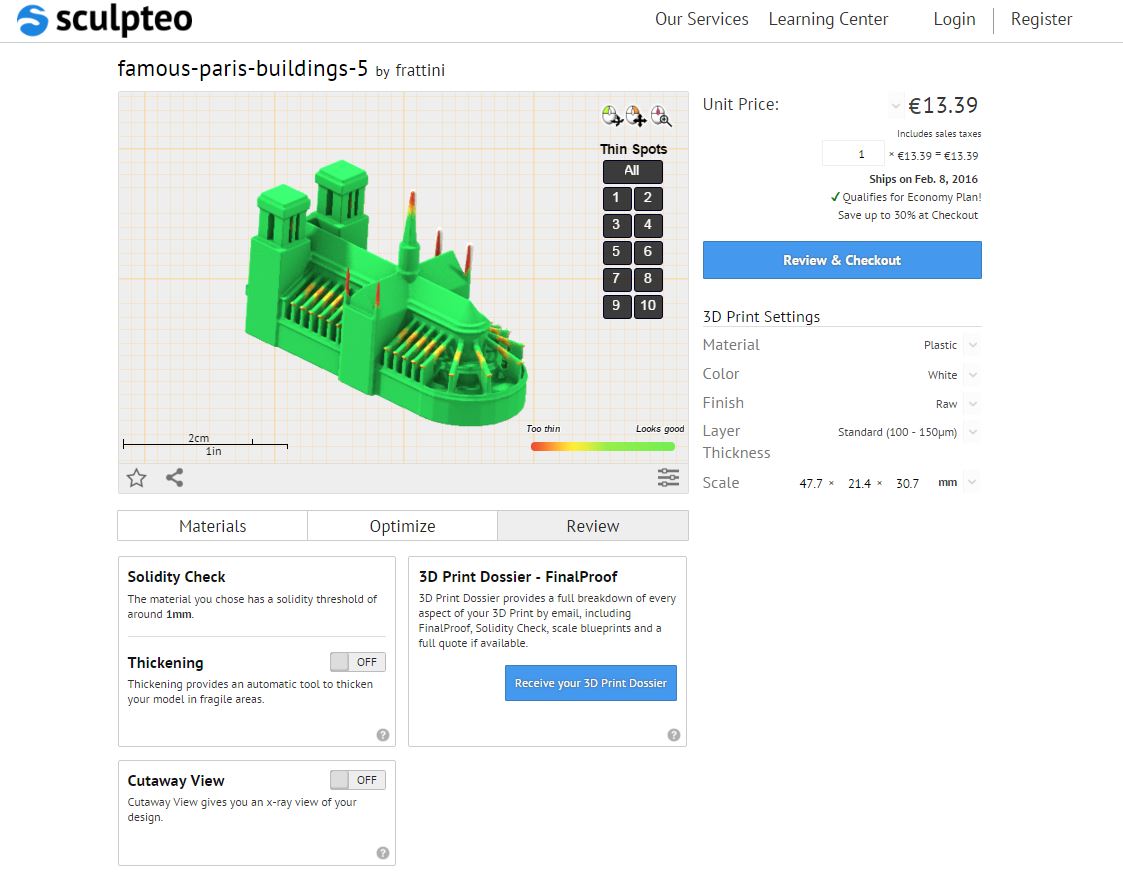
In a nutshell, it is a special visualization made to check the strength of an object for a given size and material. To simplify, if your model becomes green, it’s a go. If you have big red areas, some parts of your 3D model need to be thicker, bigger the size or you may have to consider changing its material.
It is quite easy and fast to use this feature. When you are changing the settings, model size or material, the update is made automatically. It will also show you the different simulation of strengths too.
You can also refer to our ebook about ‘Design Guidelines for 3D Printing’.
What if the solidity check gives you multiple red alerts?
If for some reasons you do not want to change the material or re-size your model, we provide you 2 different options:
- Use our “thicken” tool. This feature enables you to thicken the areas that are too fragile. This is usually the fastest way to do so.
- You can also apply the “measurement” feature inside the solidity check to correct your model using 3D modeling software of your choice. This feature will notice the fragile areas, measure them and fix them with the modeling software.
We also created tutorials on How to prepare your model for 3D printing using your favorite softwares.
Thickening.
What is the purpose of this feature?
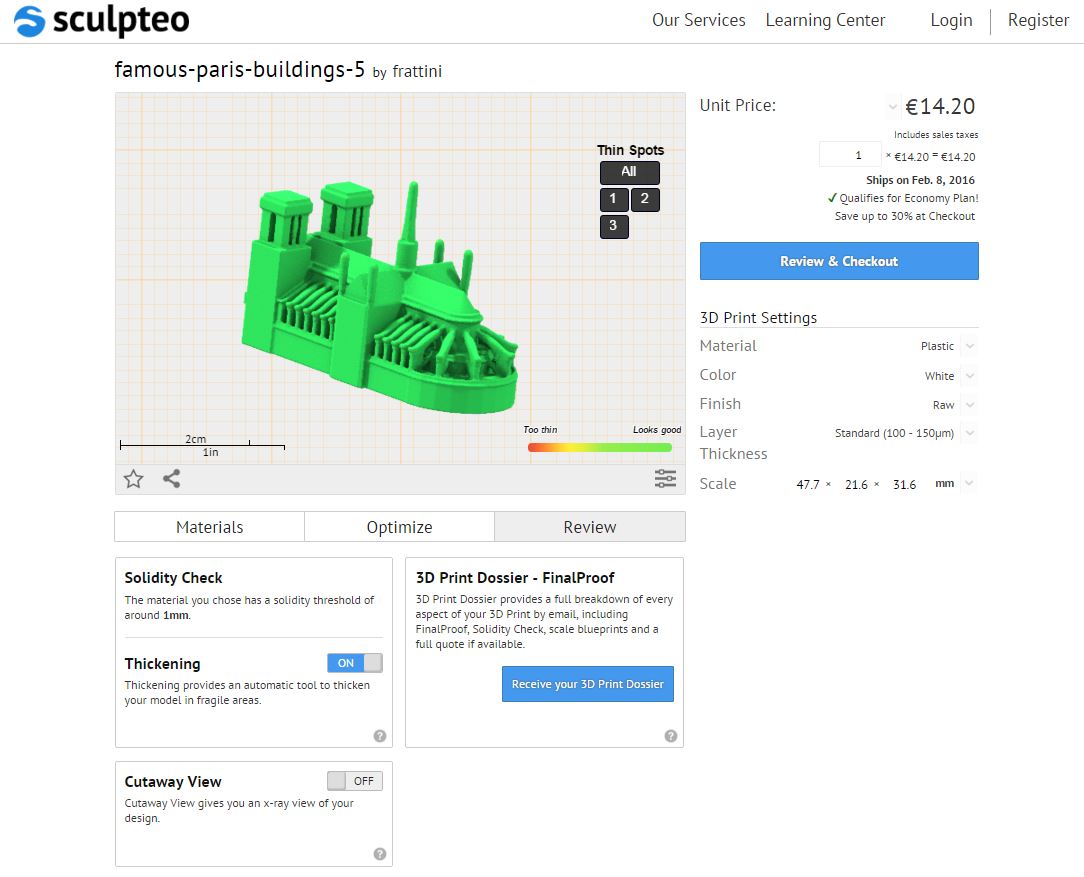
Like we said, if you have several red areas in your model, the thickening option can solve the problem of the 3D model by thickening the parts that may break easily. Our tool allows you to fix the issue with one simple click.
How to use it?
To enable this option, simply switch it ‘ON’ and our algorithms will then create a wrap around the thin areas to make them thicker. In case you need to return to the initial model, you can always disable this feature.
Cutaway view
What is special about this feature?
With Cutaway view, you can see an x-ray view of your design, both inside and outside, along with any axis. In conjunction with hollowing, it will ensure that your 3D model is correctly hollowed and that the position of the holes can allow the removal of unused material. You can also check that there actually is a gap between different volumes which constitute a moving object.
How to use it?
To use this function, you simply need to switch on the Cutaway view. Our algorithms automatically modify the model of the 3D viewer.
3D Print Dossier – FinalProof
At Sculpteo, we created this set of tools to help you make the best 3D printed objects. There is one more step you can take to make sure that your model is printable is to enable the 3D Print Dossier – FinalProof. This option will provide you a fully detailed information on every aspect of your 3D print.
How does it work?
You can click on “Receive your 3D Print Dossier”. We will prepare the analysis of your 3D model and send the document to you by email within an hour.
The 3D Print Dossier that we prepare for you includes the FinalProof, Solidity Check, scale blueprints, and a full quote. As you already know the Solidity check, you may wonder what the FinalProof, scale blueprints and quote are?
3D printing techniques involve laying down successive layers of the chosen material to create the 3D object. At a small scale, this layering technique can impact visible detail of your design or create visible layers on gentle curves. The FinalProof gives you a realistic preview of what kind of effects this layering can have on your design. FinalProof also helps you to choose the scale of your 3D print model.
It is always helpful to see a 1:1 scale and Blueprints of your design. You may want to print the 3D Print Dossier at the actual size to have 1:1 scale blueprints of your design for confirmation and validation.
When you create an account on Sculpteo and enter your delivery details, you will also receive the detail the price estimation of your 3D printing object. They include taxes and the shipping cost of your 3D printed object.
Our ebook ‘How to fix your file for 3D printing’ will give you the complete information on the subject.
We have made available several visual tools to minimize the risk of errors of non-printability. After mastering these sets of our online tools, look no further and start to 3D print your own masterpiece!


 Connect with Google
 Connect with Facebook