 Connect with Google
 Connect with Facebook
Easy 3D printed pipe fitting tutorial: Do It Yourself with us!
Posted By Kat Plewa on Jan 30, 2019 | 0 comments
Today we’re back with our 3D printed pipe fitting tutorial! In the first tutorial, we learned how to design a T pipe fitting. This time our 3D printing experts will 3D model a curved pipe fitting. It’s easy to get going with just a few simple steps. Open your 3D software now and start designing with us!
What are the benefits of 3D printed pipe fittings?
First, let’s talk why would you 3D print pipe fittings. Additive Manufacturing gives you the possibility to design structures which are impossible to achieve with any other traditional techniques. You can literally adjust the insides of your parts, convert them into lightweight lattice structures or hollow them. It also allows for the production of highly customized products, fitting just the needs of your costumes.
Another reason to consider 3D printing for your project is a wide range of materials with different properties. Did you know that among 3D printing materials you can find some really interesting ones such as waterproof Nylon PA12 with smoothing beautifier or heat-resistant Jet Fusion?
3D printing is also beneficial for every production as it very fast. It can radically speed up your manufacturing process. Companies like Whirpool or Ford already use 3D technologies because it gives them spare parts and prototypes in no time.
3D model pipe fittings with our 3D printing experts
Thanks to all the benefits of Additive Manufacturing, 3D printed pipe fittings could be used to fix cleaning equipment or to complete repair kits.
For the needs of this pipe fitting tutorial, we will work with Fusion 360. We chose this software because it combines very user-friendly interface with technical functionalities. Also, you can find plenty of other tutorials online, which makes it easy to produce 3D models for 3D printing. If you’re unfamiliar with this 3D software, start learning with our Fusion 360 tutorial.
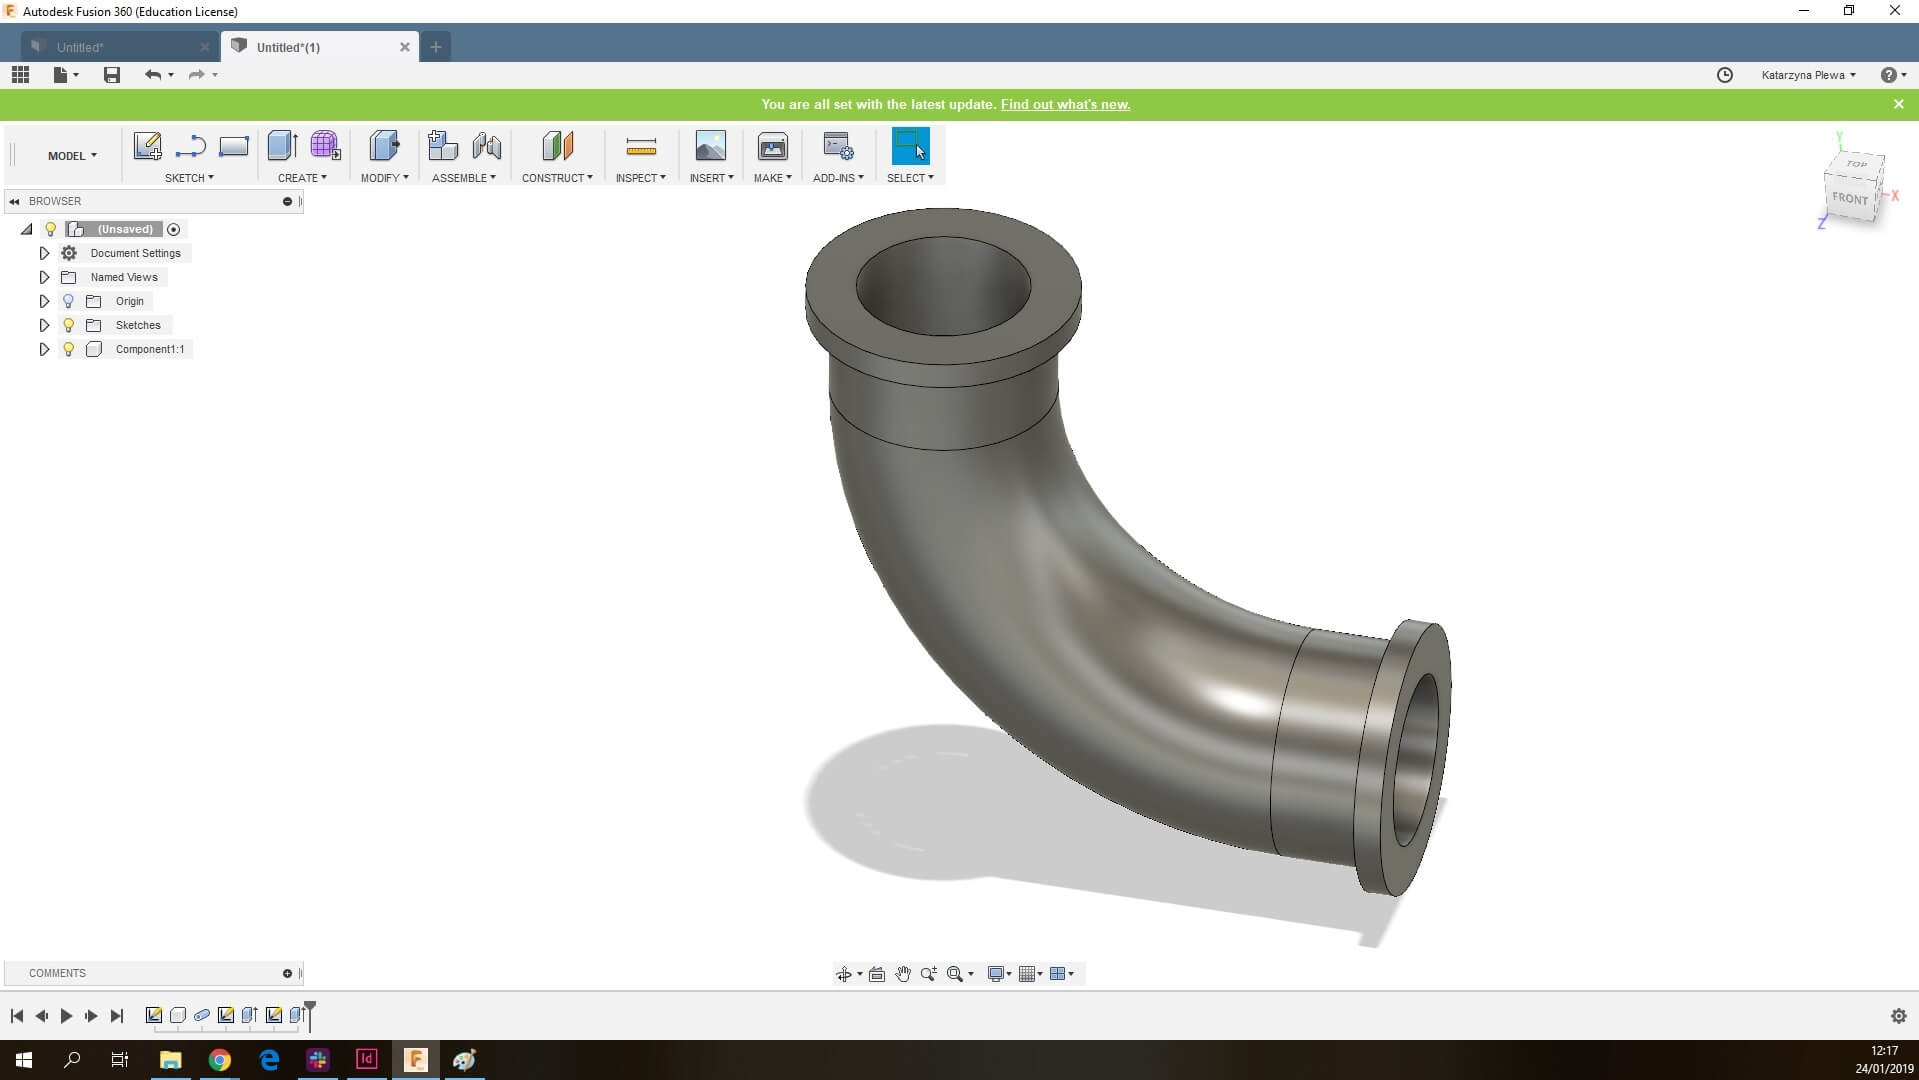
You will see that 3D modeling a pipe fitting is very easy, it can be done with the basic commands. Remember to always stop the sketch after you finish creating a shape. Also, keep in mind that we used preset measurements and you will need to adjust them accordingly to your needs. We will start by creating the curve of the fitting. The next step will be to design the connecting ends. Lastly, we will move on to designing connecting holes and finishing touches.
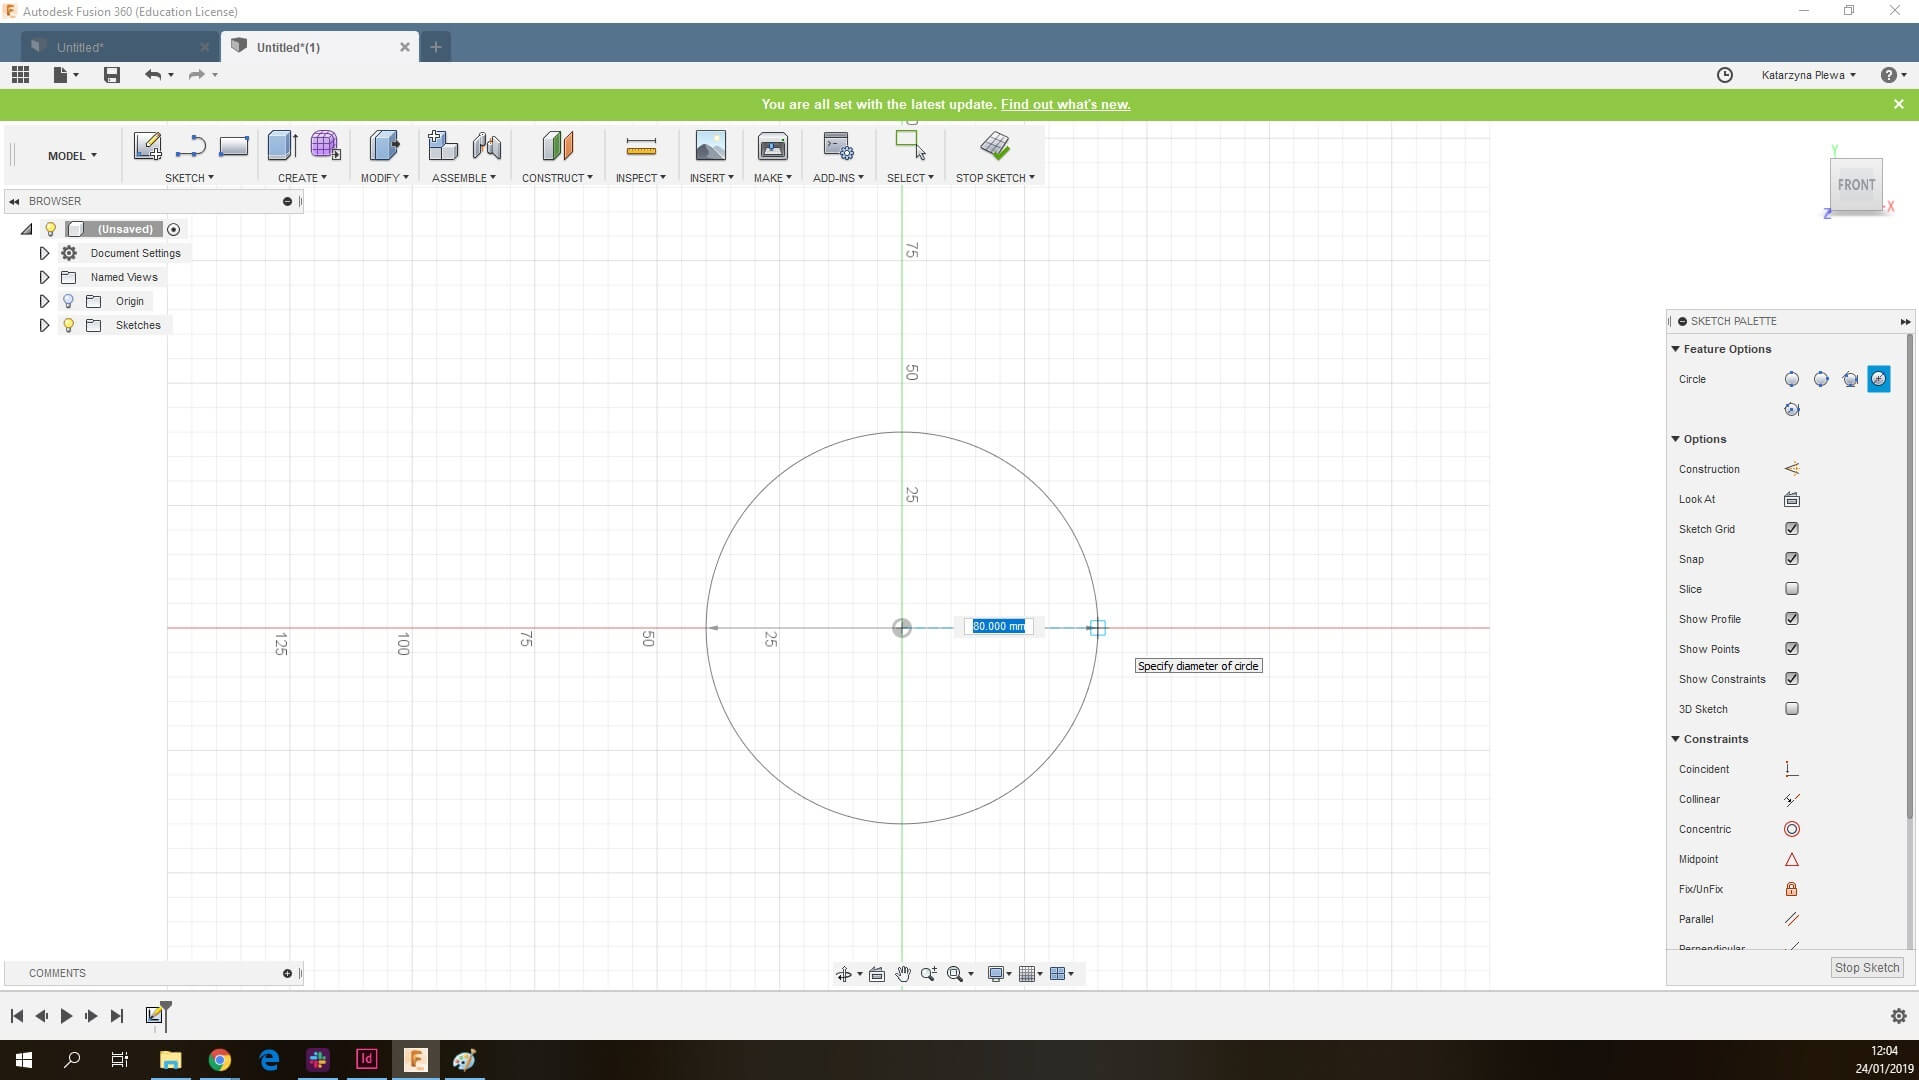
1. Create a circle 80 mm in diameter.
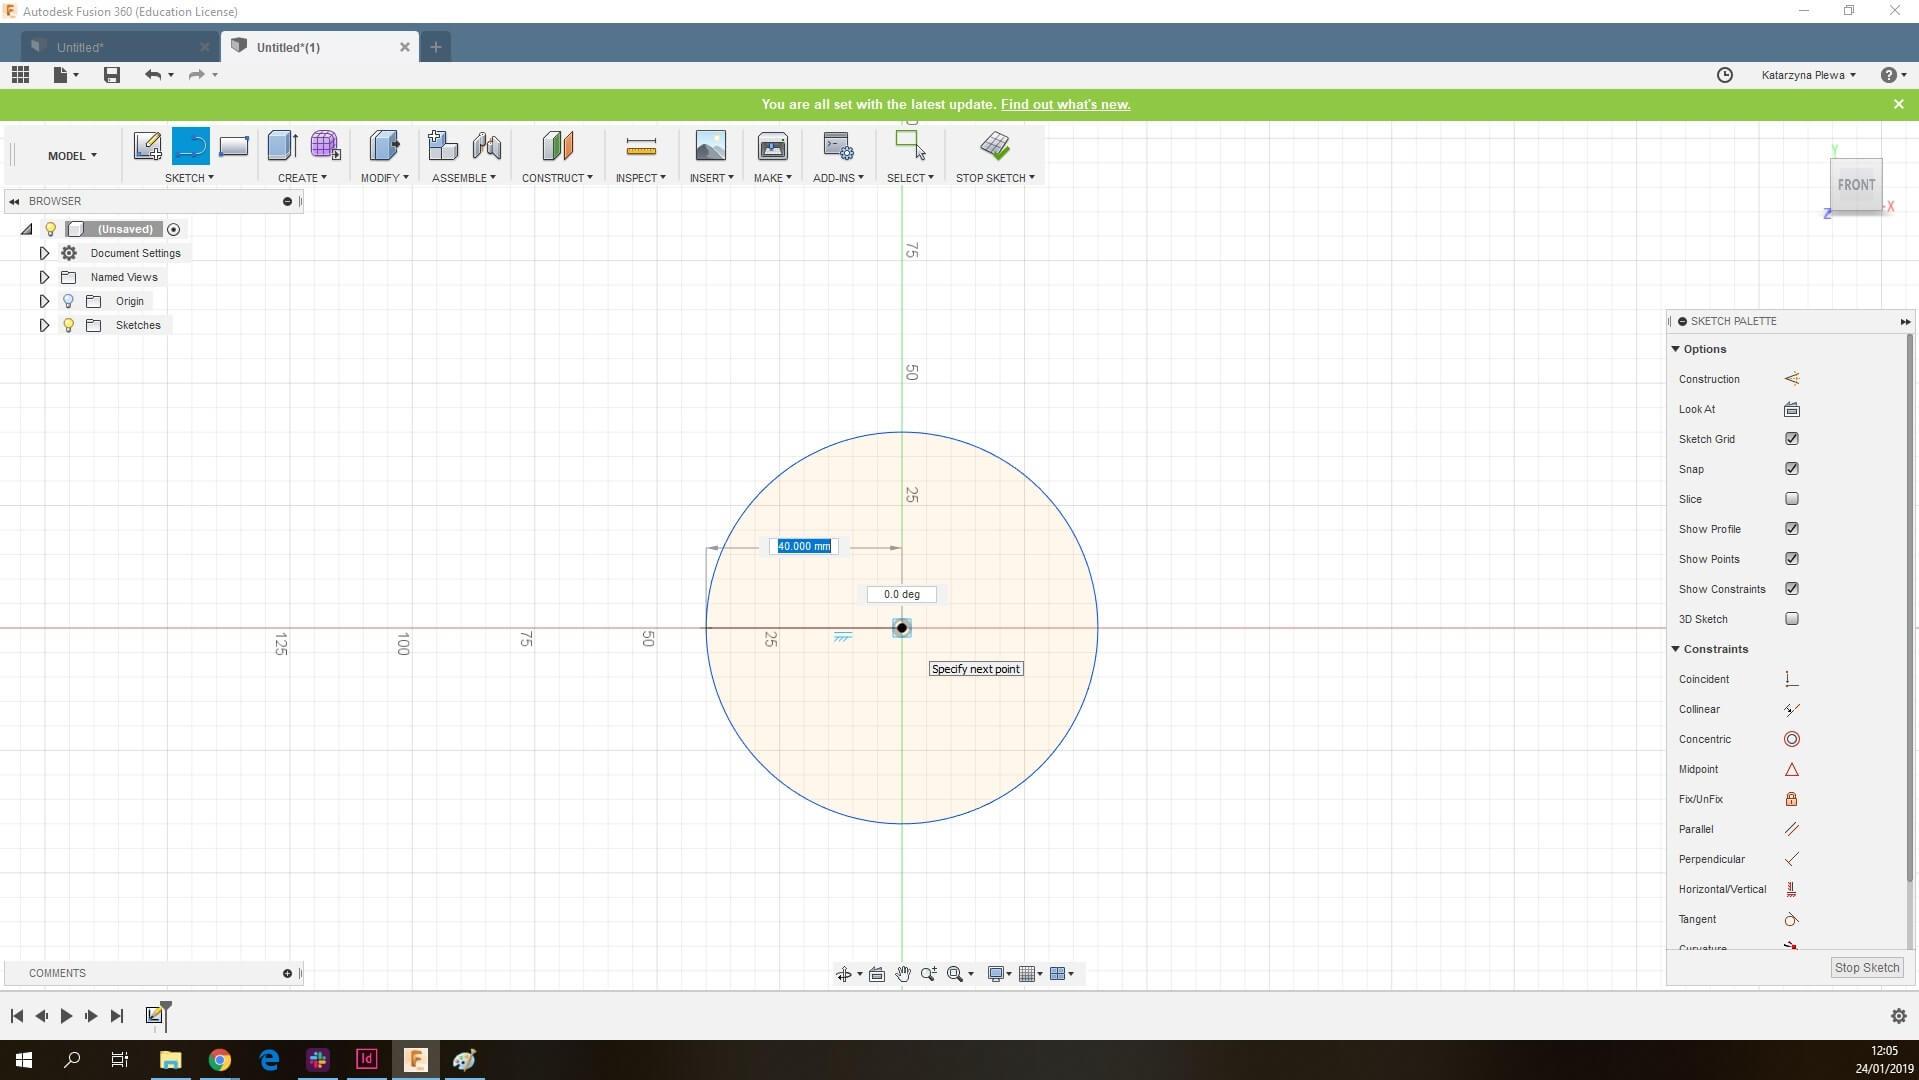
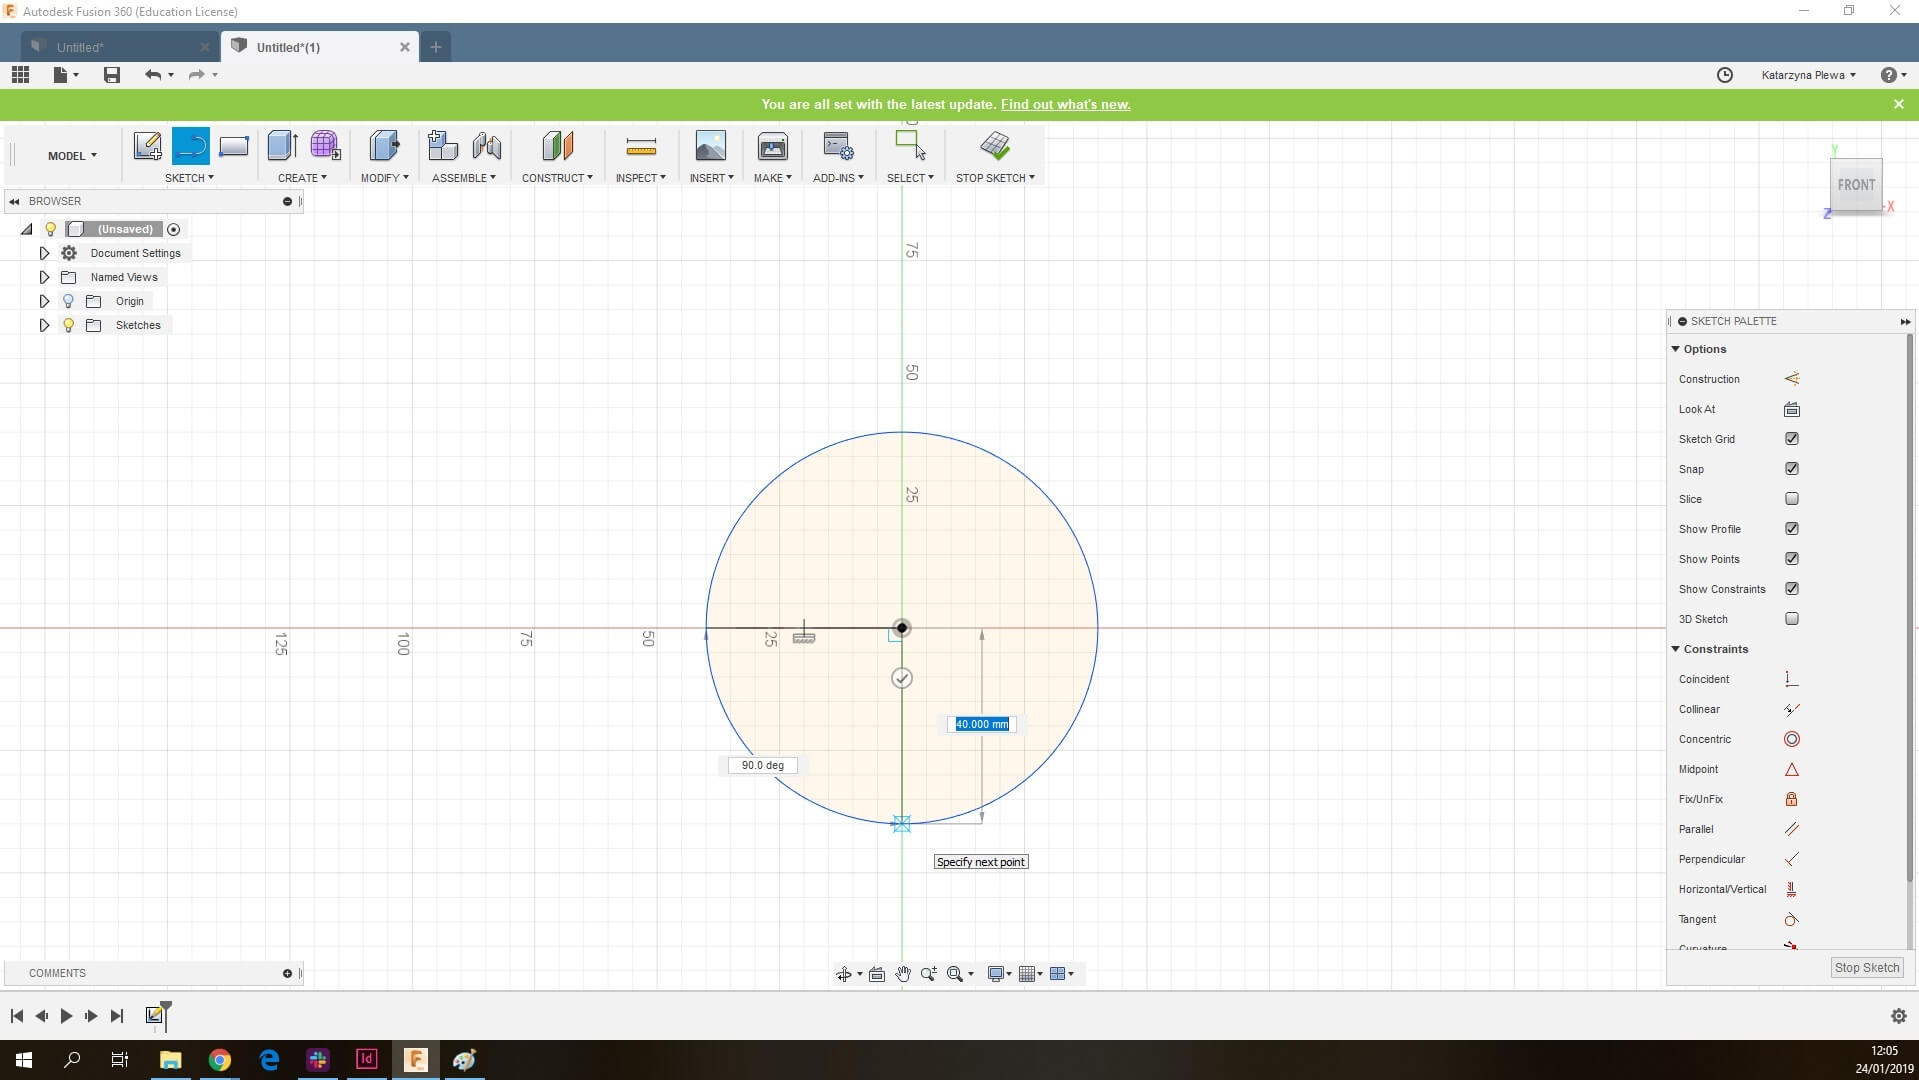
2. Create two perpendicular lines 40 mm in length.
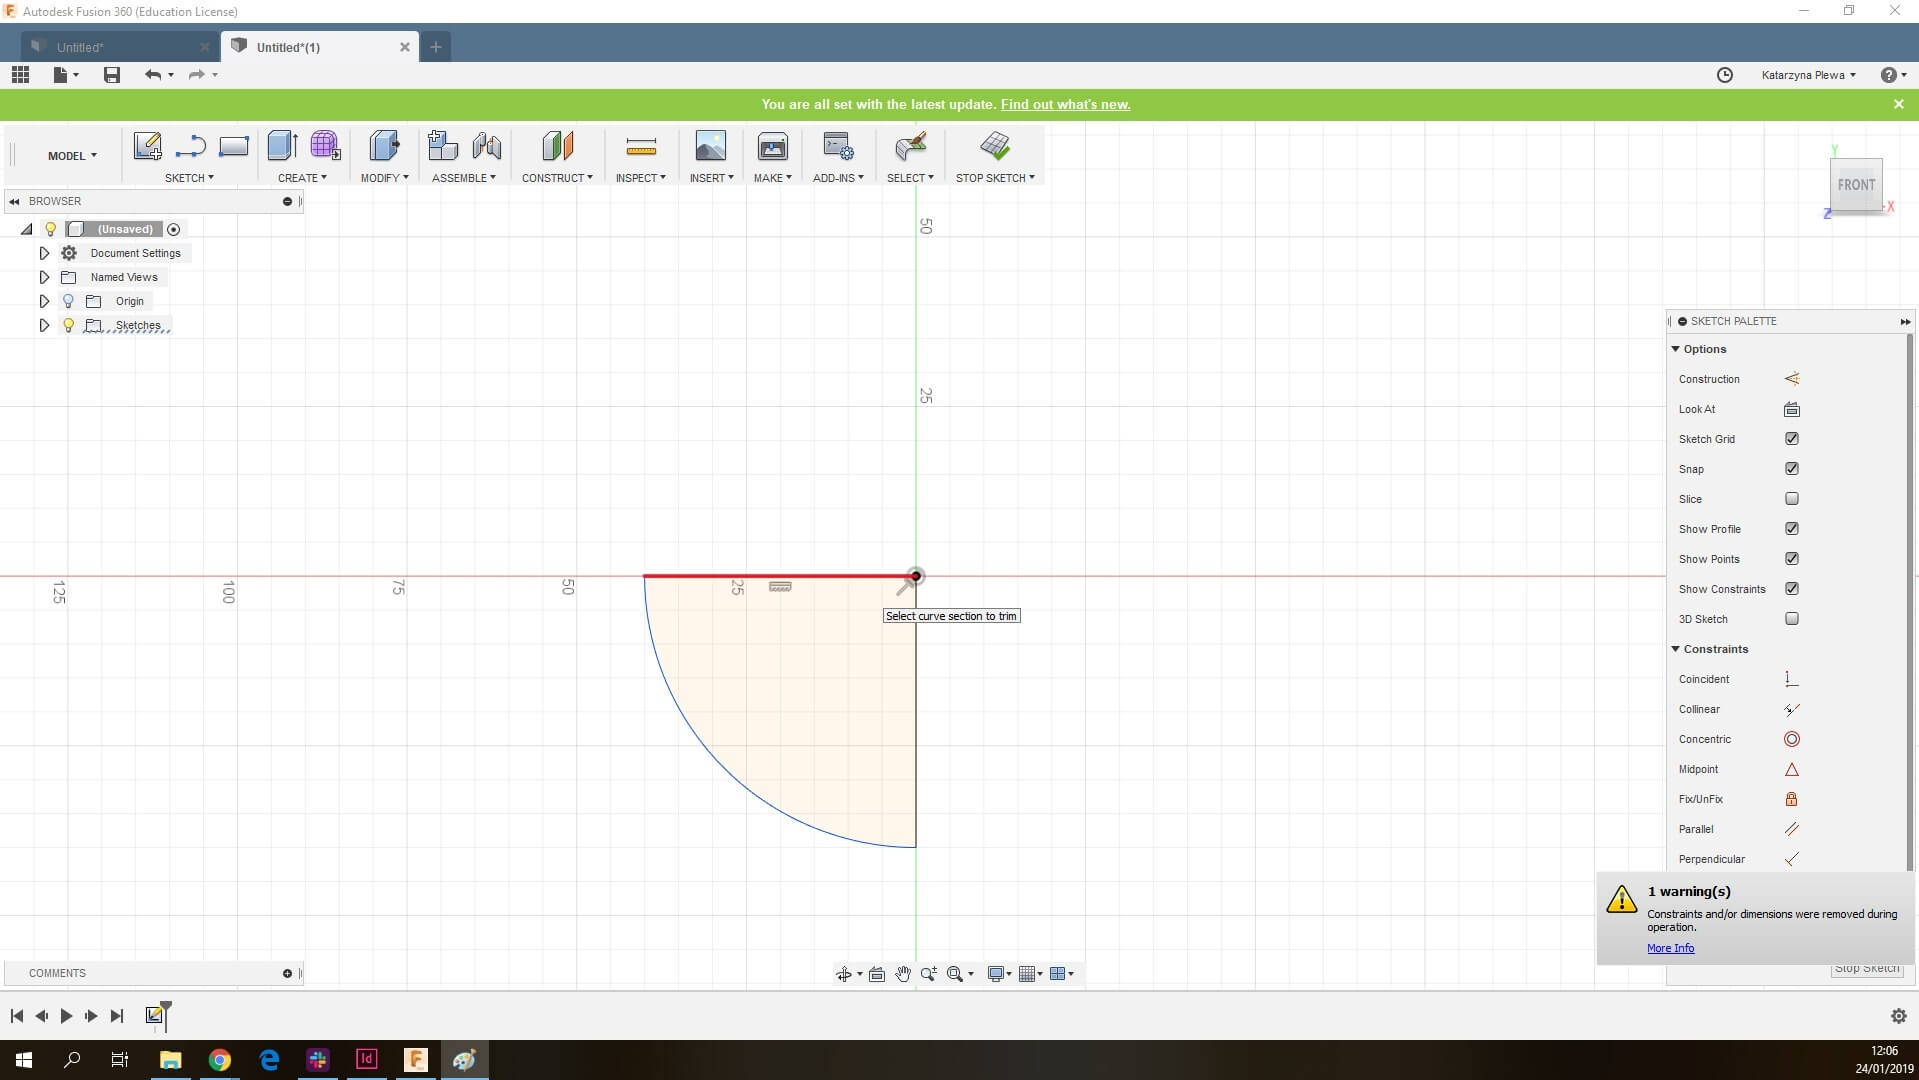
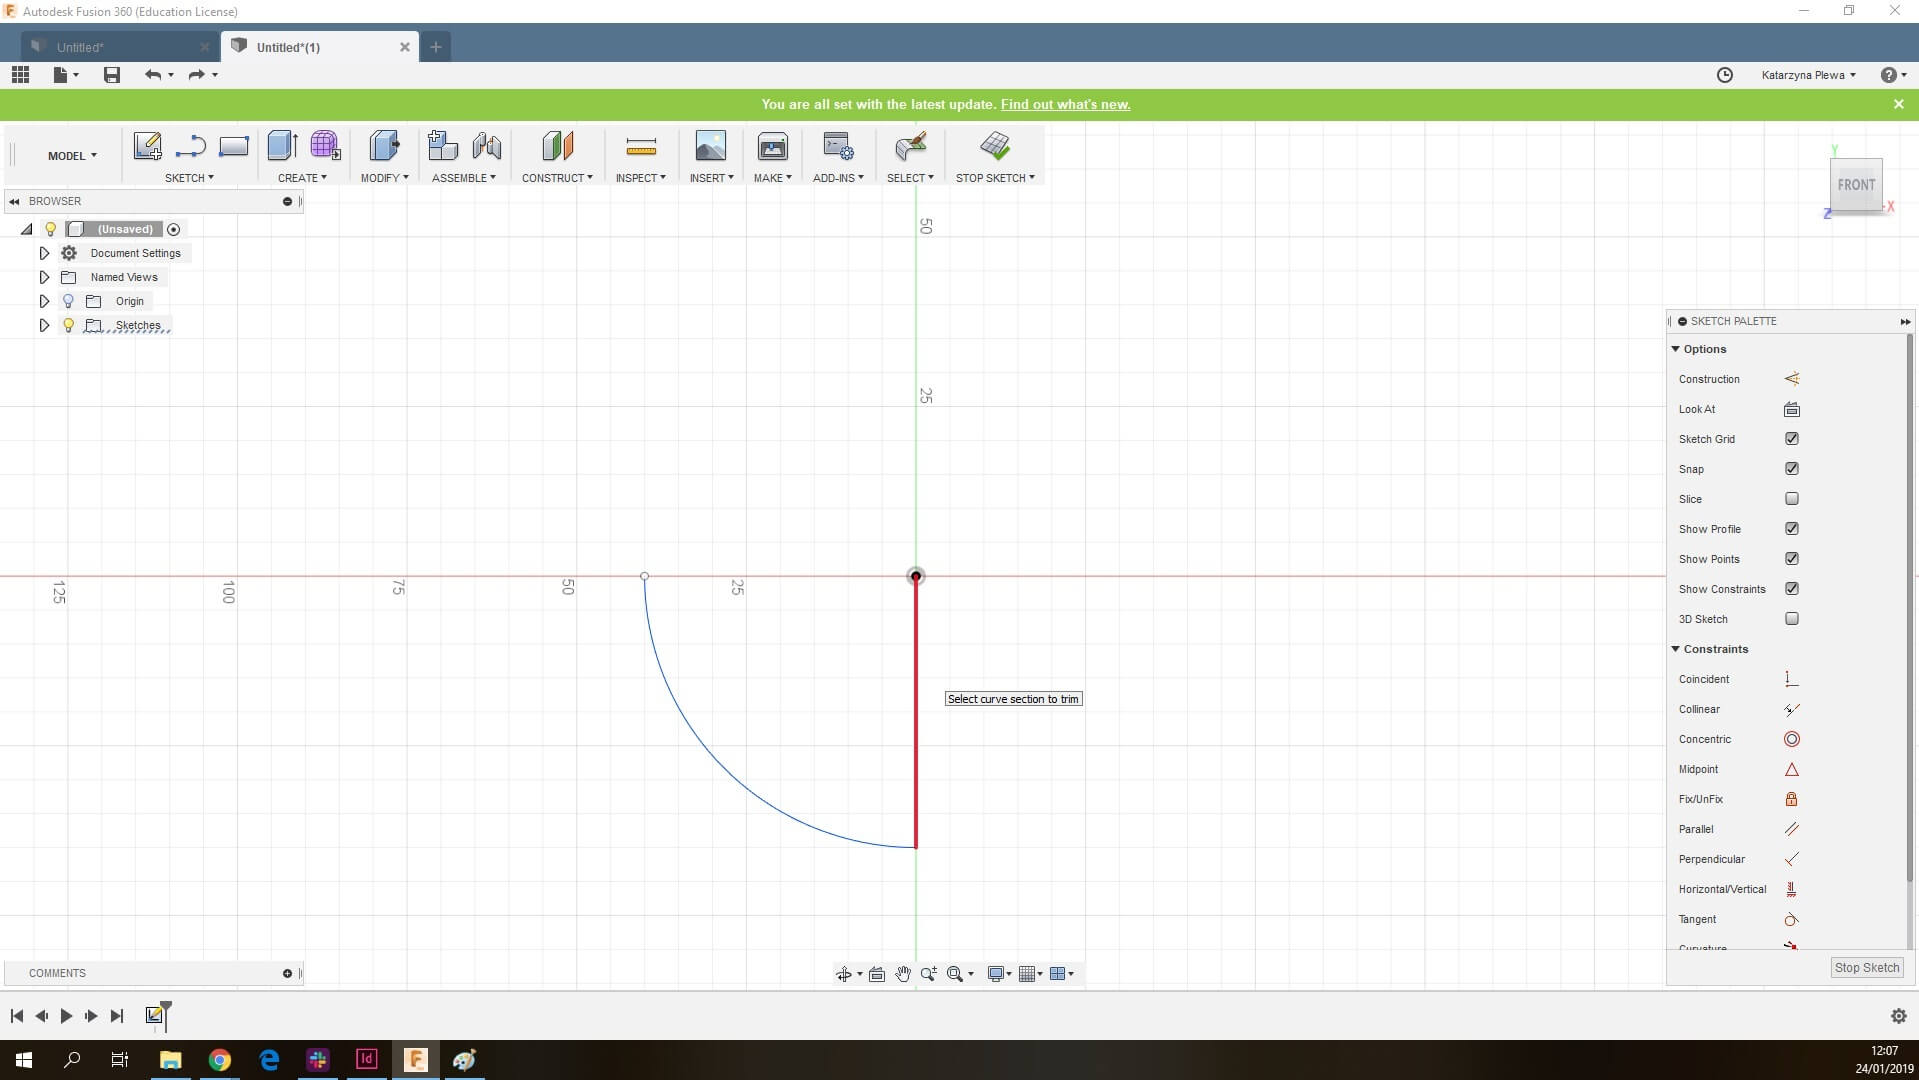
3. Select the bigger circle and trim it, leaving a quarter of the circle.

4. Delete the two lines we created before.
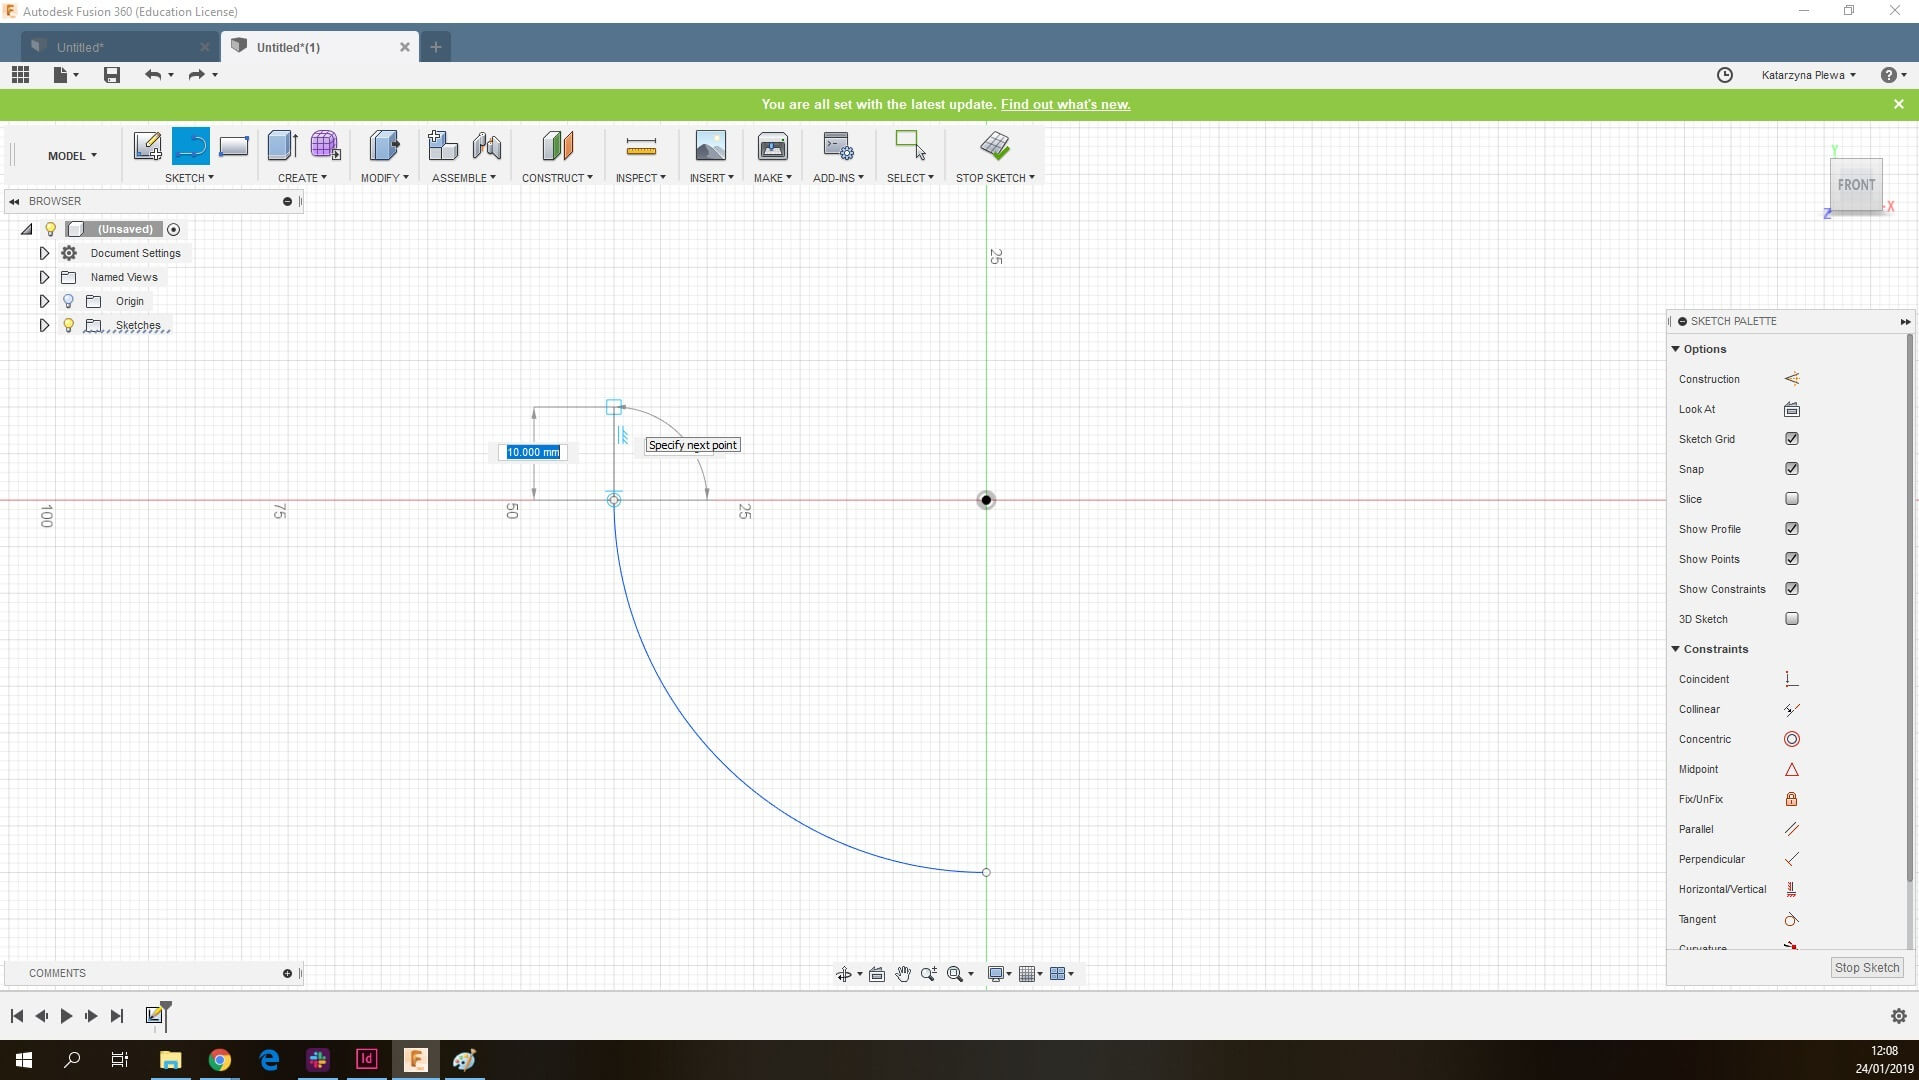
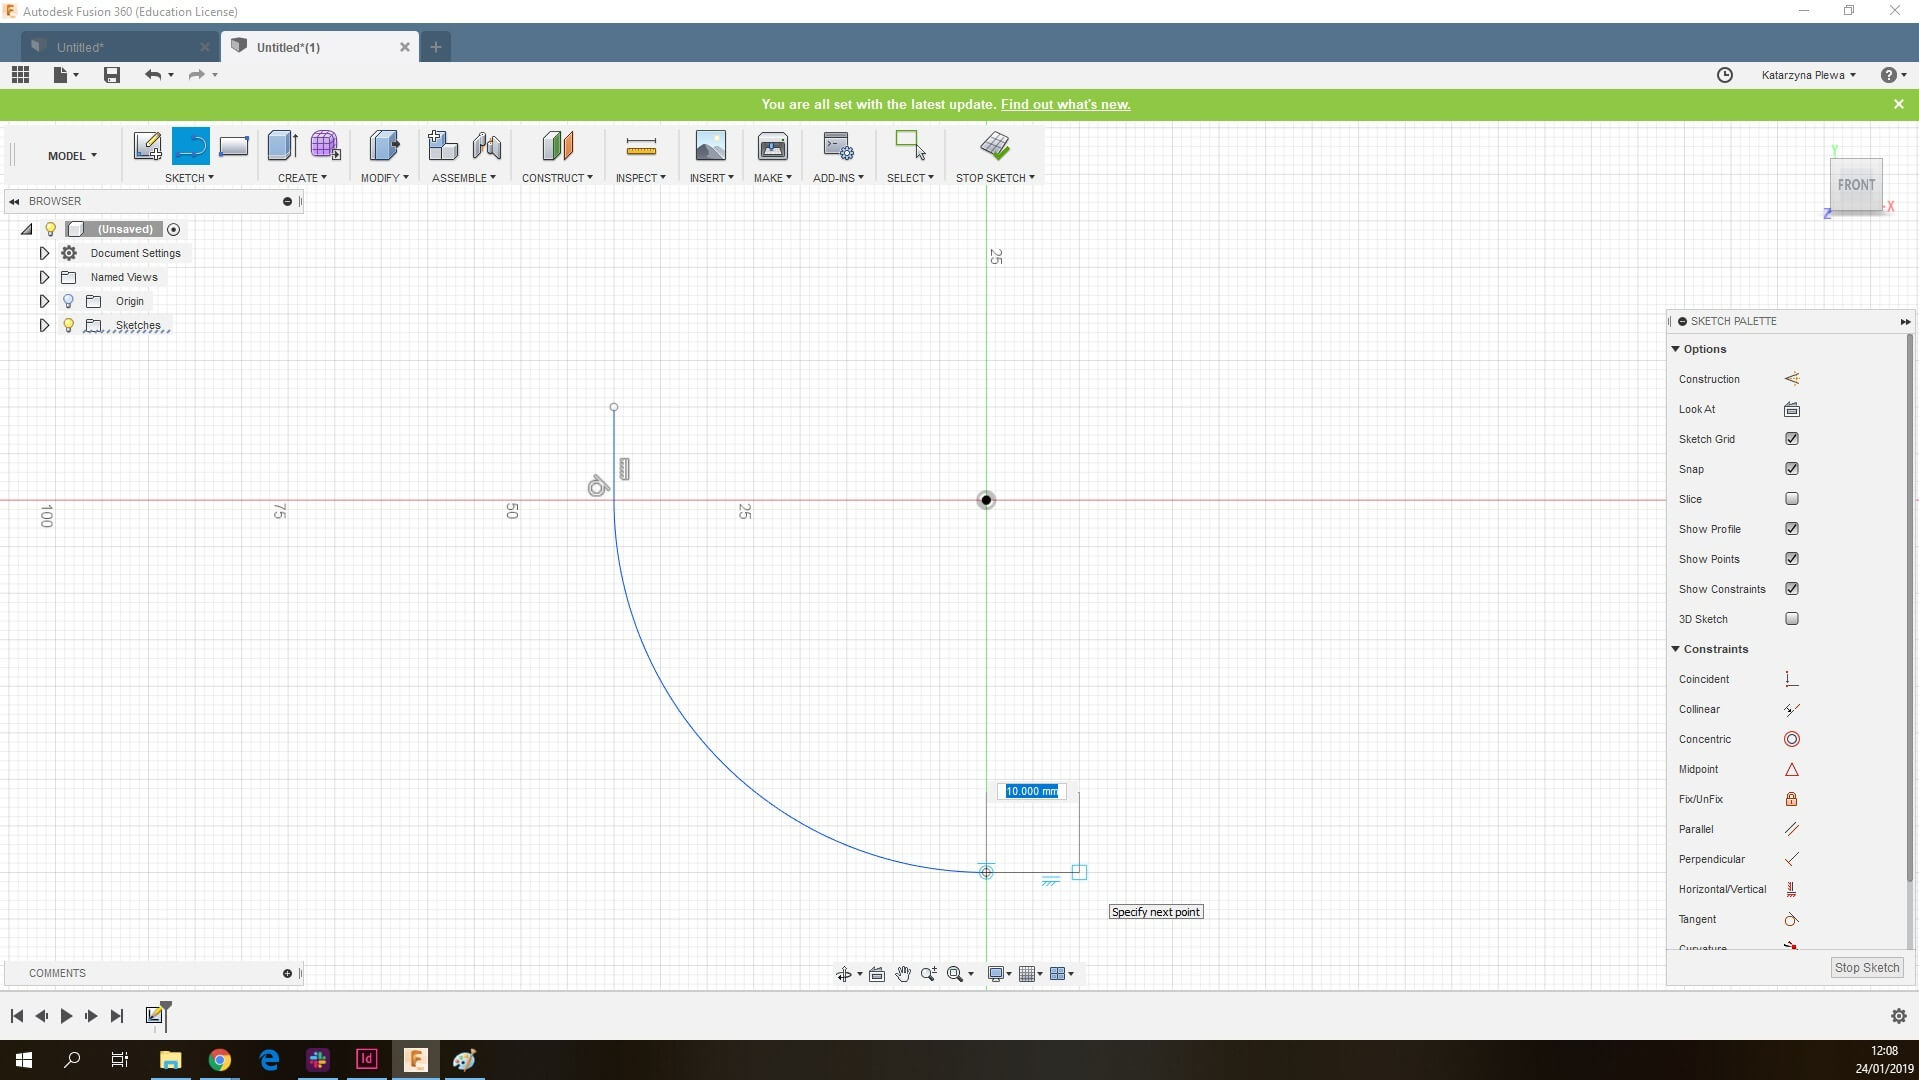
5. Create two lines, 10 mm long, on both ends of the circle.
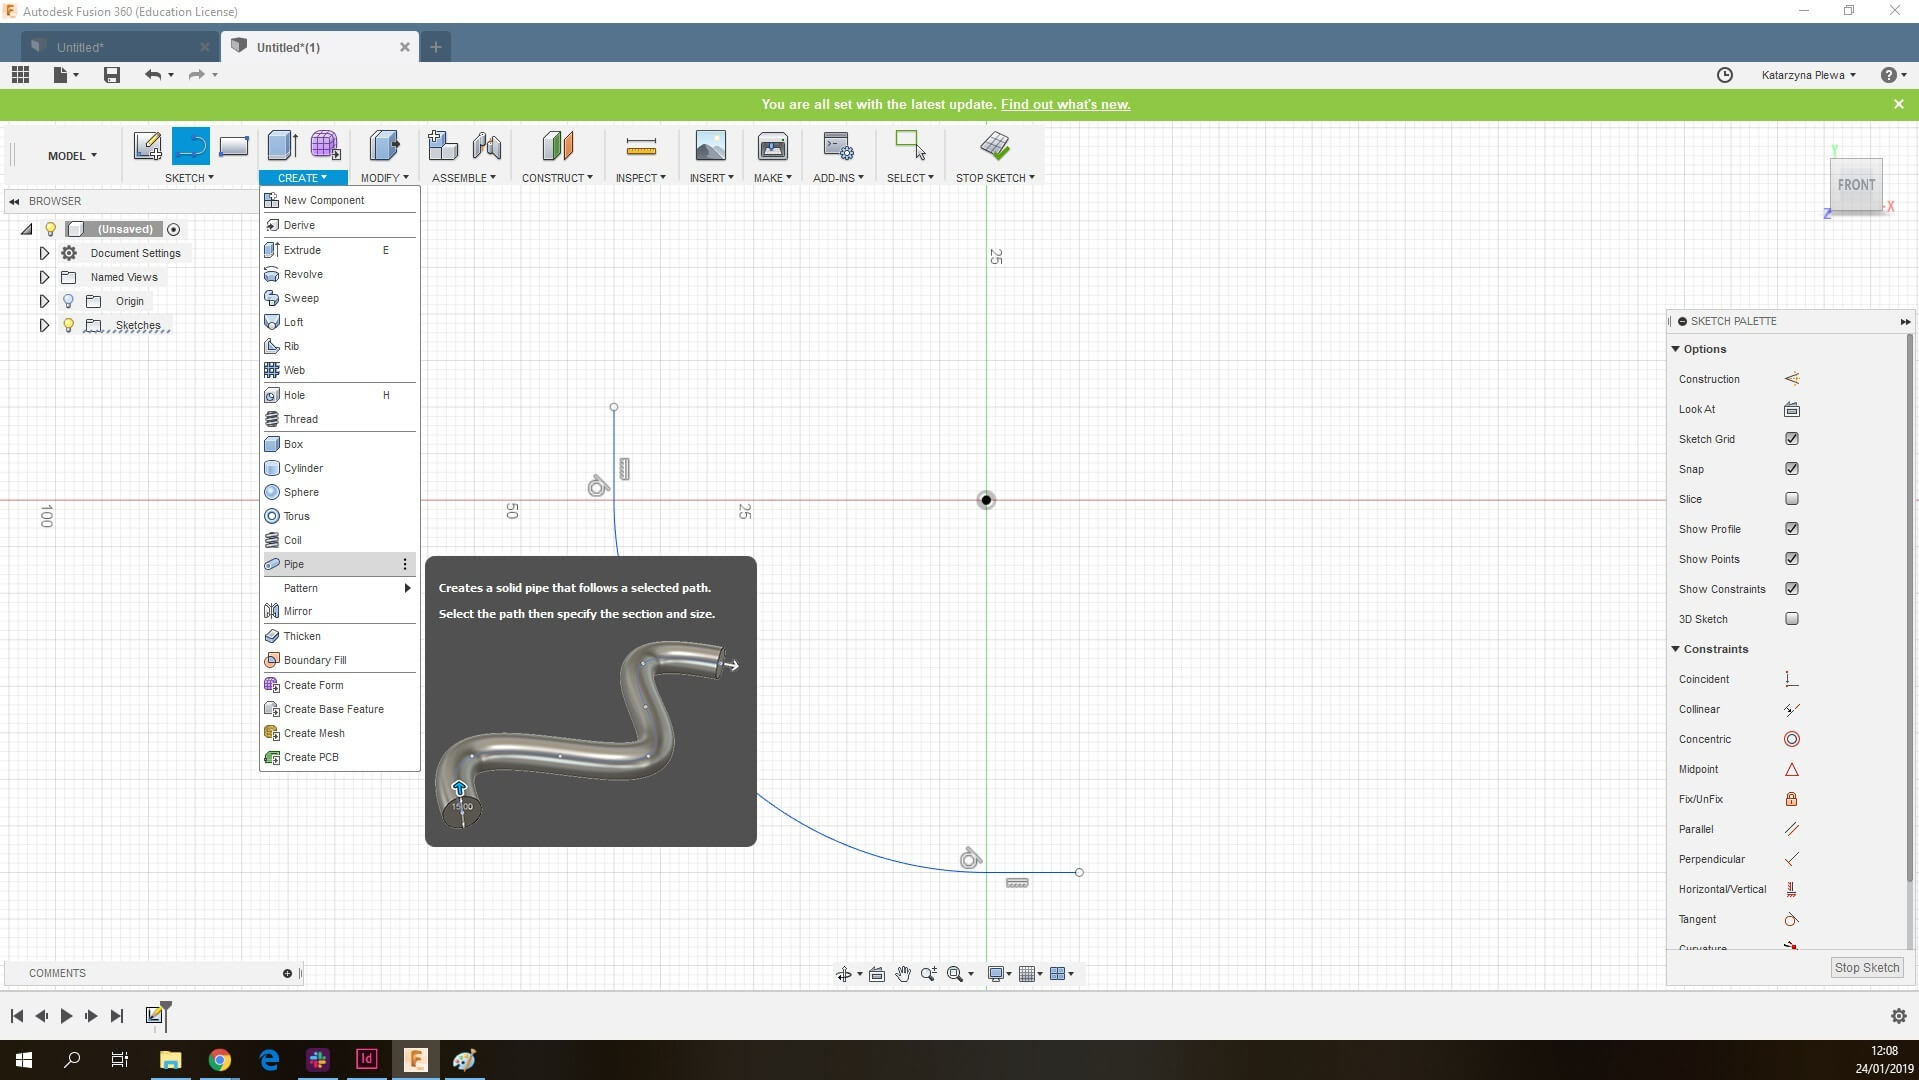
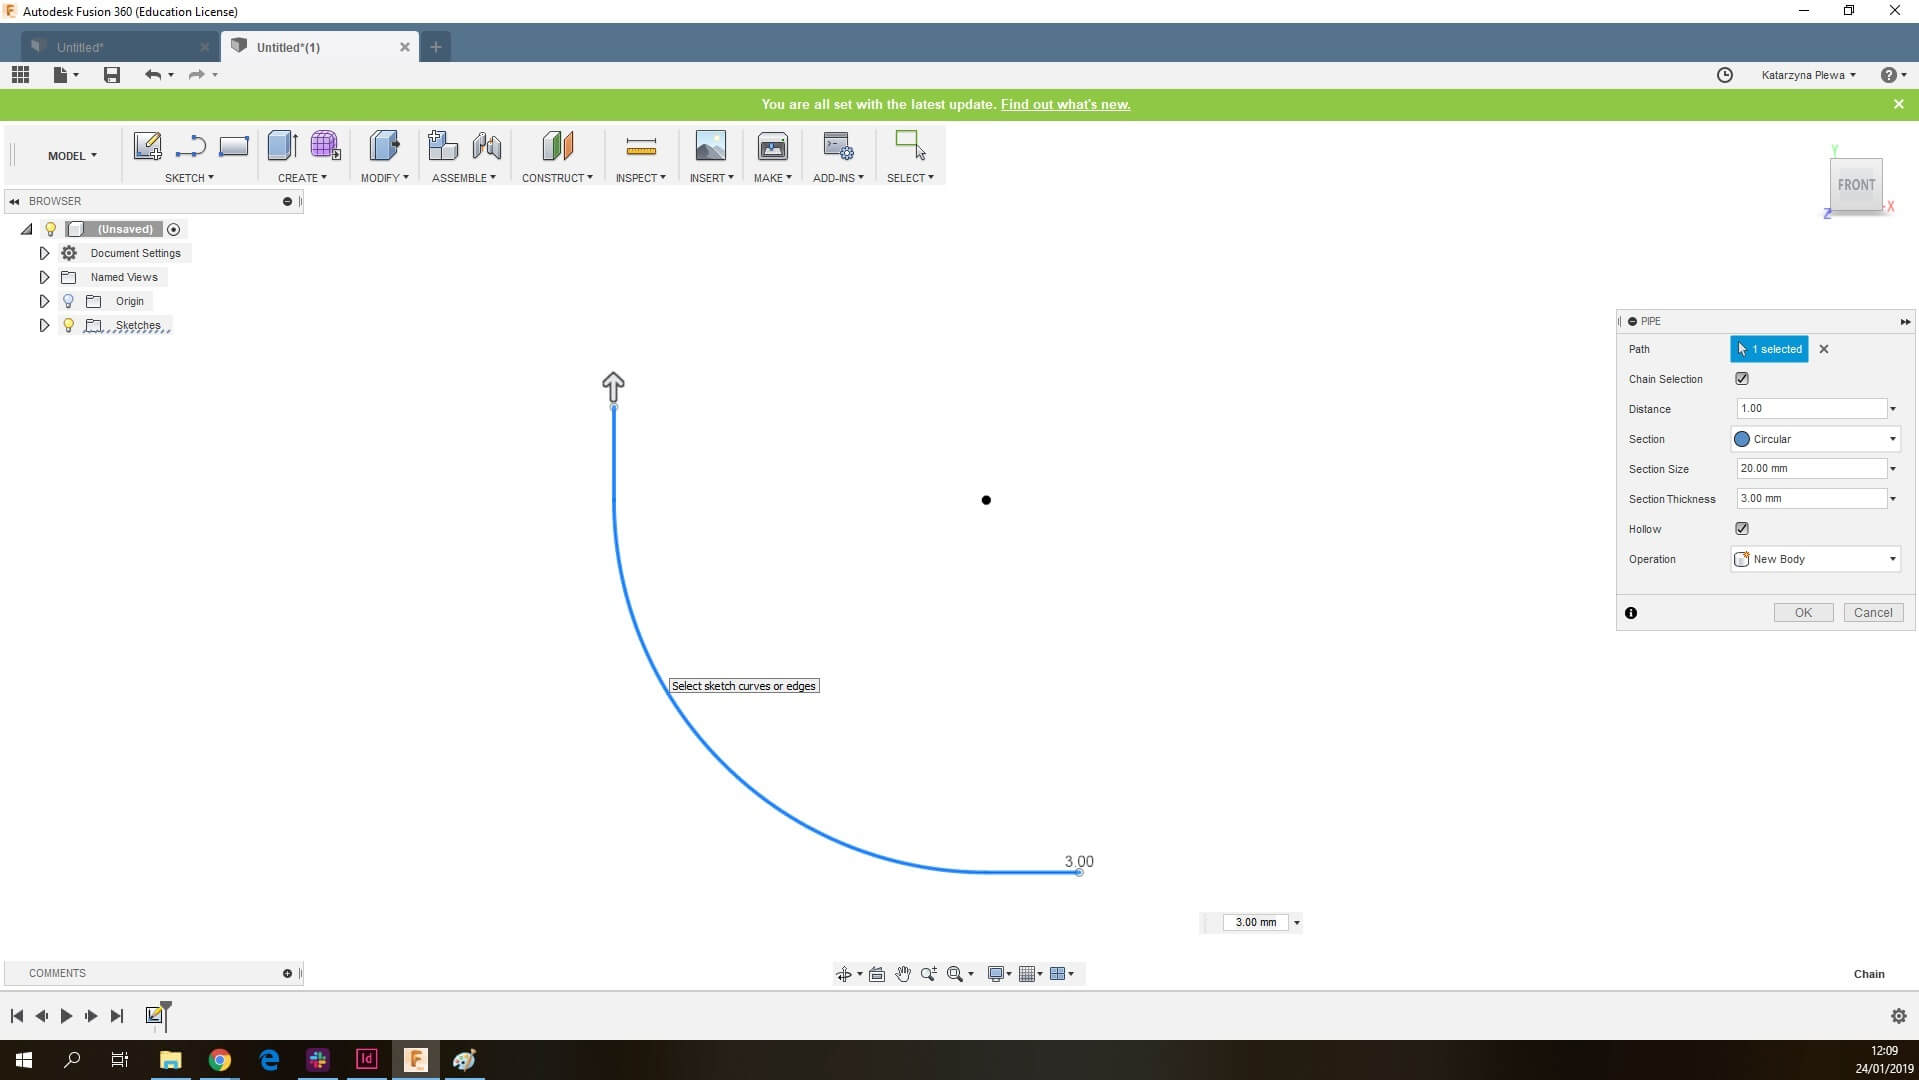
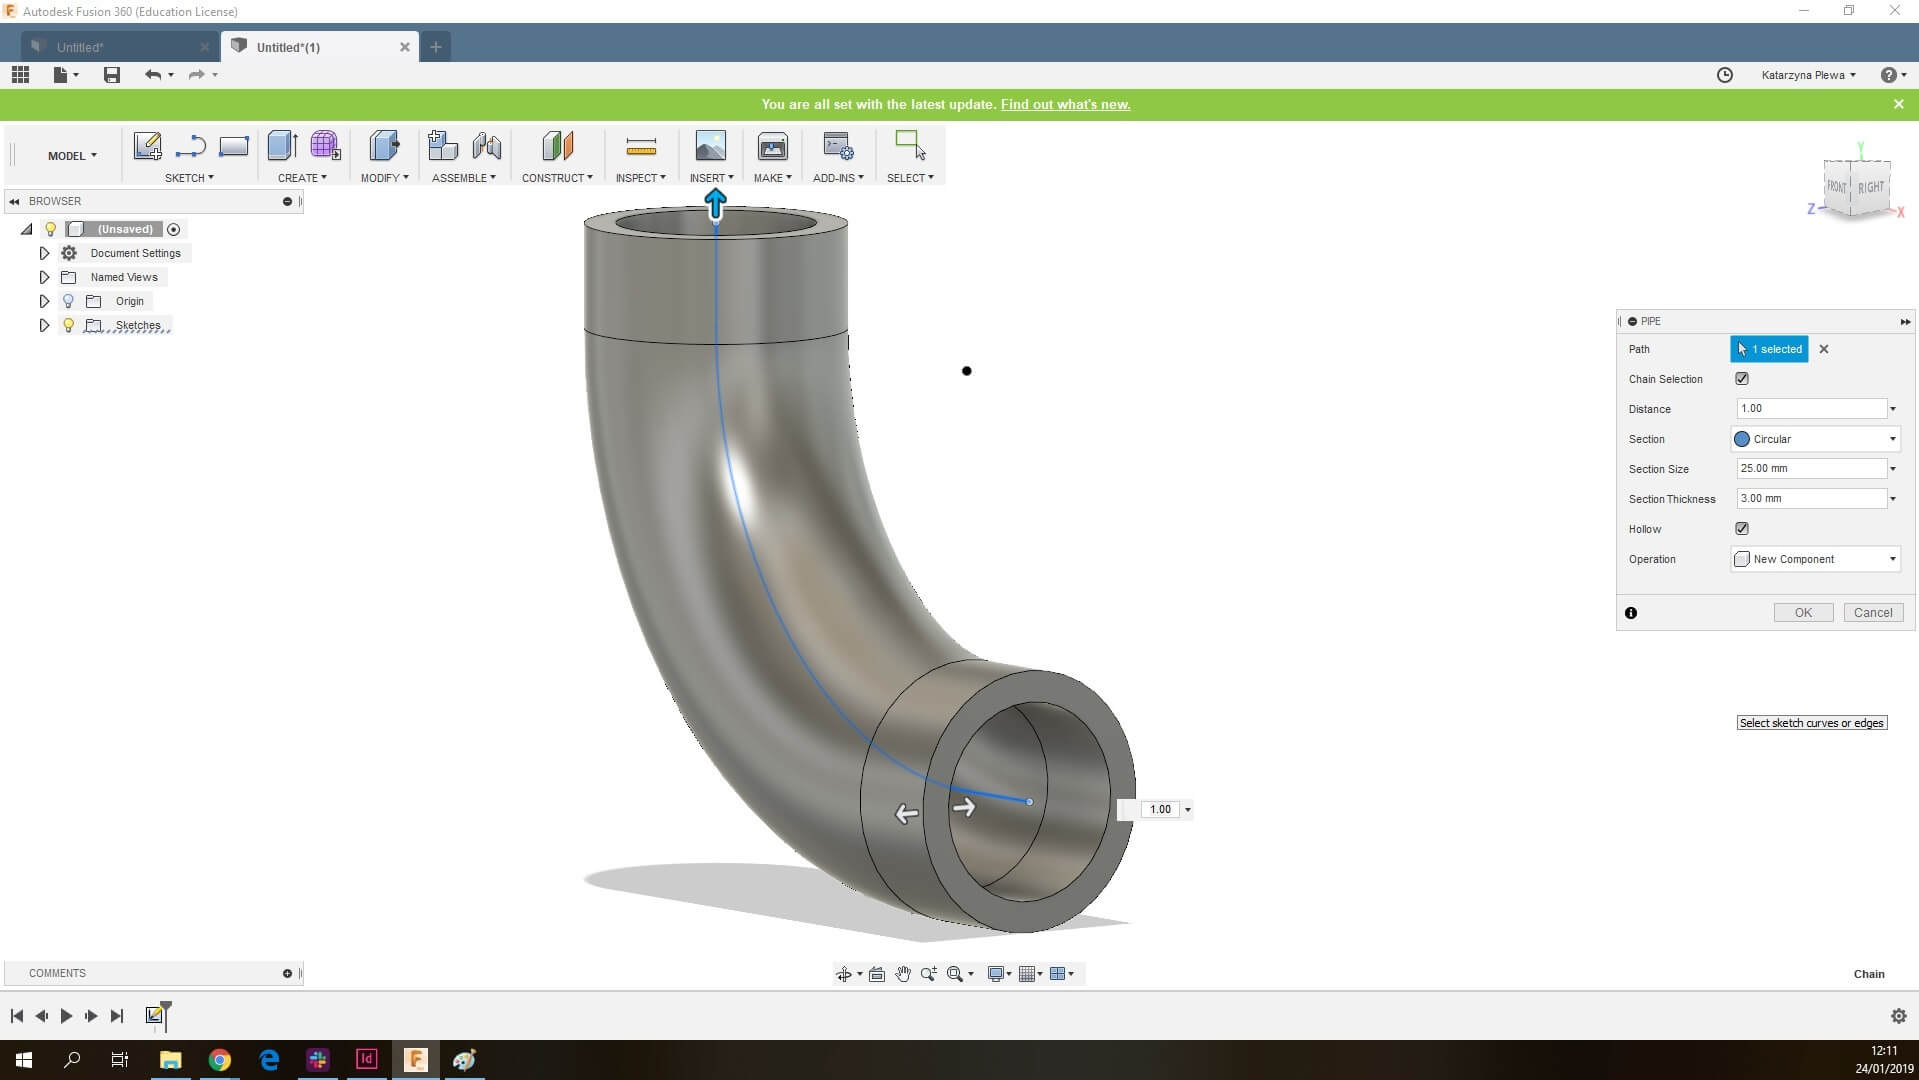
6. Using the pipe tool
With the pipe tool thicken the created line. Select the line and make sure your settings are correct. Adjust the measurements accordingly. It’s essential you tick ‘’Hollow’’ and choose ‘’New component’’ in the operation box.
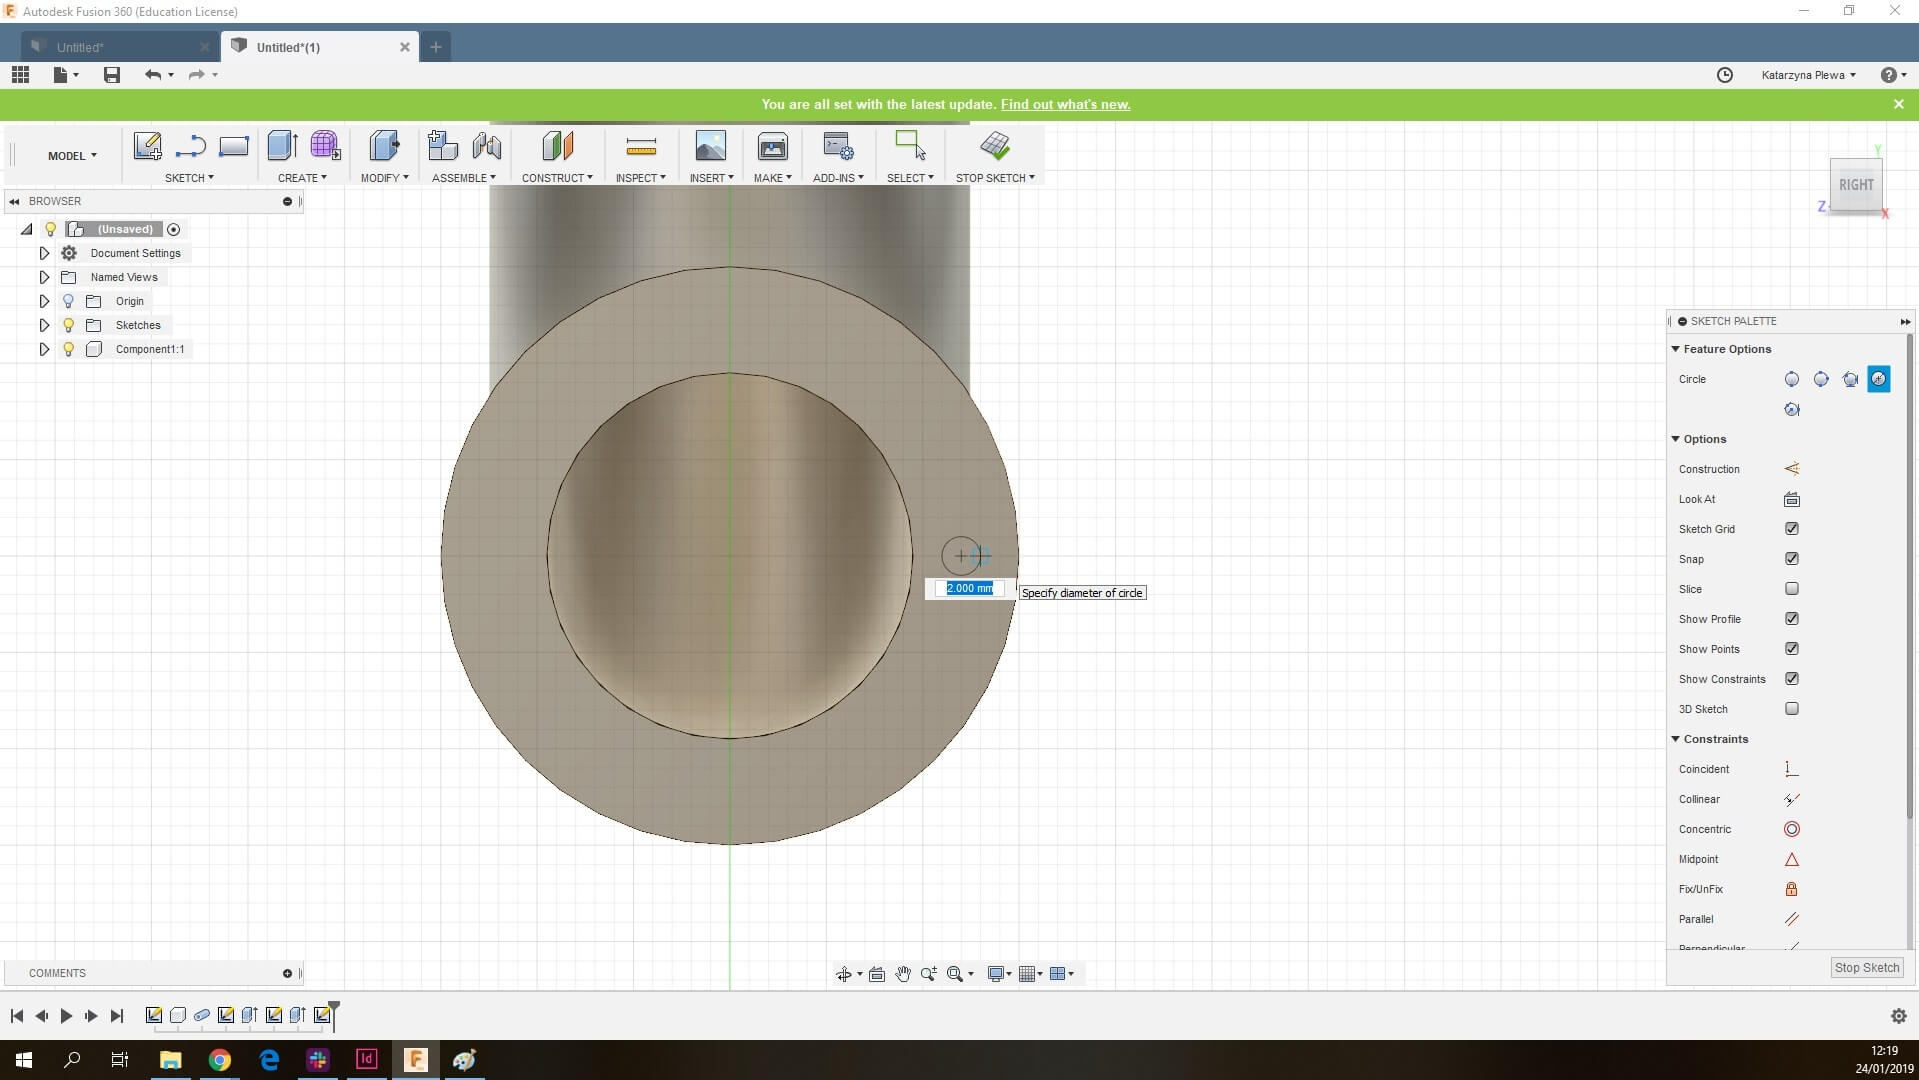
7. Select the end of the pipe fitting and sketch a circle on it, right in the middle.

8. Create another circle, also starting from the middle.
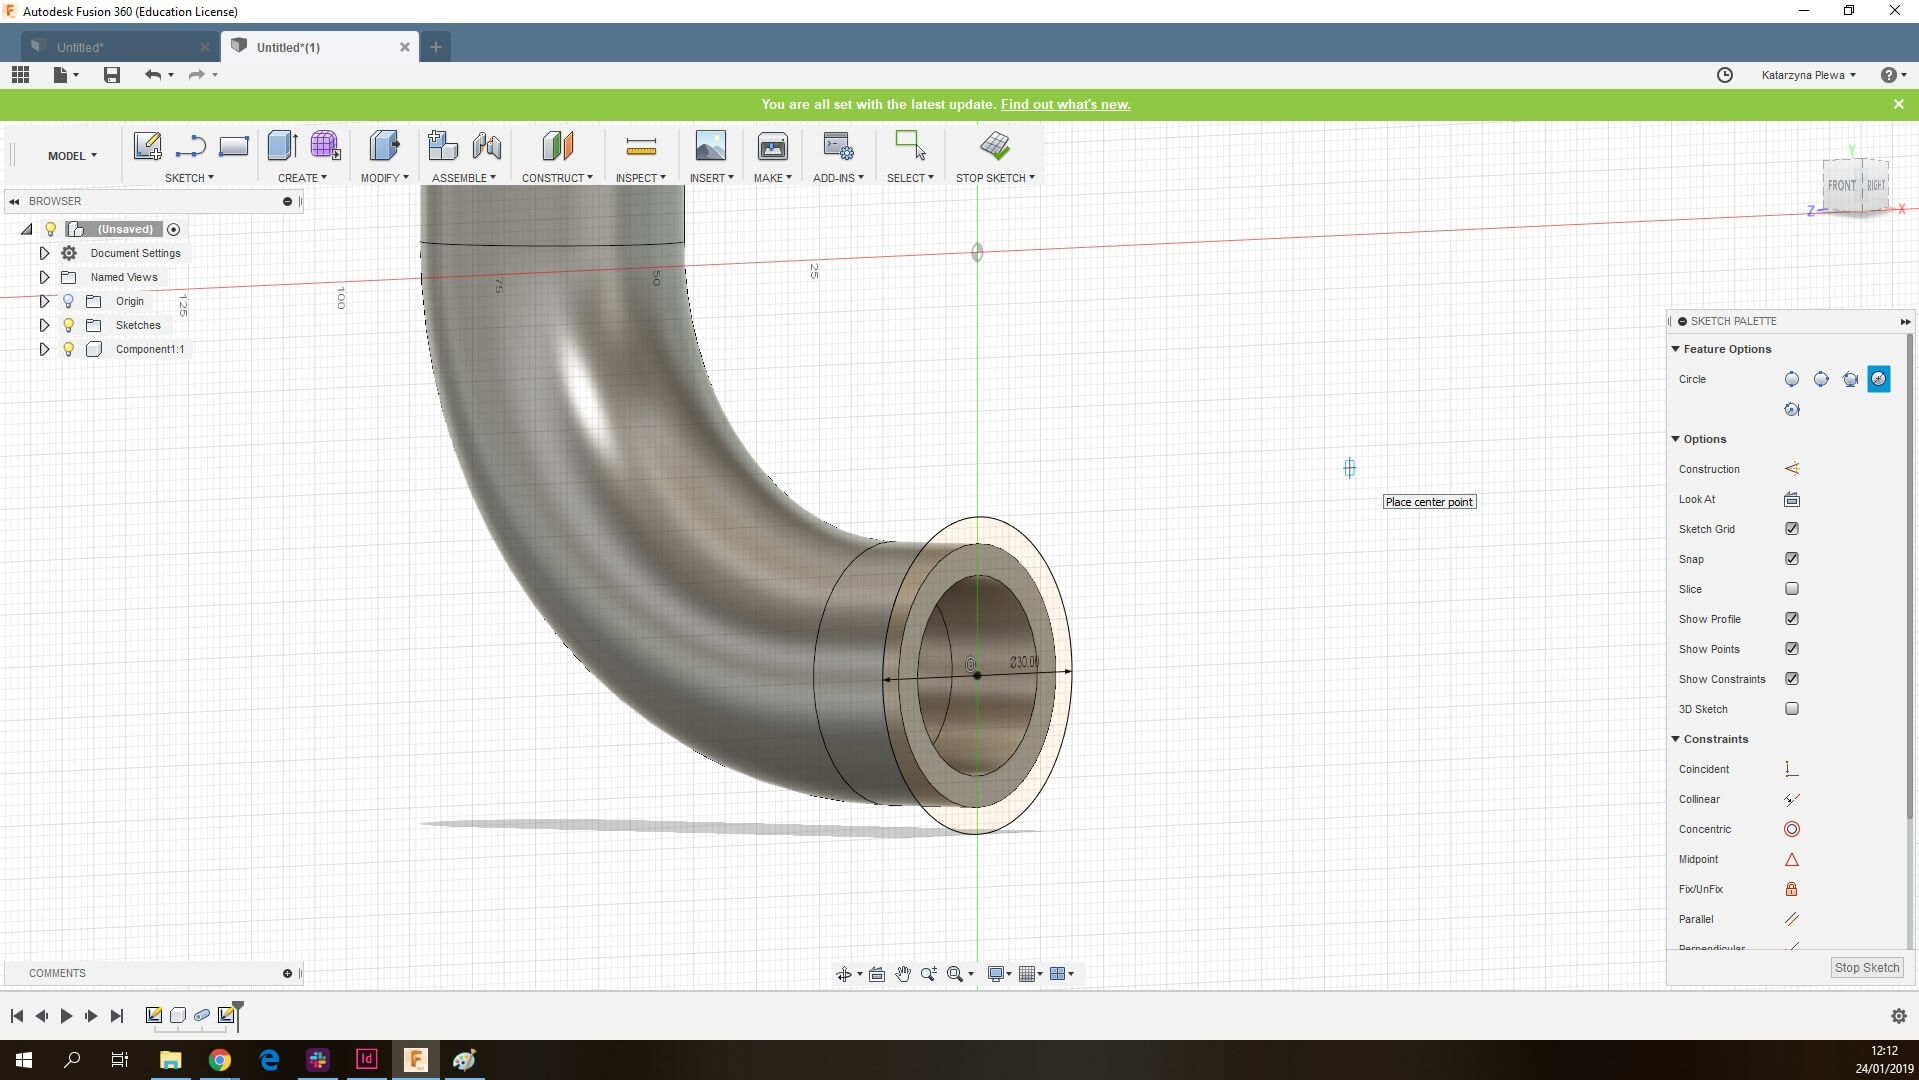
9. Once you have two circles, select the outer and extrude it.
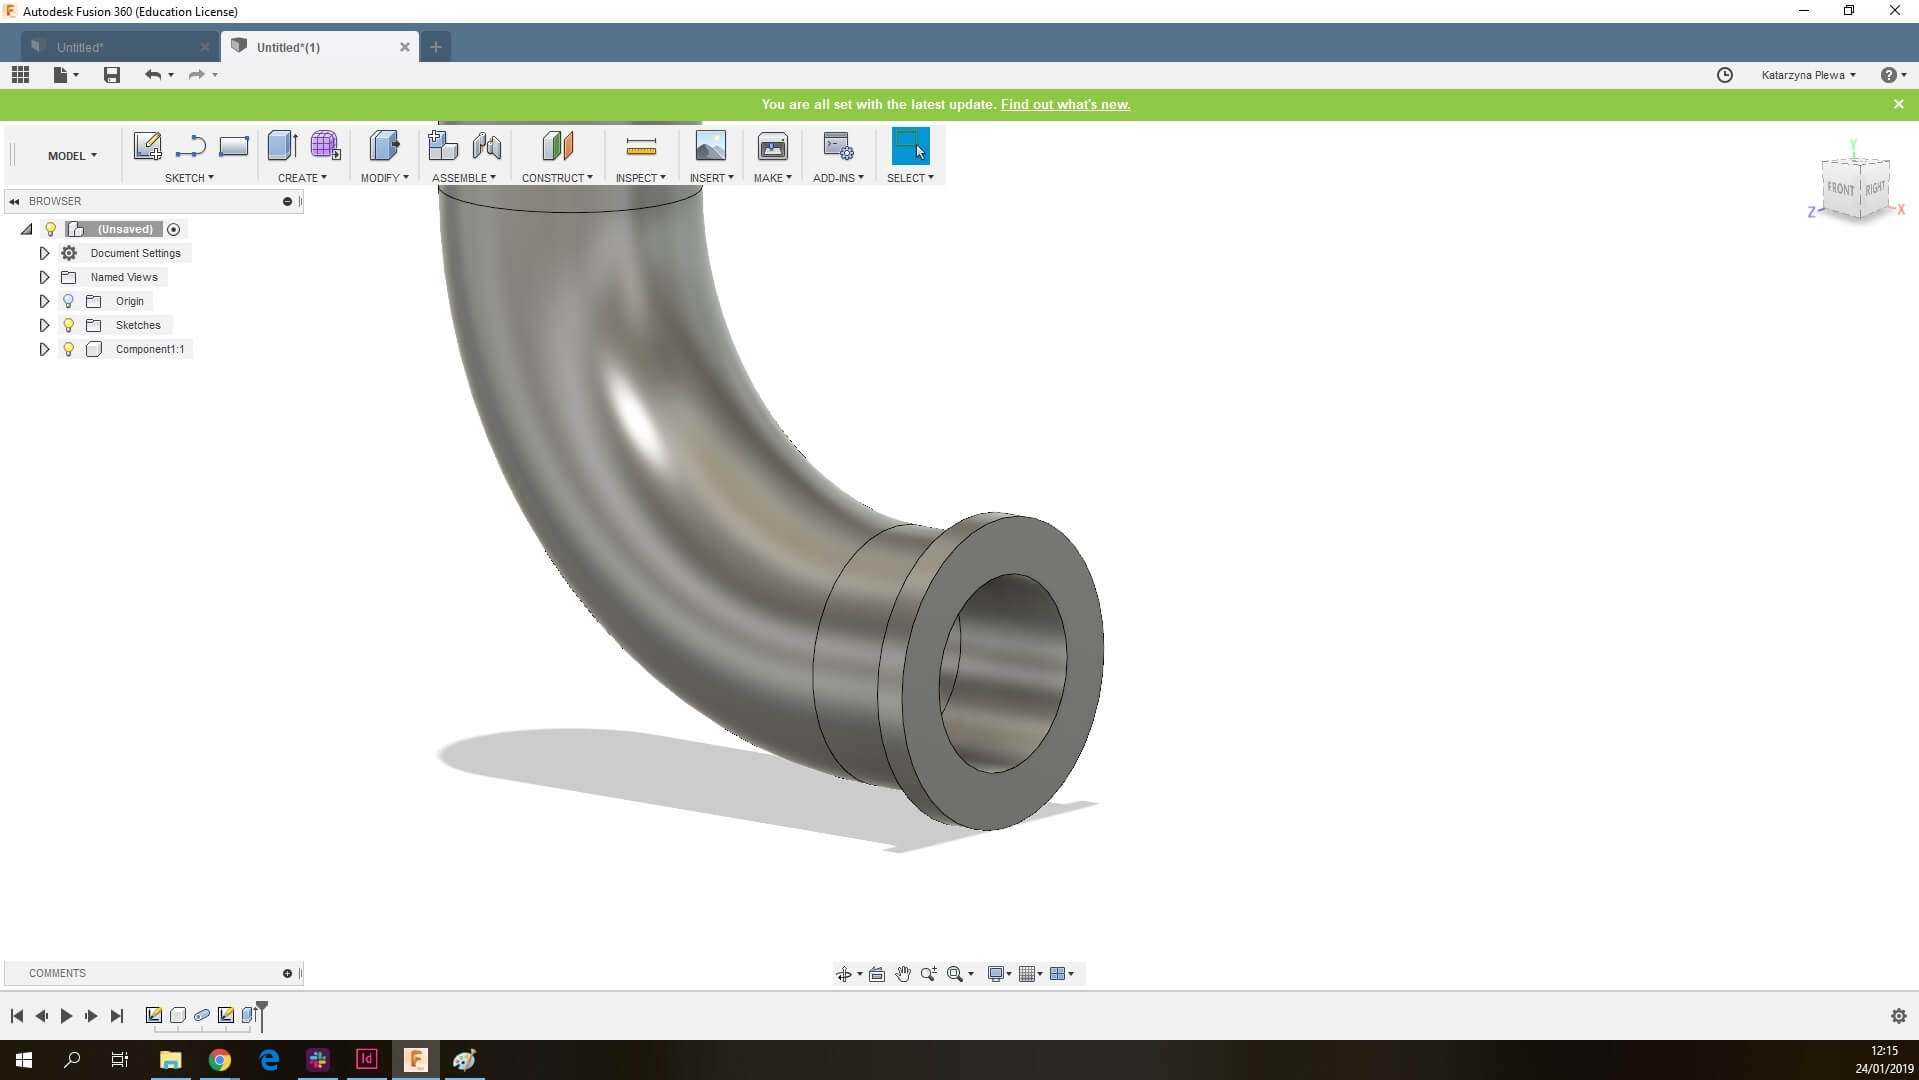
10. Repeat the steps on the other end of the pipe fitting.
11. Creating the connecting holes
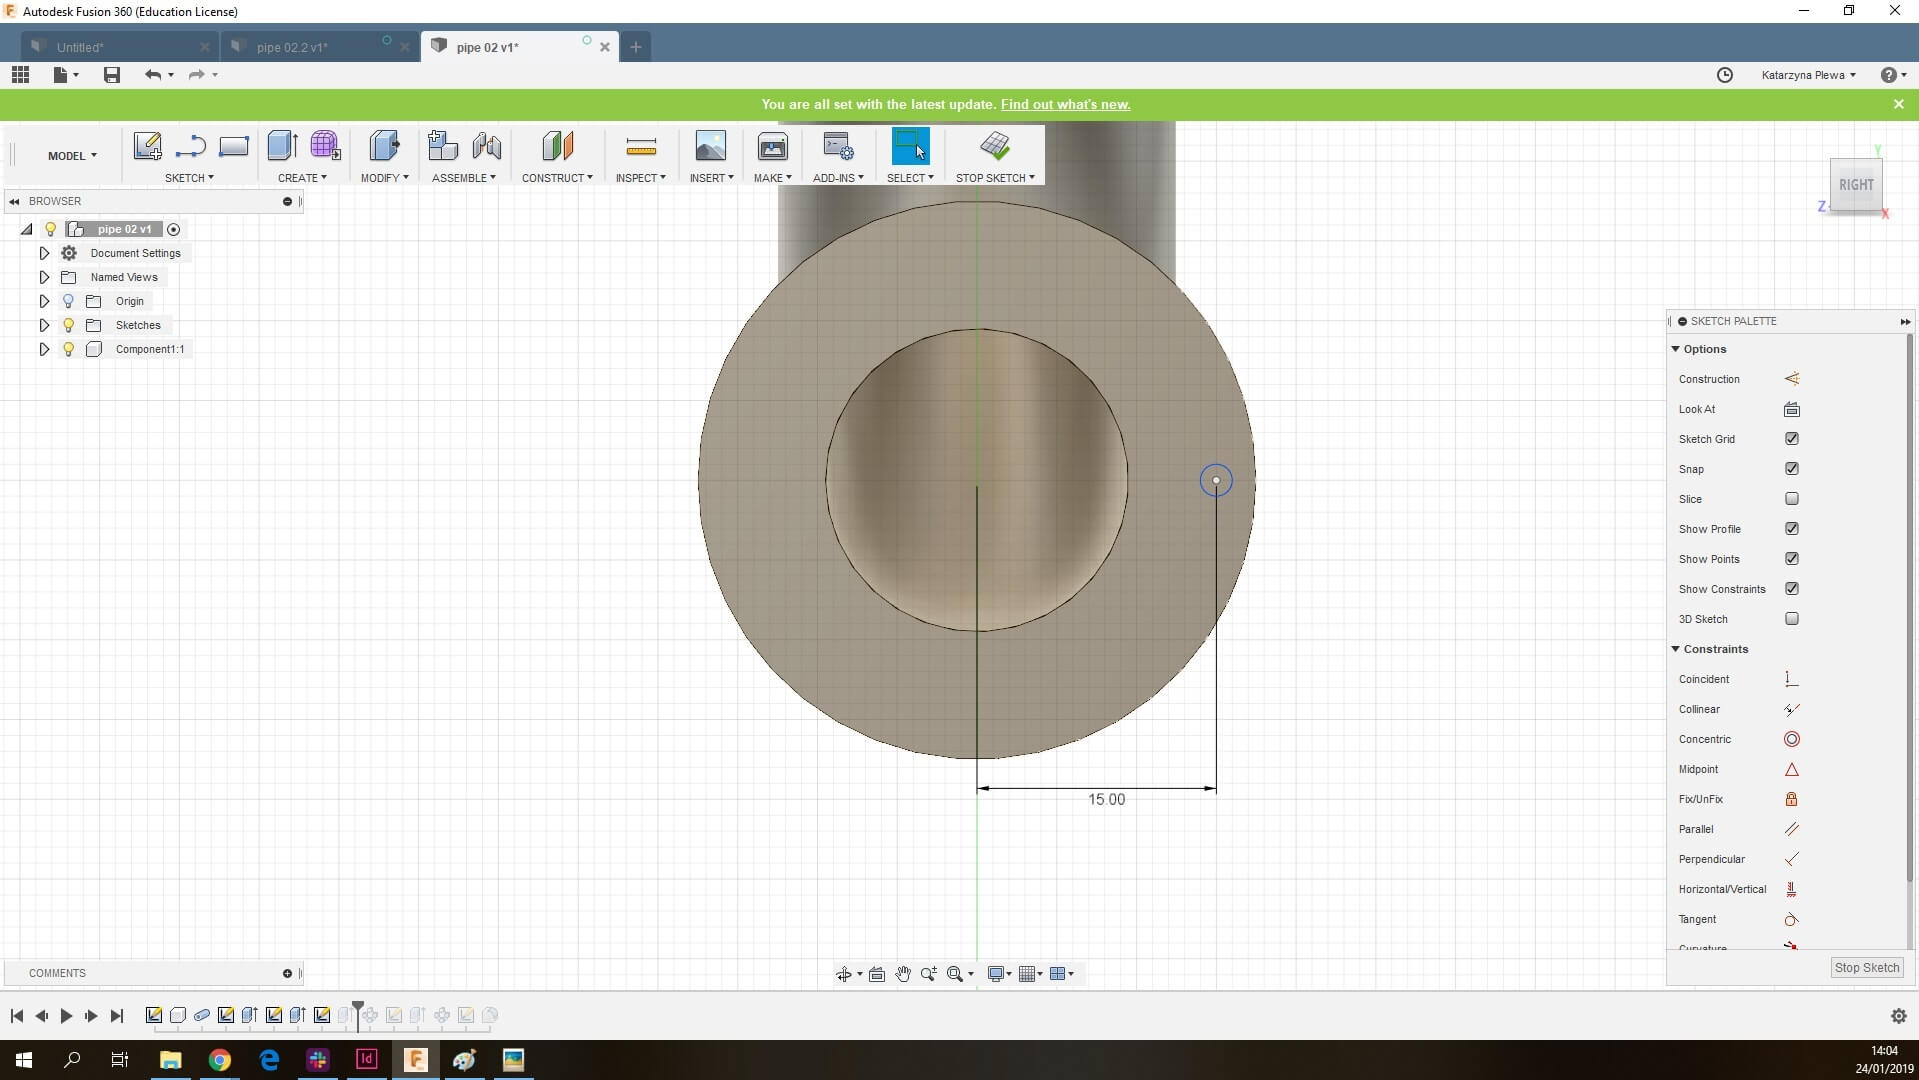
Now we will move on to designing holes to connect different pipes. At the end of the pipe fitting, select the correct plane and create a circle, 2 mm in diameter. Move it to be 15 mm away from the middle point. You can do that in the ‘’inspect’’ toolbar.
12. Next, extrude the circle inwards to create the holes.
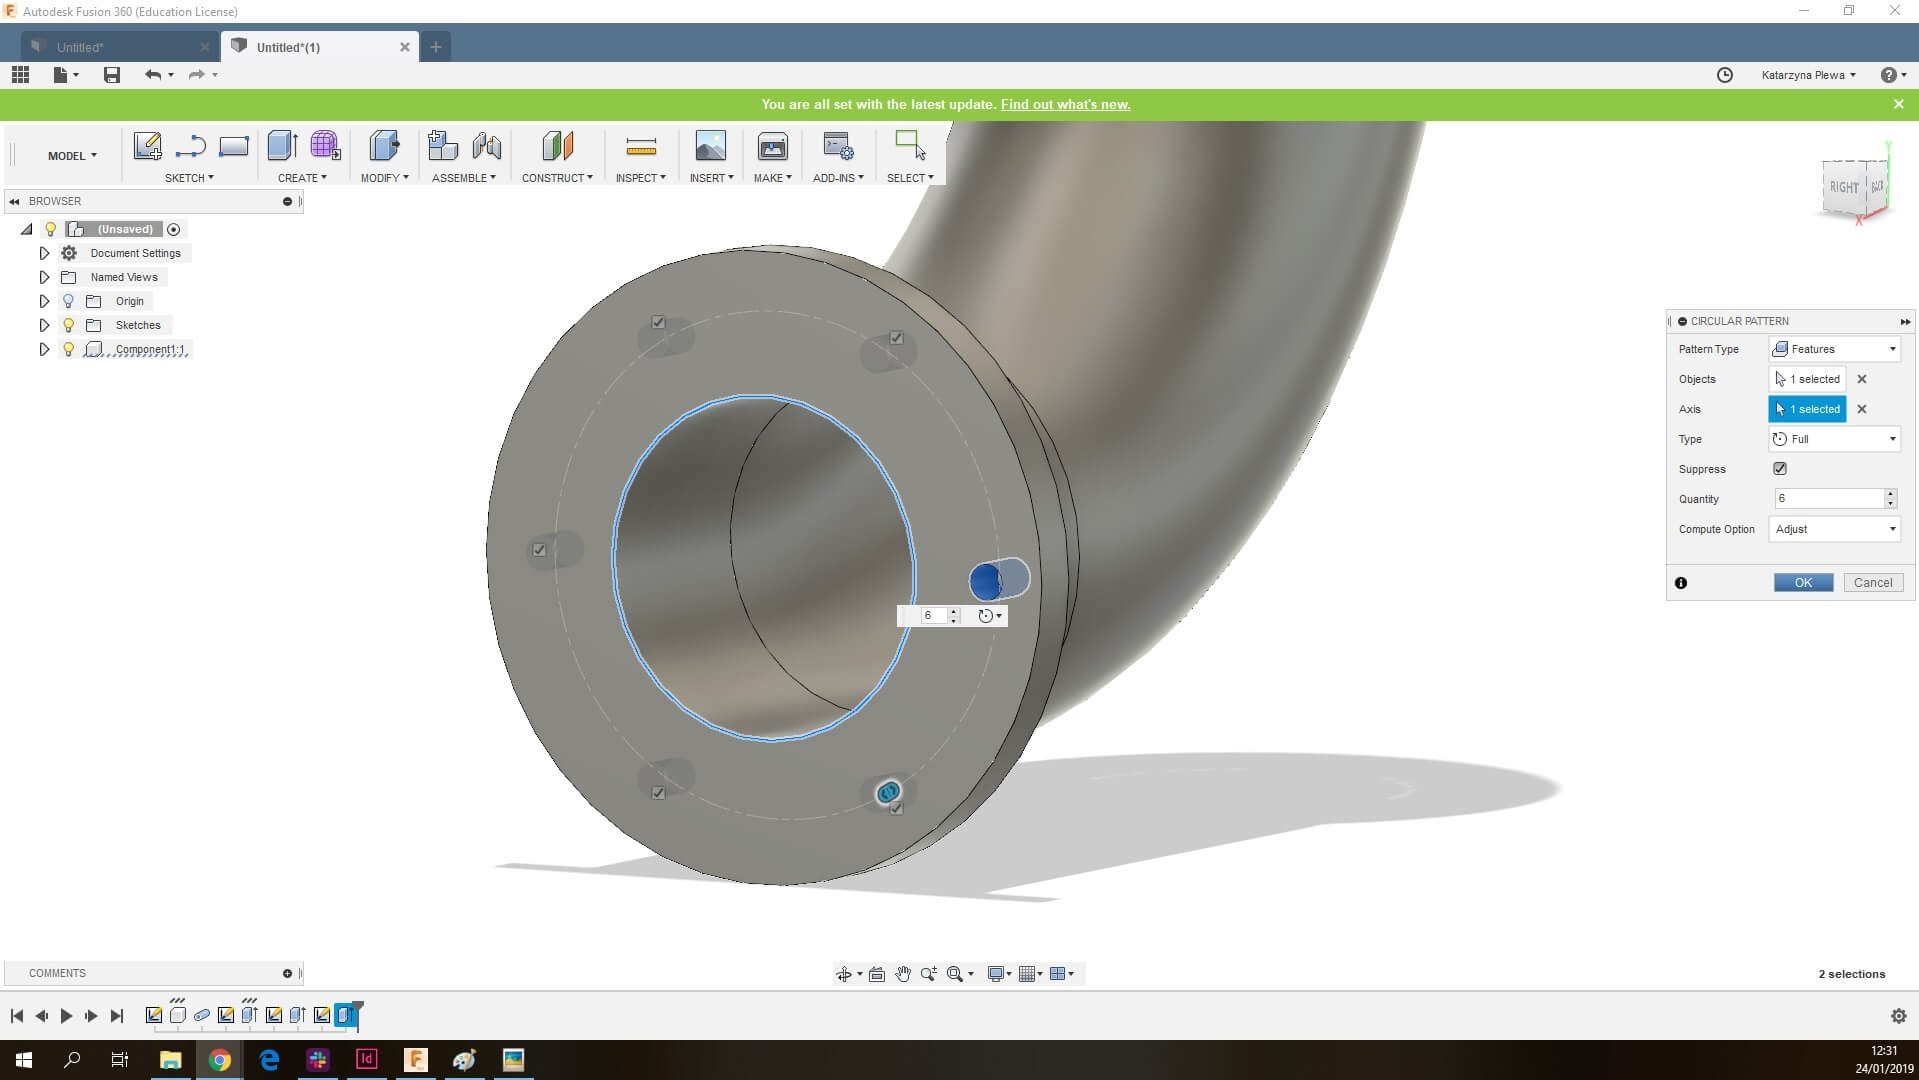
13. Using the pattern tool
Create a pattern in the ‘’Create’’ toolbar, choose circular pattern. For the object select the hole. As for Axis, set the inner circle of the pipe’s fitting end.
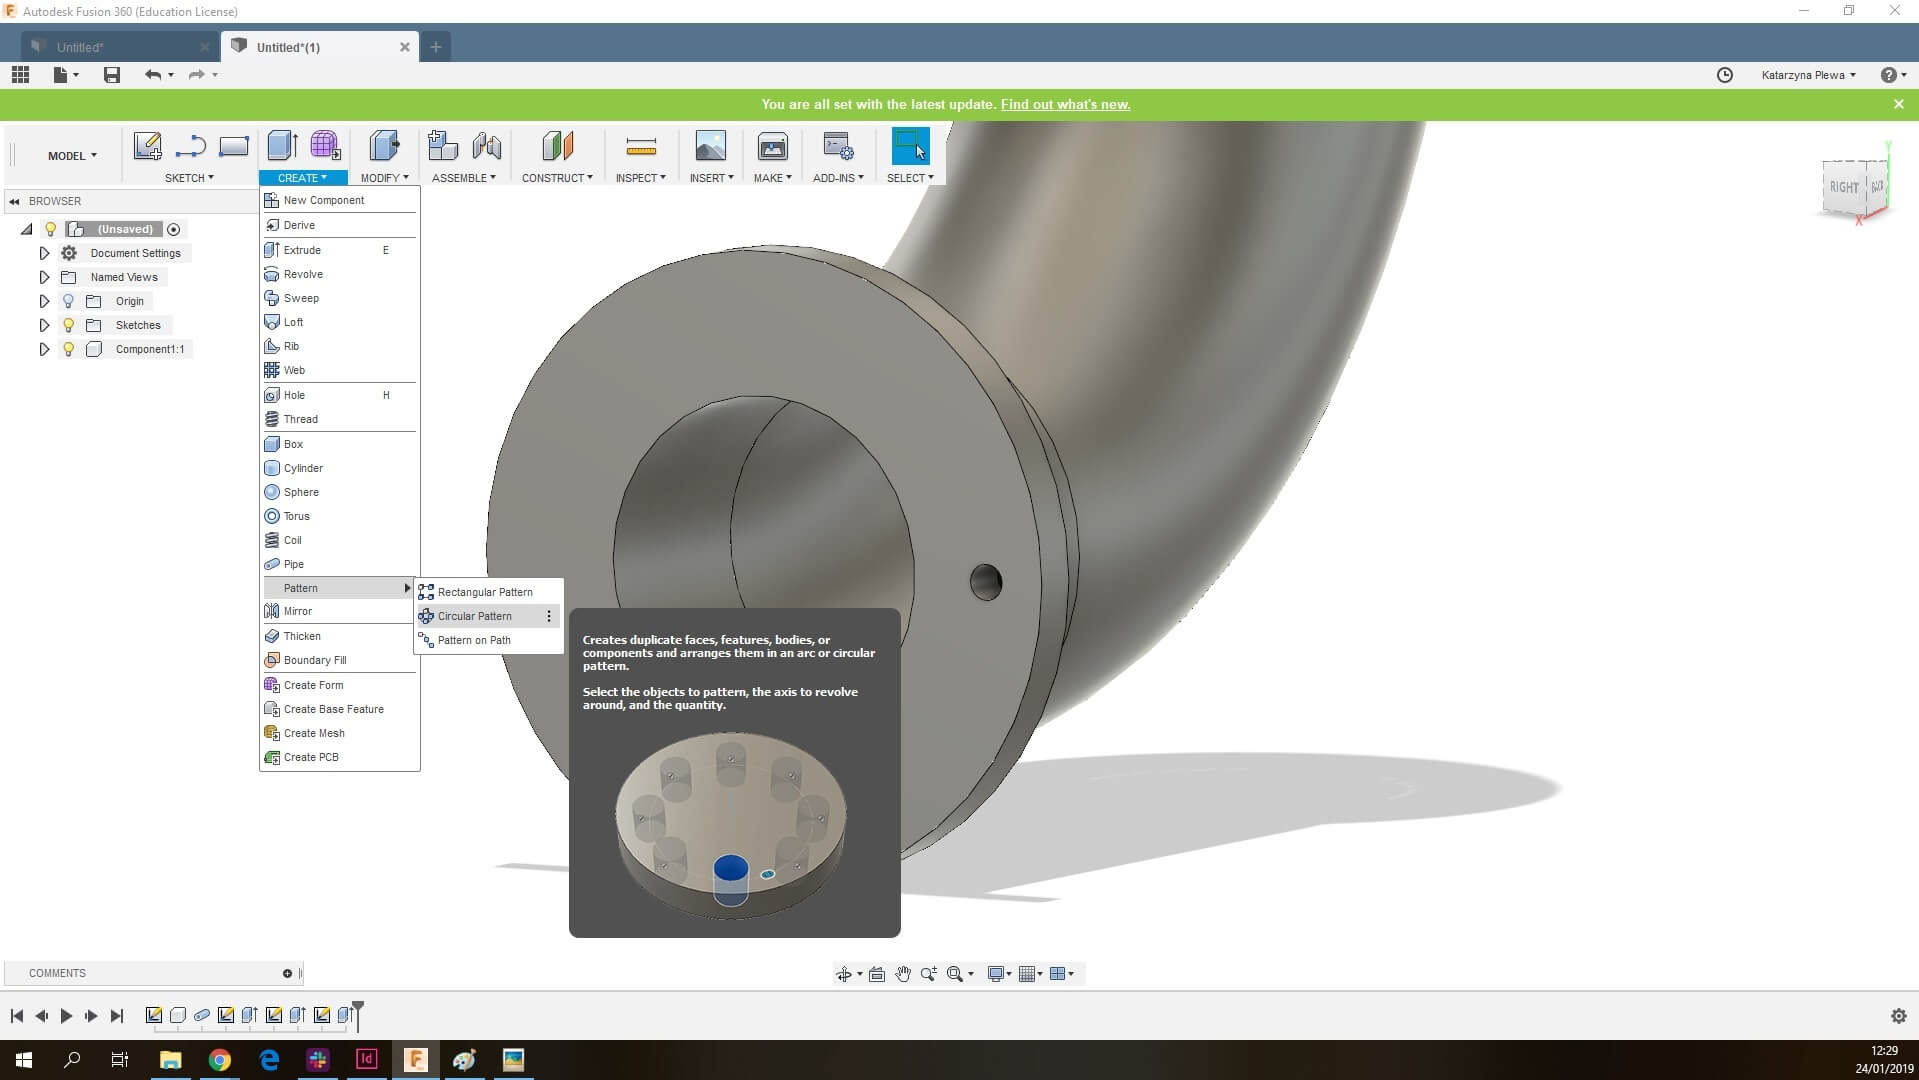
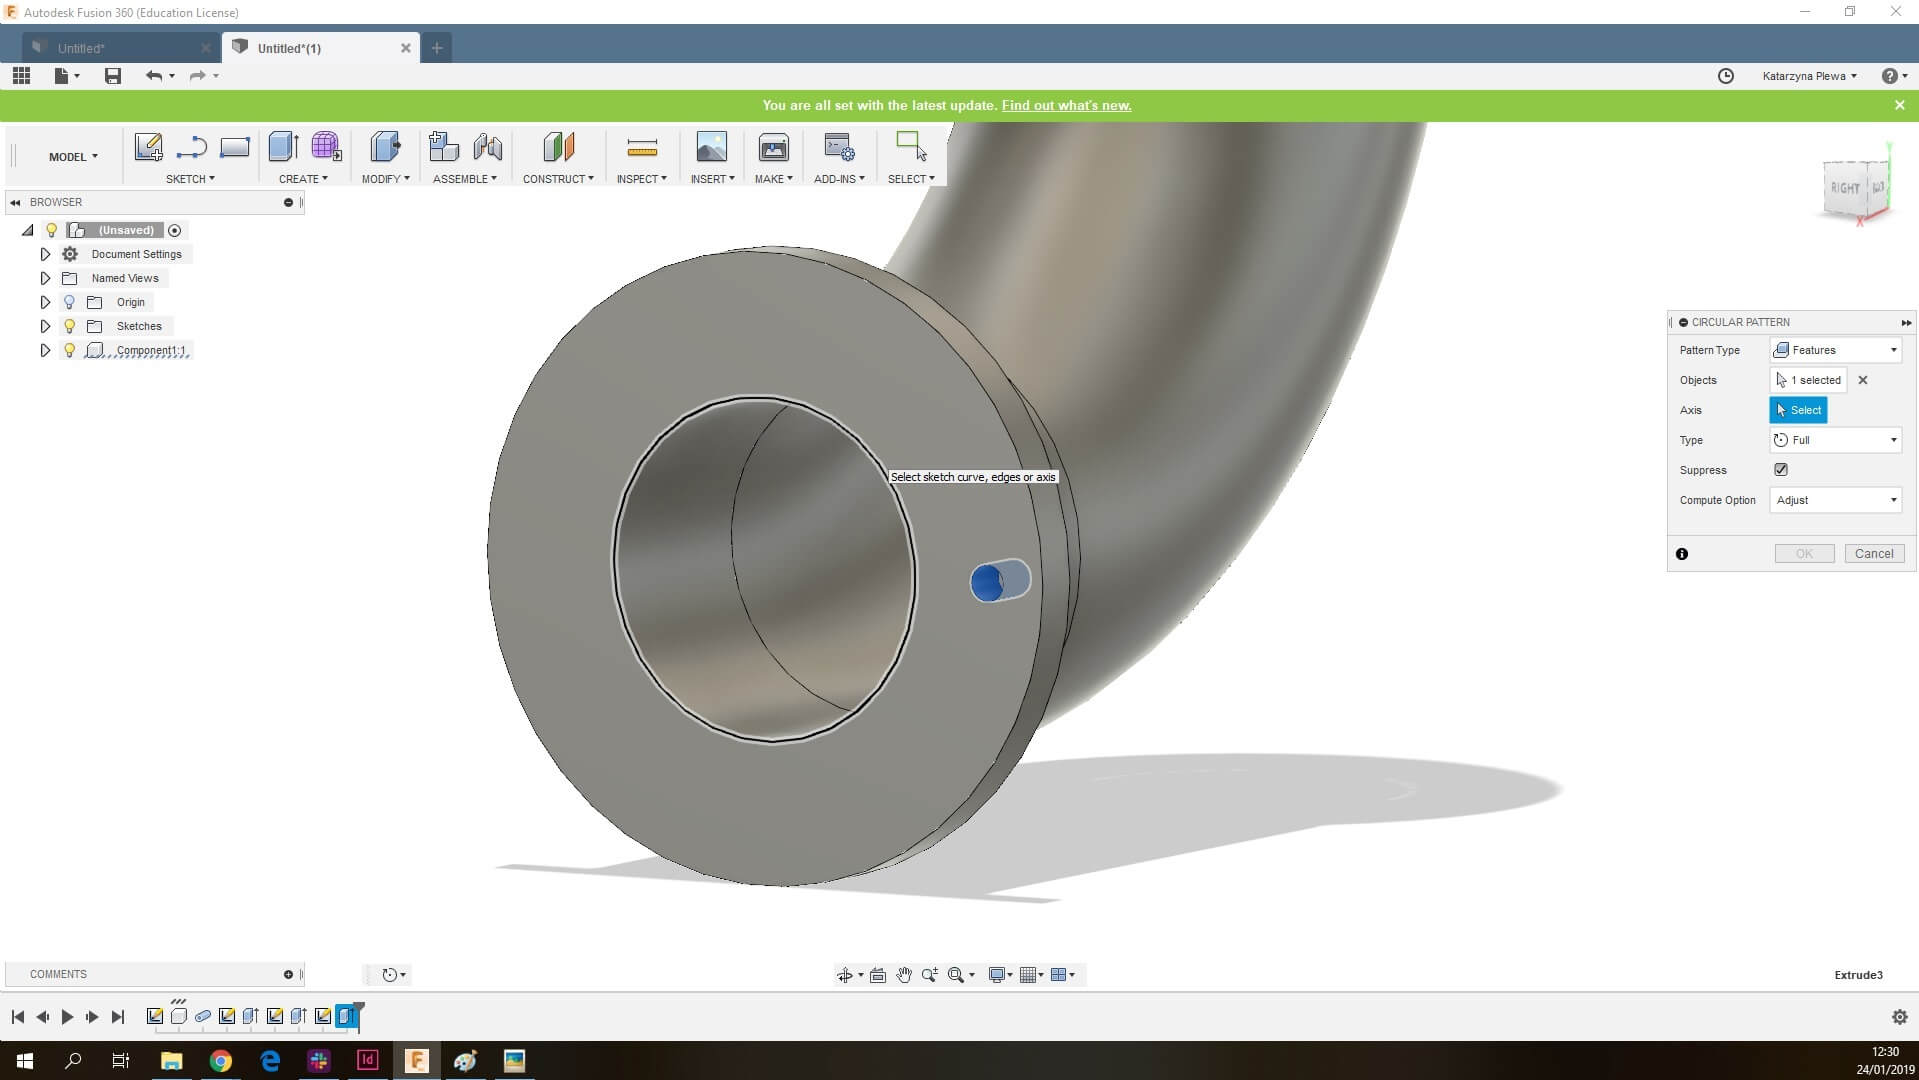
Set the quantity to the desired amount, for this tutorial we set it to 6.
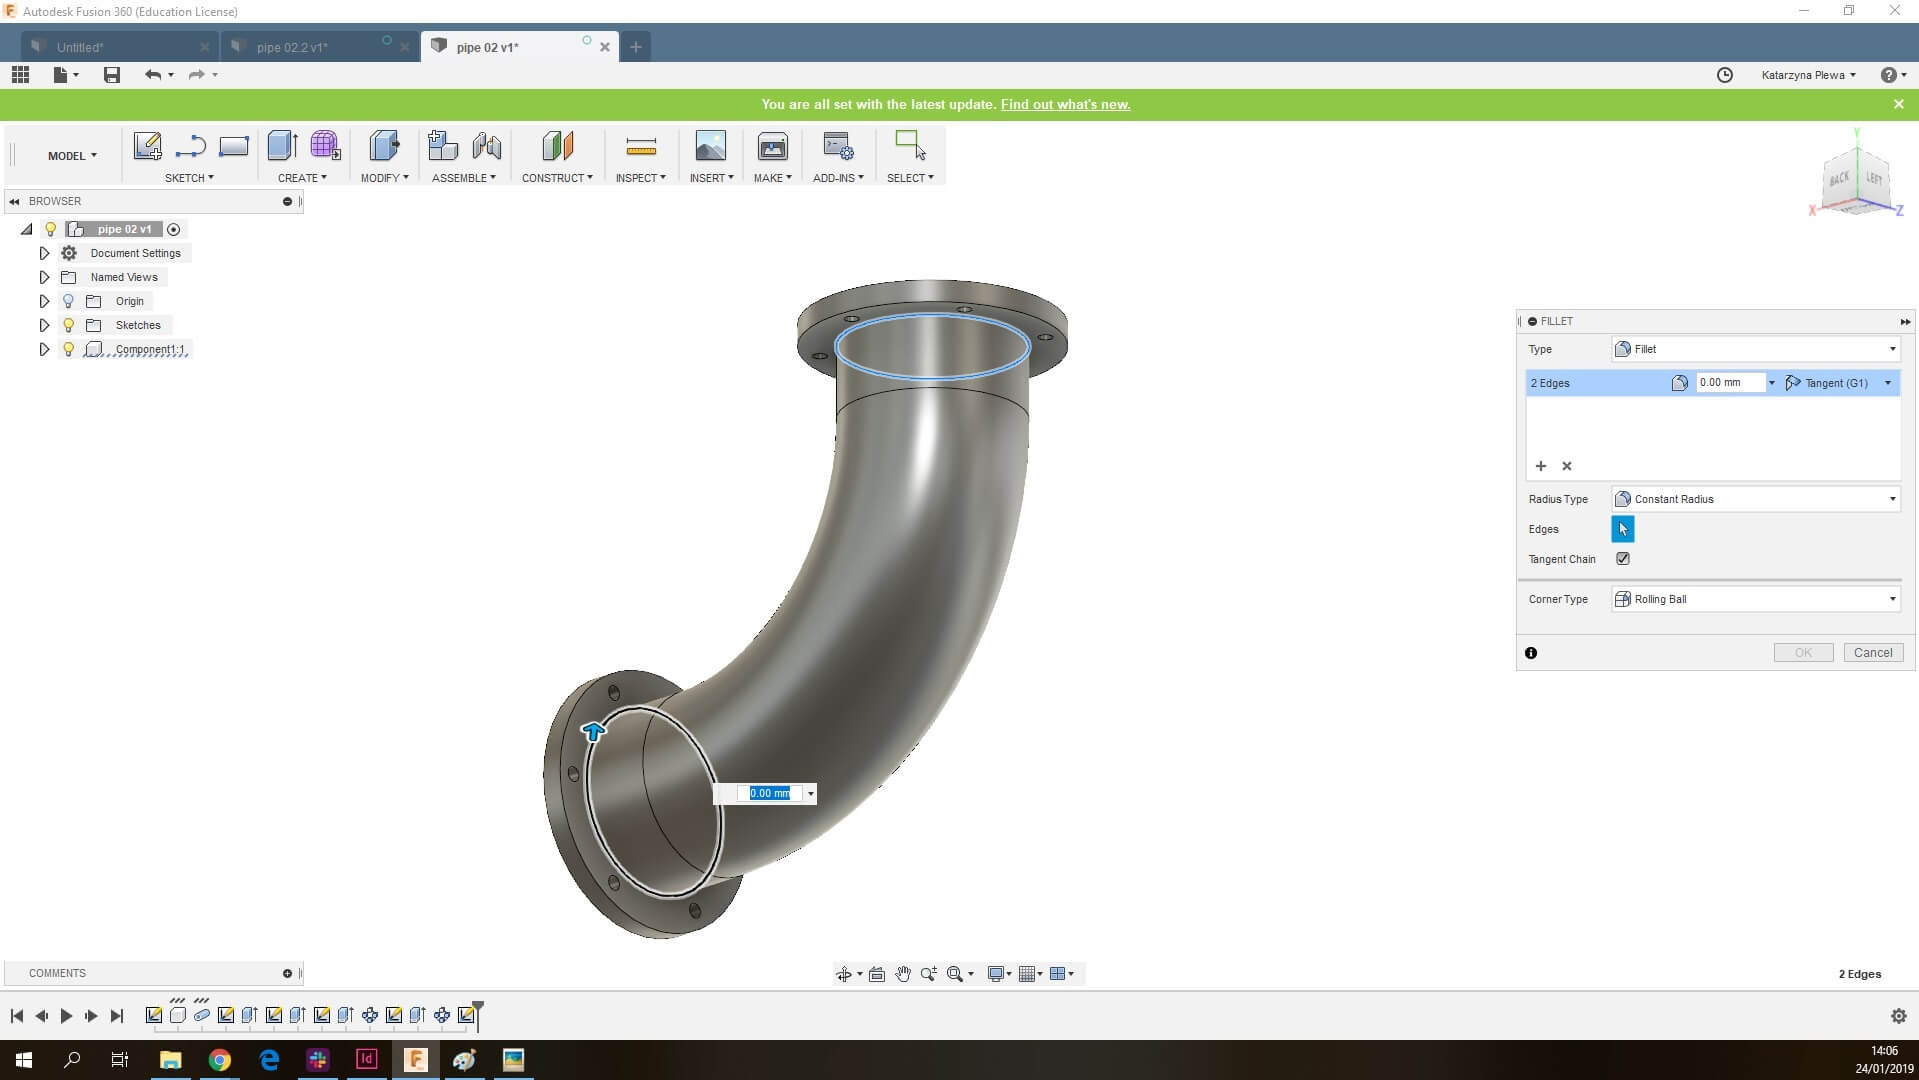
14. Apply fillet
The last step will be to smooth out the edge around the ending of the pipe fitting. To do so, we will use the fillet tool in the Modify tools. Select both of the edges and adjust them to your design.
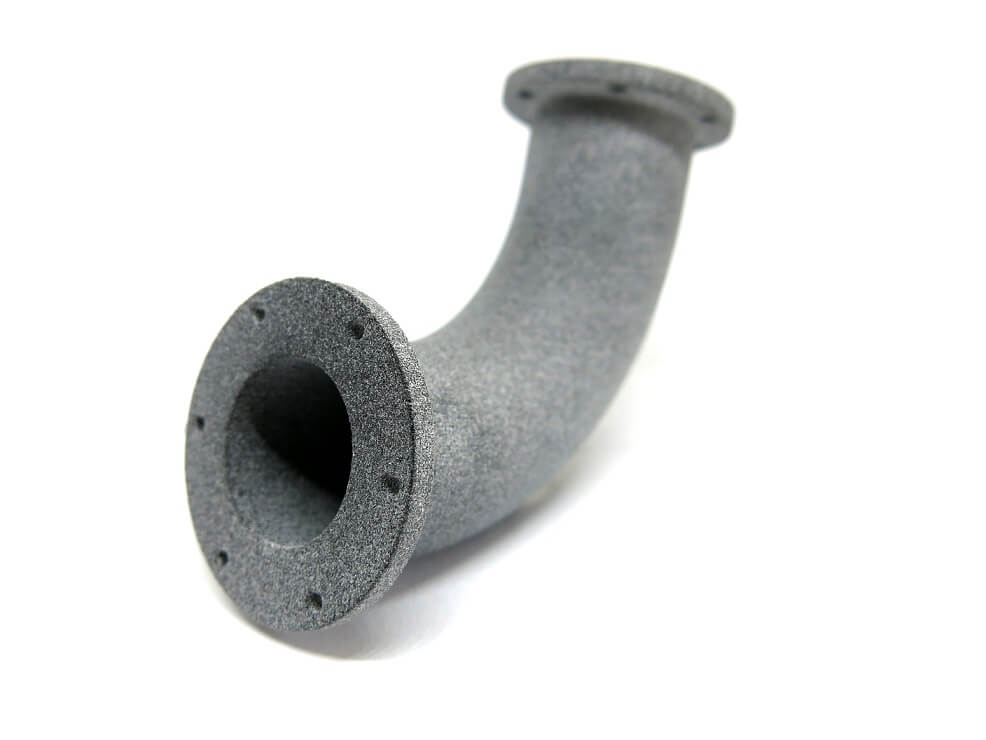
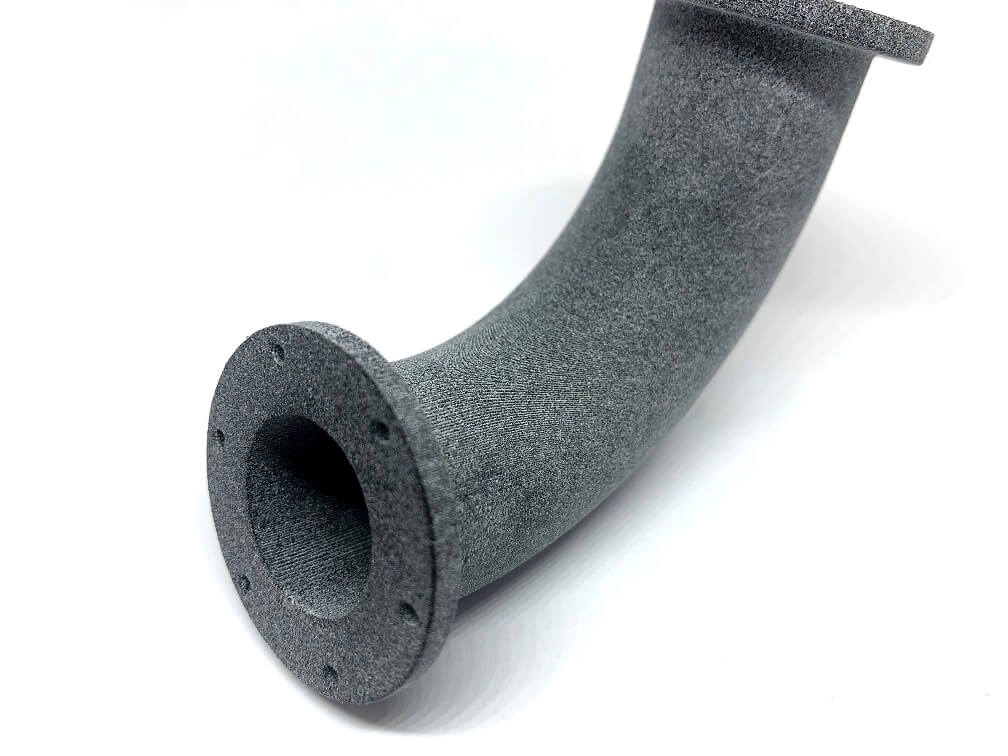
If you need to screw the pipe fittings with screws, we already made for you a tutorial on creating 3D printed threads! Make sure you check it out. To prepare your 3D model for 3D printing, on the list of elements on your left-hand side, left click on the name of your model and select ‘’save as STL’’ and upload your file to our online 3D printing service.
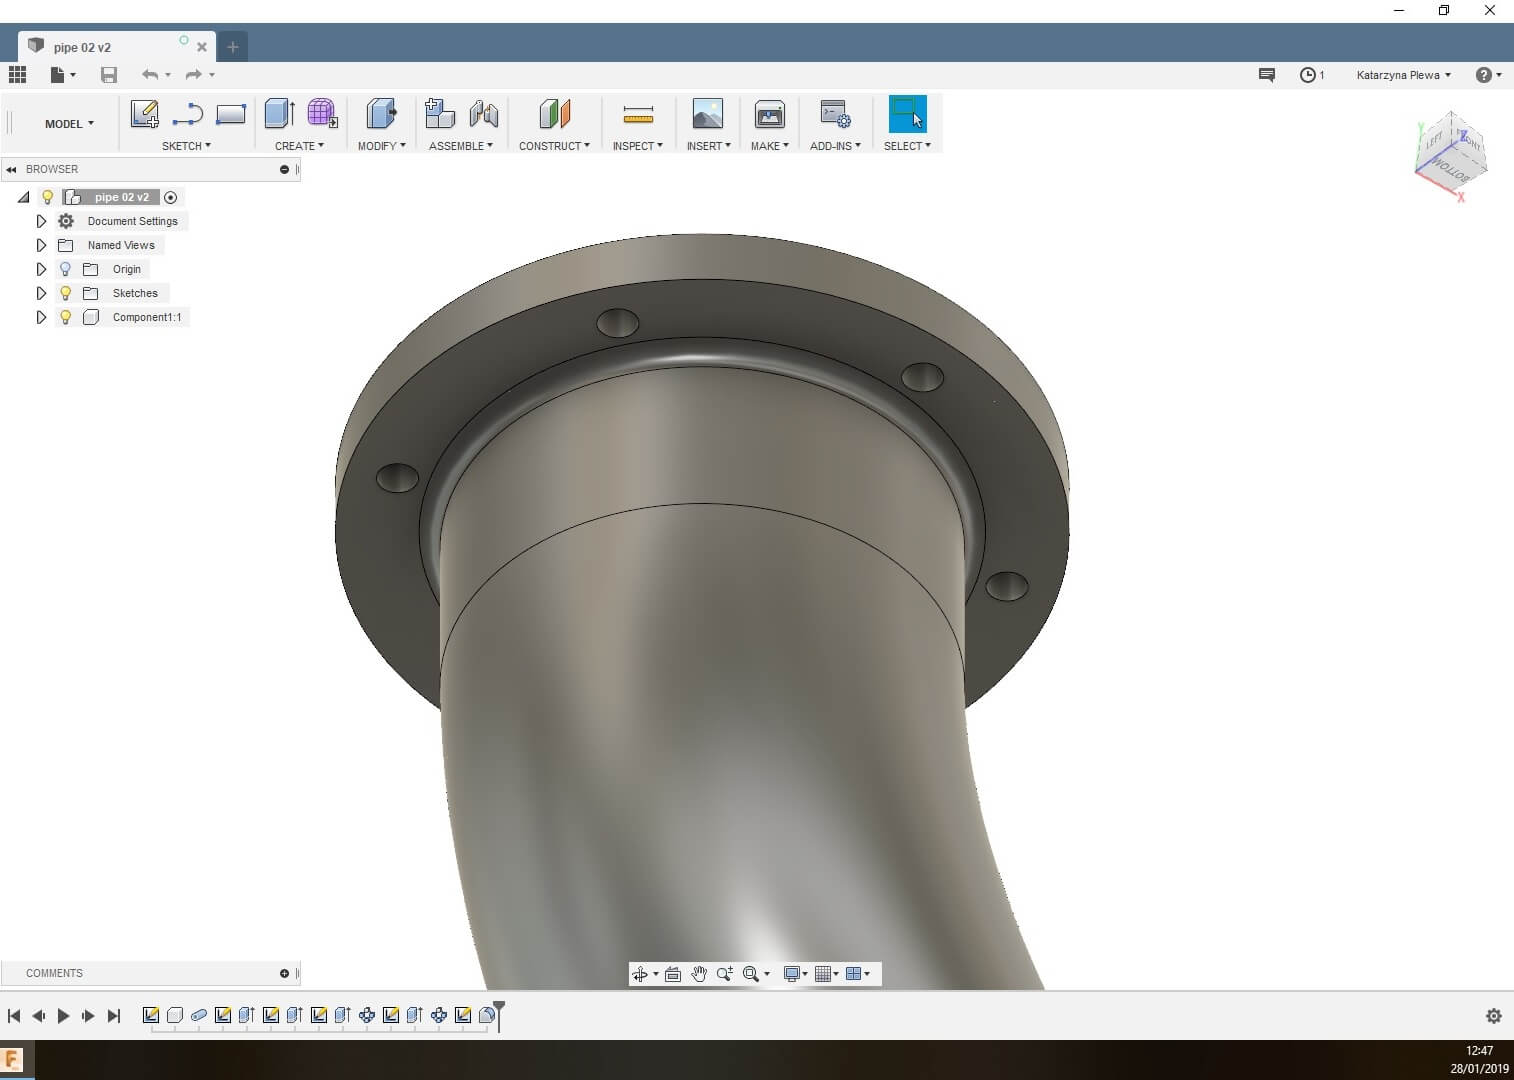
We 3D printed the pipe fitting in Jet Fusion technology which provided us with a very fine quality part. The process was fast and the pipe fitting came up at the expected standards and fully functional.
Improve your production today!
That was easy, wasn’t it? As you see, 3D printing is not that complicated. With Additive Manufacturing you can quickly produce spare parts, highly-customized mechanical parts, or prototypes. And those are just some examples of applications of 3D printing. And how do you use 3D technologies?
Let us know in the comments and on our social media, what projects have you created using 3D printing! Starting to improve your production with Additive Manufacturing is as easy as uploading your STL files to our online 3D printing service. And if you need any help with your design, feel free to contact our Design Studio.
Stay tuned for the best 3D printing News with our Newsletter and Facebook!