Once a piece is prepped, it can be finished. Various techniques can be used to change the appearance and properties of a 3D print. Some finishes are purely cosmetic, while others add durability or additional functionality to the piece.
Dyeing
Our dyeing finish uses our proprietary technology. With this dyeing option your 3D item will get a satin look, making it look like a finished product.
Before the dyeing finish is applied on a 3D part, a post-printing treatment procedure is carried out to ensure the item gets enough resistance to external conditions, rubbing and scratching. Therefore, it is recommended to dye your part if you plan to expose it to external conditions for a long time.
Another advantage of our dyeing process is that it creates skin-safe parts. Additionally, your part will have great longevity with a high-quality finish.
Your 3D printed parts become high-quality finished products, with great longevity. Your 3D printed items will seem matte and be friction-resistant with this finish. Your 3D parts become durable enough to be exposed to the elements and withstand scratching and rubbing thanks to the post-printing treatment process we use before the coloring step.
Smoothing
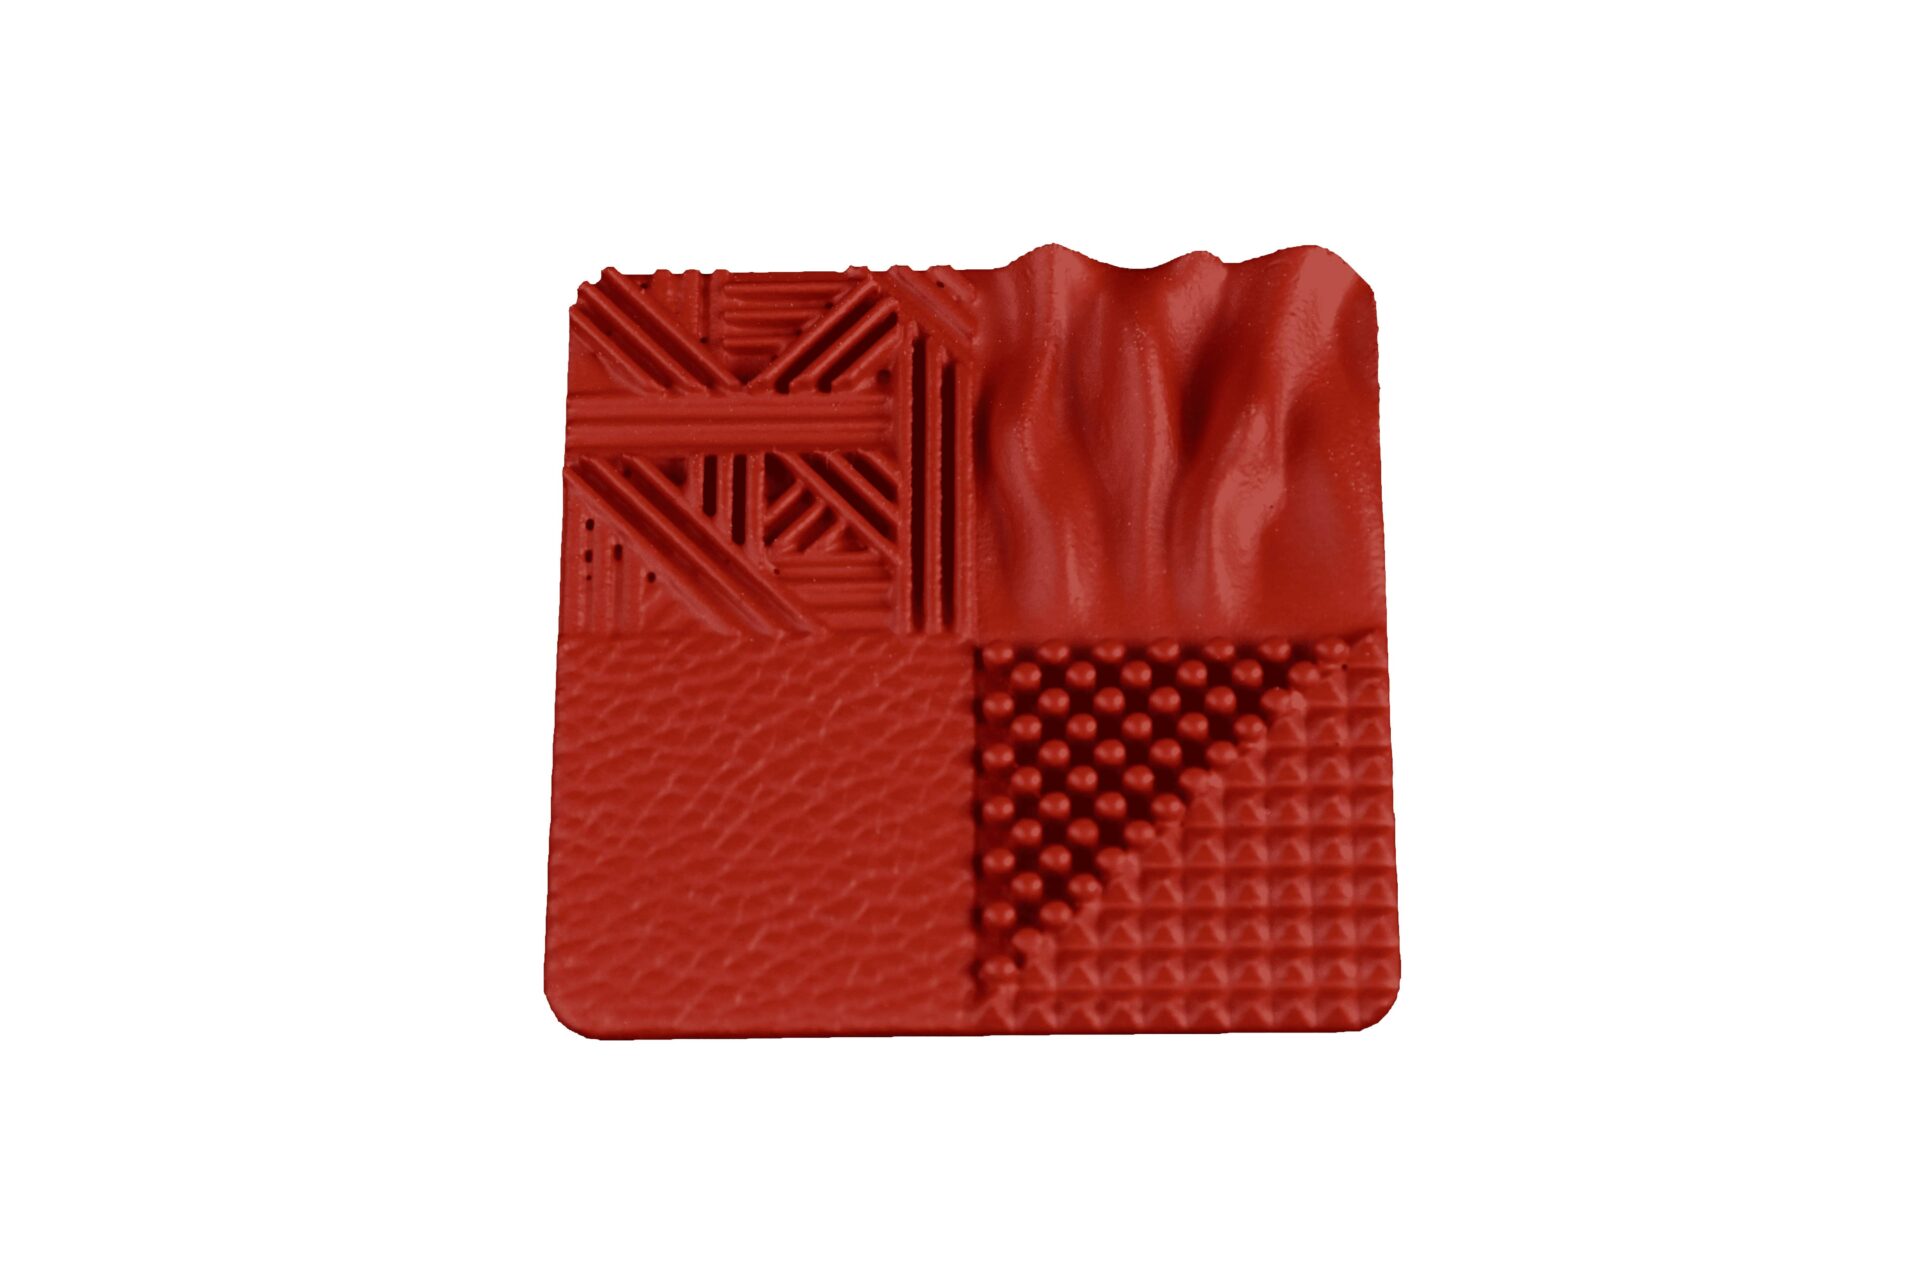
To get a really smooth surface on a 3D print, abrasives are not always the final answer. Using a solvent such as acetone or isopropyl alcohol can produce a much more uniform surface. This kind of smoothing works with plastics and is an effective way to get rid of layer lines and other imperfections. Various types of chemical smoothing are on offer, enabling the production of high-quality finished pieces.
Thanks to the effort placed into developing new techniques, there is a process that can improve the quality of 3D-printed parts. This new patented process uses laser-sintered plastics to offer solutions that make prototypes look like the finished product.
Chemical smoothing on Selective Laser Sintering plastic material works by initiating a chemical reaction that results in a fully smoothed surface on any 3D-printed parts.
Painting
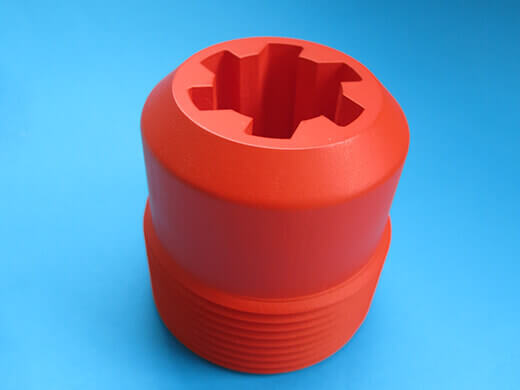
If the aesthetic appearance of a piece is important, a coat of paint might be required. The piece must be prepped and smoothed before any painting is done. A coat or two of primer is usually applied, followed by one or more coats of paint for a quality finish. White plastic is the best material for painting as it doesn’t affect the color. Interlocking parts can’t be painted since it is exclusively for white plastics. Therefore, the painting process uses the available paints to give different colors to 3D printed material with specific RAL.
The preferred color is applied on the 3D printed material using a spray gun (a spray gun offers smooth and uniform paint application while maintaining the initial object characteristics and details). The good thing about painting as a post-processing technique is that it only adds a paint layer of 200 microns in thickness.
Epoxy coatings
Epoxy resins use two substances that are mixed before application: the epoxy resin itself and a secondary hardener. The substances react chemically to create a strong material that’s highly resistant to water and chemicals. While epoxy coatings tend to be thicker than paints and can obscure very fine details, they have some advantages over standard paints. They are more durable and can provide more effective waterproofing if the piece has porous areas that need to be sealed. Epoxy coatings also give the finished piece more strength, especially if there are delicate or fragile sections.
Polishing
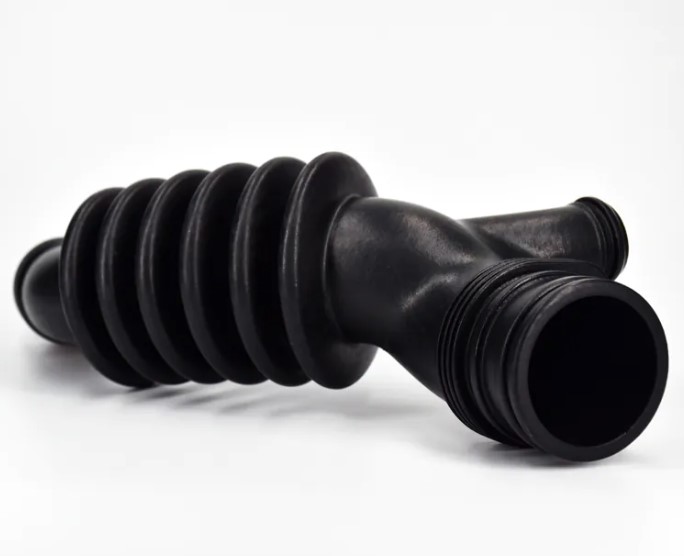
Sometimes a truly smooth and glossy finish is required. In this case, polishing might be a better option than painting. Polishing creates a mirror-like finish that can be visually impressive. Polishing may also be useful in reducing friction between moving parts.
Hydro-dipping
Hydro-dipping is used to apply labels, logos or other graphics to the surface of a finished 3D print. It’s generally used for large-scale projects but can also be done for smaller items. Hydro-dipping uses water to transfer images printed on a special paper to the item. Hydro-dipping can be used to customize items in various ways and allows for a range of colors and detail in visual elements that are difficult to accomplish with other methods.
Electroplating
In some cases, a product requires additional strength or a metallic appearance. Some products may also need an electrically conductive coating. That’s where electroplating comes in. This is a process where a very thin layer of metal is deposited on the surface of an object. Some 3D printing materials are conductive and can be electroplated directly. For non-conductive materials such as plastics, a coating of conductive paint will need to be applied.
For metal-like finishes or color enhancement, electroplating offers a sophisticated solution. Through the deposition of metal coatings onto printed parts, a metallic appearance is achieved, along with increased durability. Similarly, vacuum foiling enables the application of decorative foils onto surfaces, adding texture and visual appeal.
Many different metals can be applied in this way, including both precious and non-precious metals. Electroplating can transform a plain 3D print into a bronze statue or give a conductive element a layer of copper or gold.
 Connect with Google
 Connect with Facebook